Final Major Project Production
Finding Clips
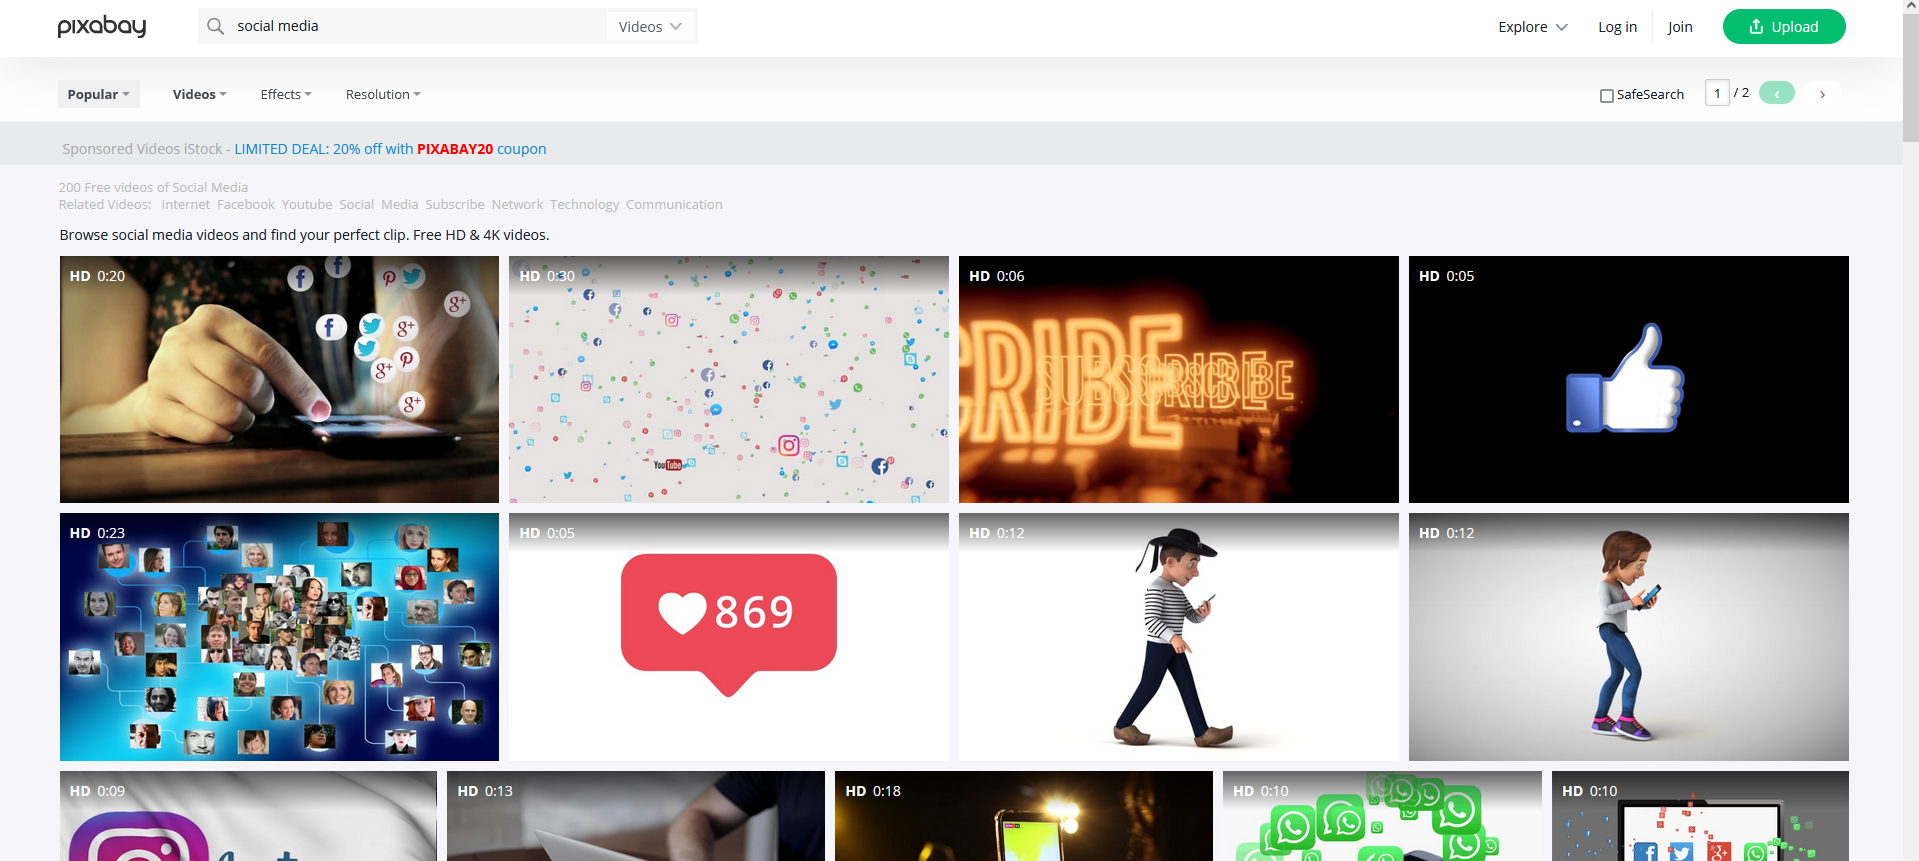
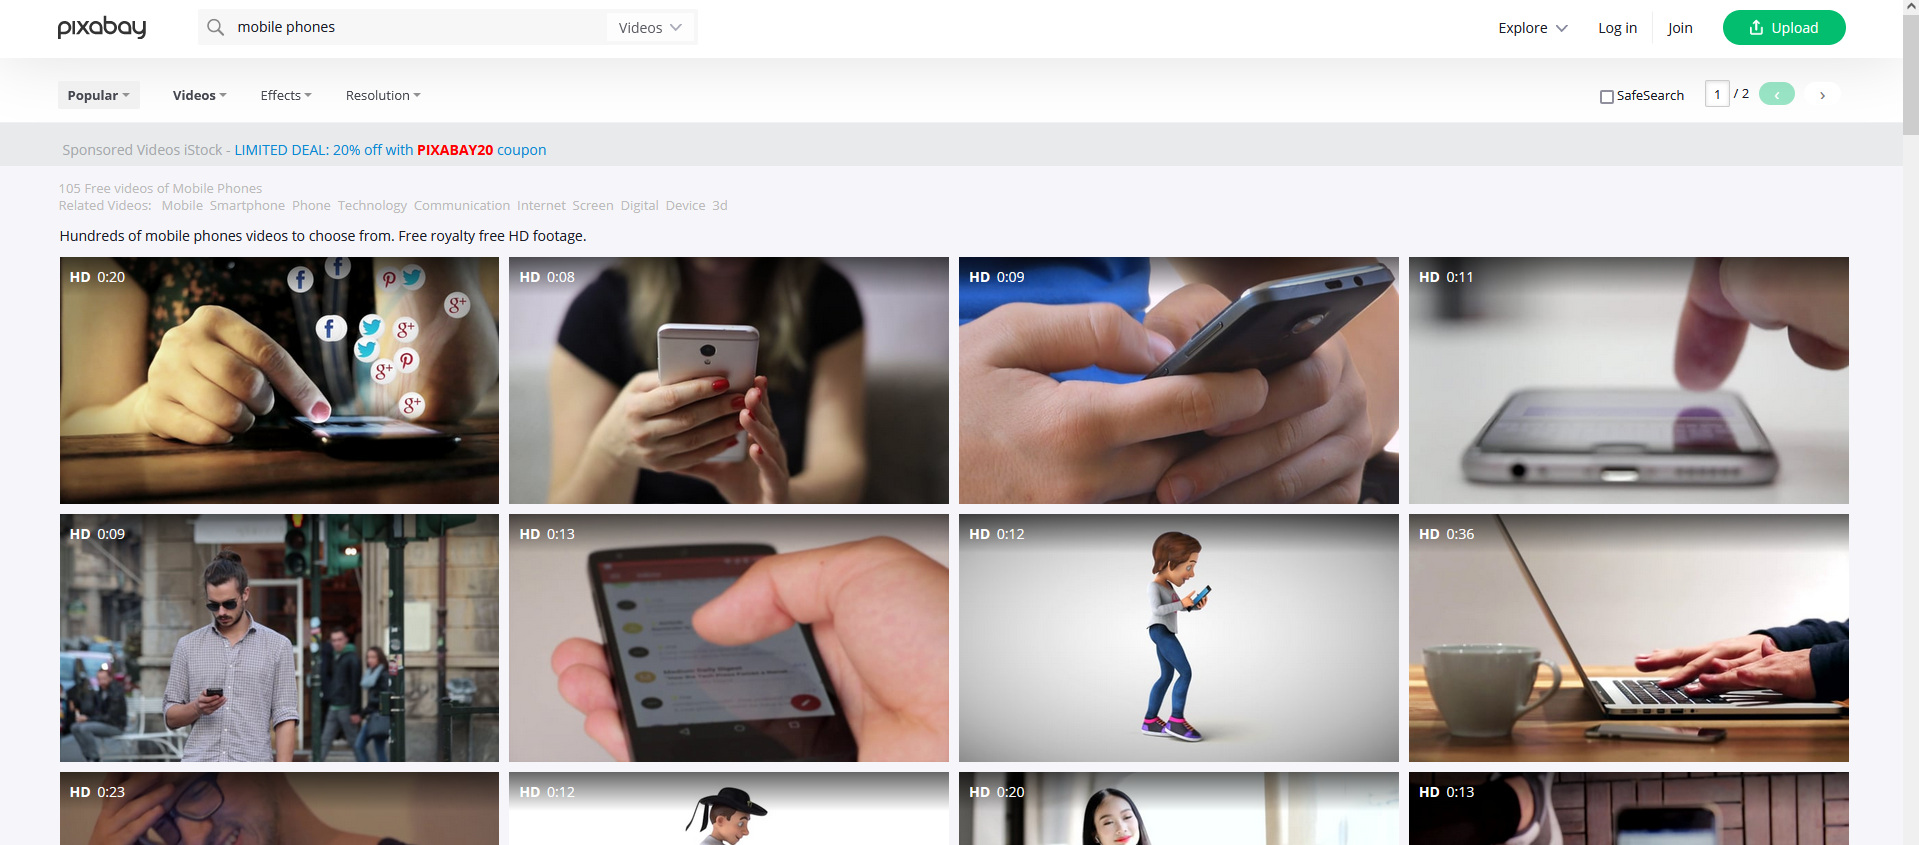
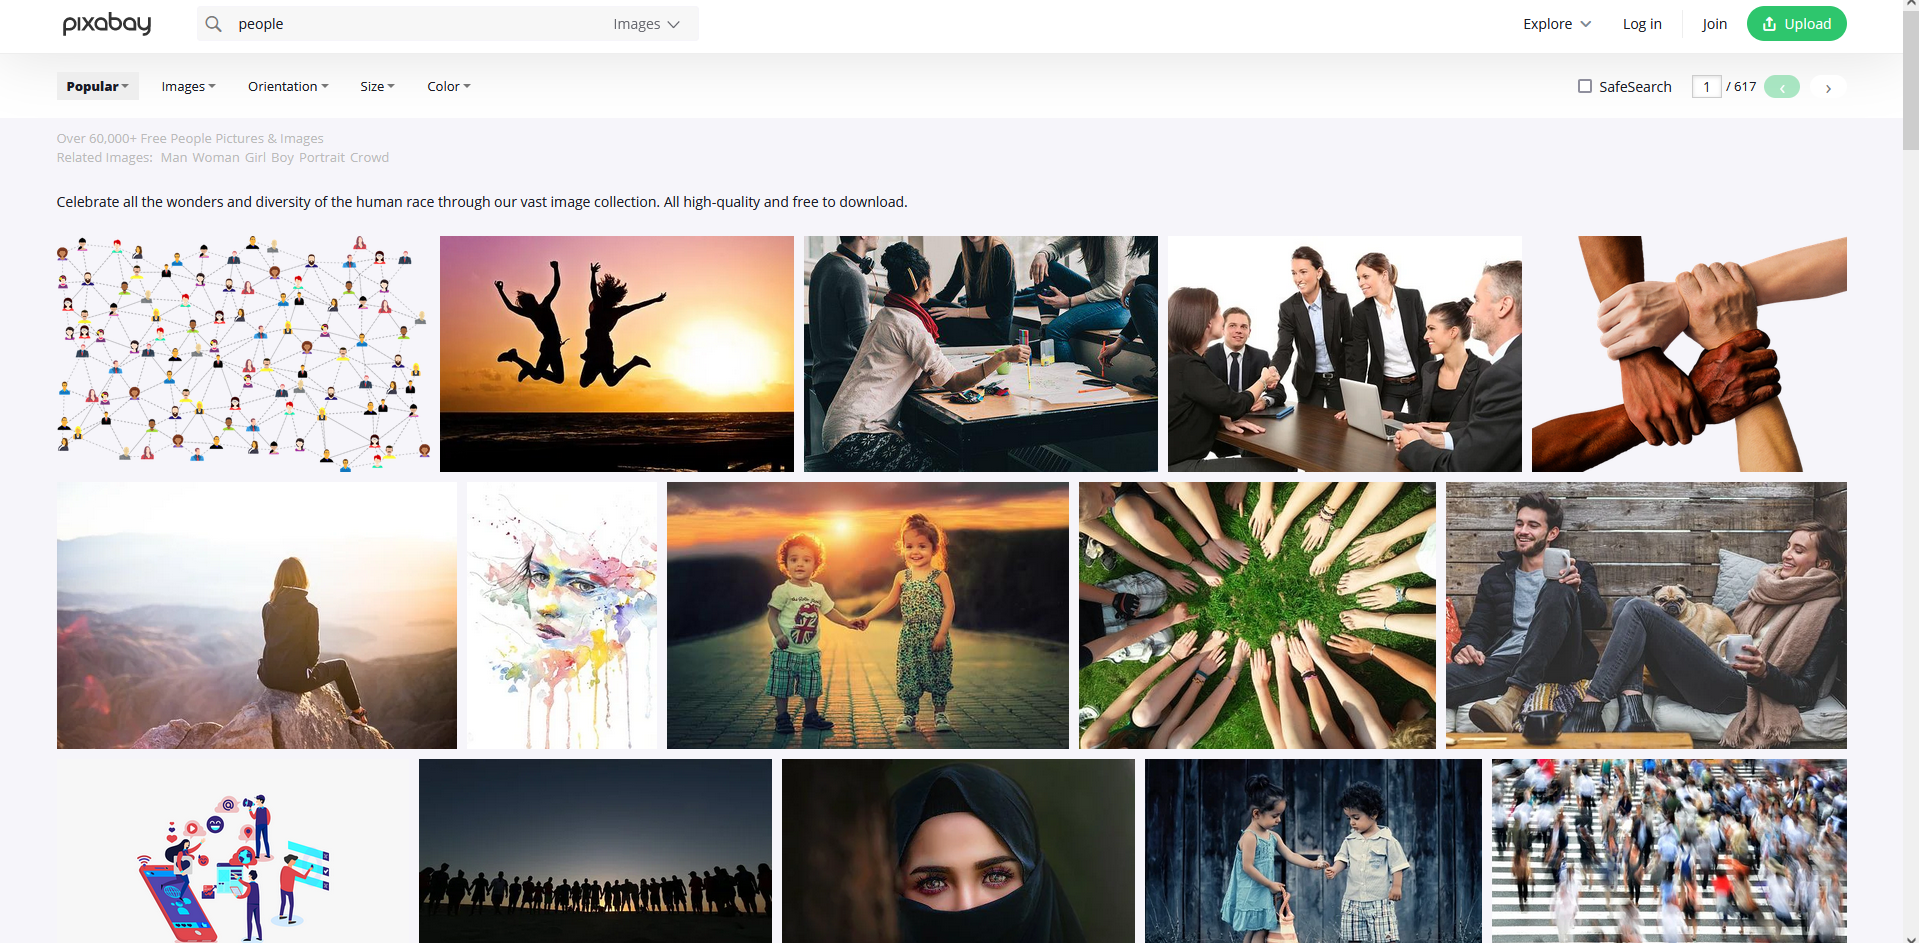
To find clips suitable for my documentary, I used a site named Pixabay. Pixabay has a range of quality images and videos. I use it whenever I gather images as I am assured that the quality will be to a consistent high standard. I normally just use Pixabay to collect images for my website or mood boards, but it comes in handy for videos too. Pixabay’s content is copyright free which is obviously important when making any video. The goal I had going into this stage of the project, was to find clips that represented the words being said. If the narrator talks about people in a general sense, then I can have clips of busy streets filled with people. Or if they mention a specific social media platform, then I can show a video of someone using it. I want the clips to clearly represent the current topic in the video.
I collected a range of videos that match up with the key themes of the documentary. I used searches such as ‘busy’, ‘people’, ‘mobile phone’, ‘social media’, and ‘mental health’ to discover clips of the nature that I wanted.
Finding Images
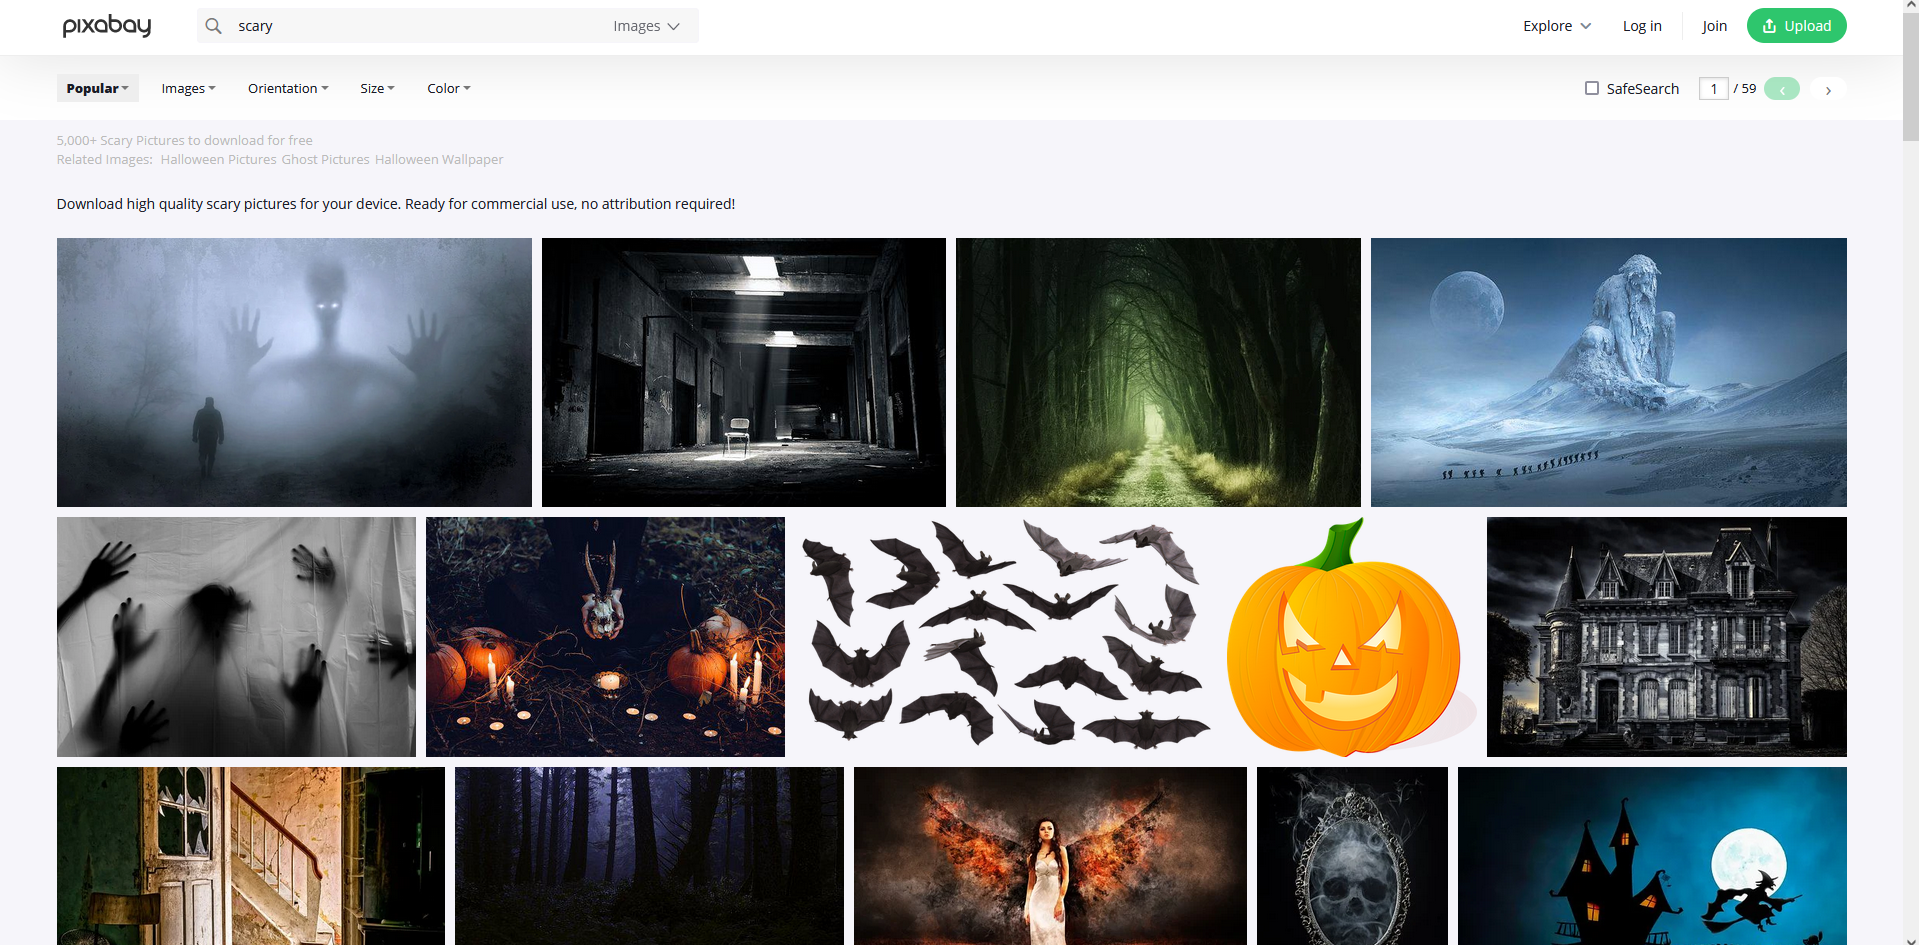
I used Pixabay to find images too. I wanted to relate the images in an incredibly literal way to the narration. So I opened the script and looked through the narration to see what words stood out. If a particular term stood out that I was also able to visualise, I grabbed an image representing it. For ‘scary effects’ I searched the word ‘scary’ to find an image to use. To organise these I made a folder named ‘Documentary Images’ and inside that, I will make separate folders to categorise the images. This will help me when I start editing.
Practice Production – Microphones
(27th April) I tested out some sound using microphones from home. I wore a lapel mic while we were filming. When listening back at the quality, I found that the lapel mic wasn't very good quality. I thought it sounded like there was less bass in the sound than I would have liked. Next time we do this, I will complete the set up by myself.
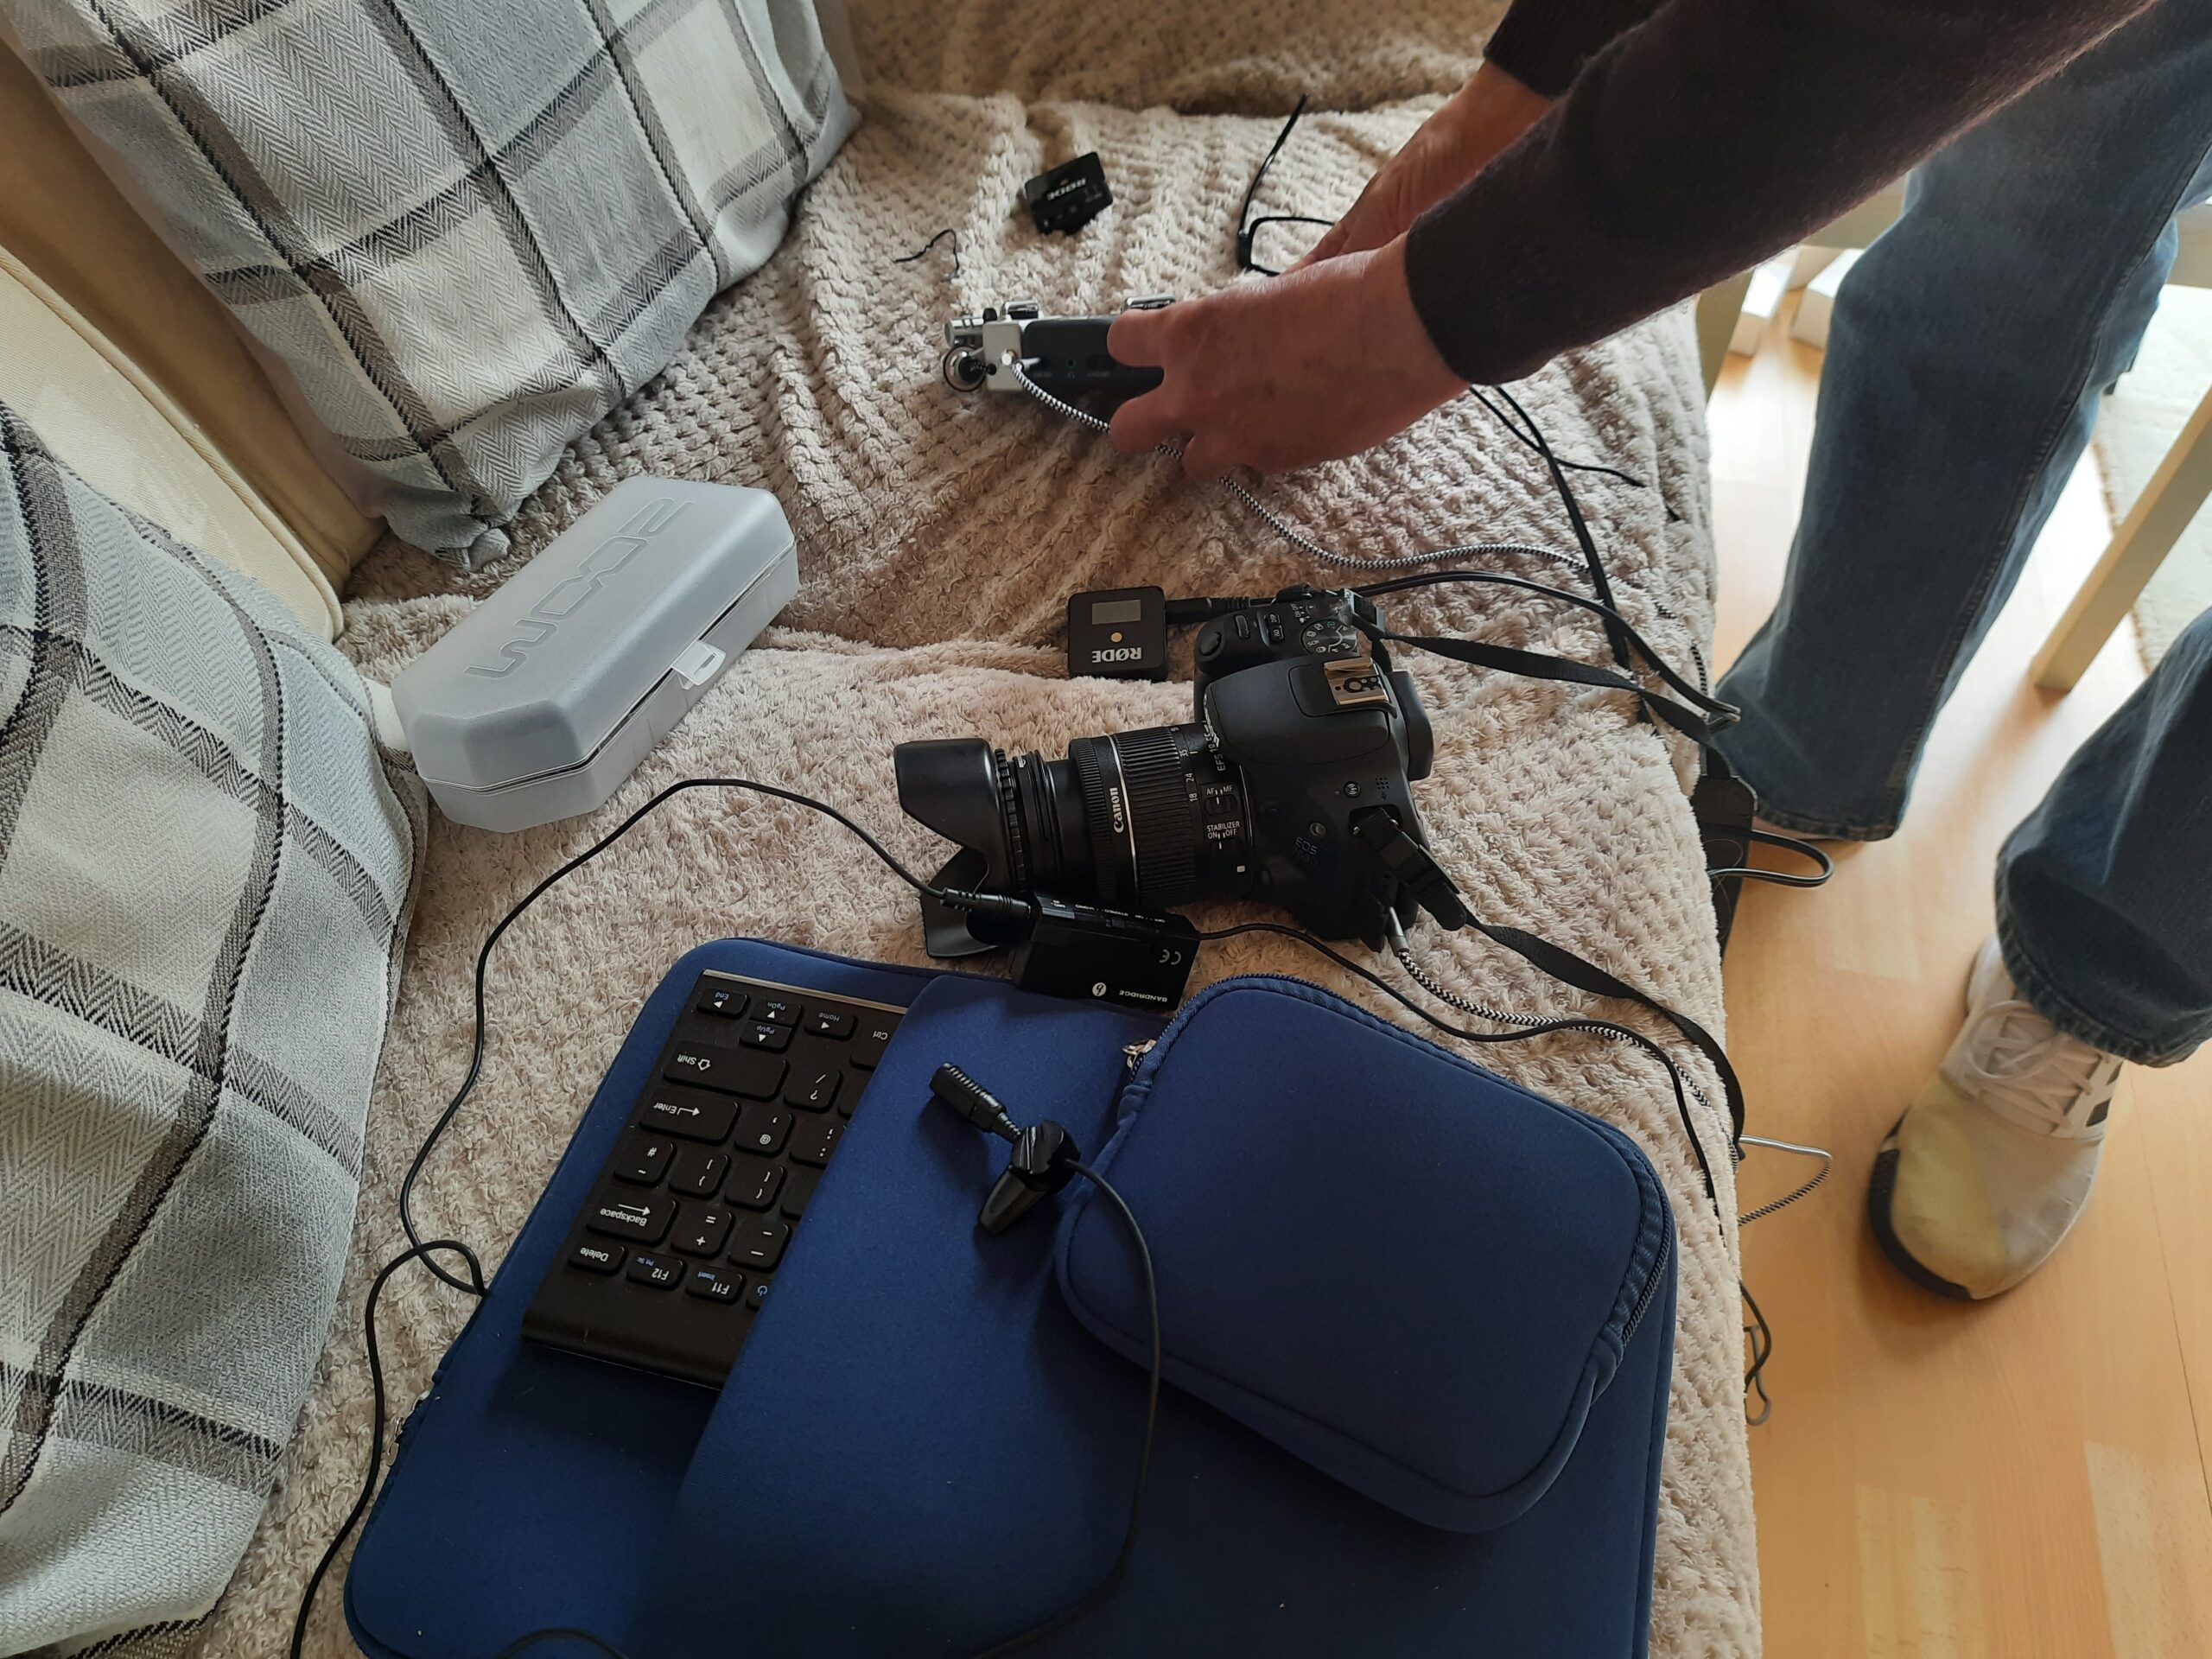
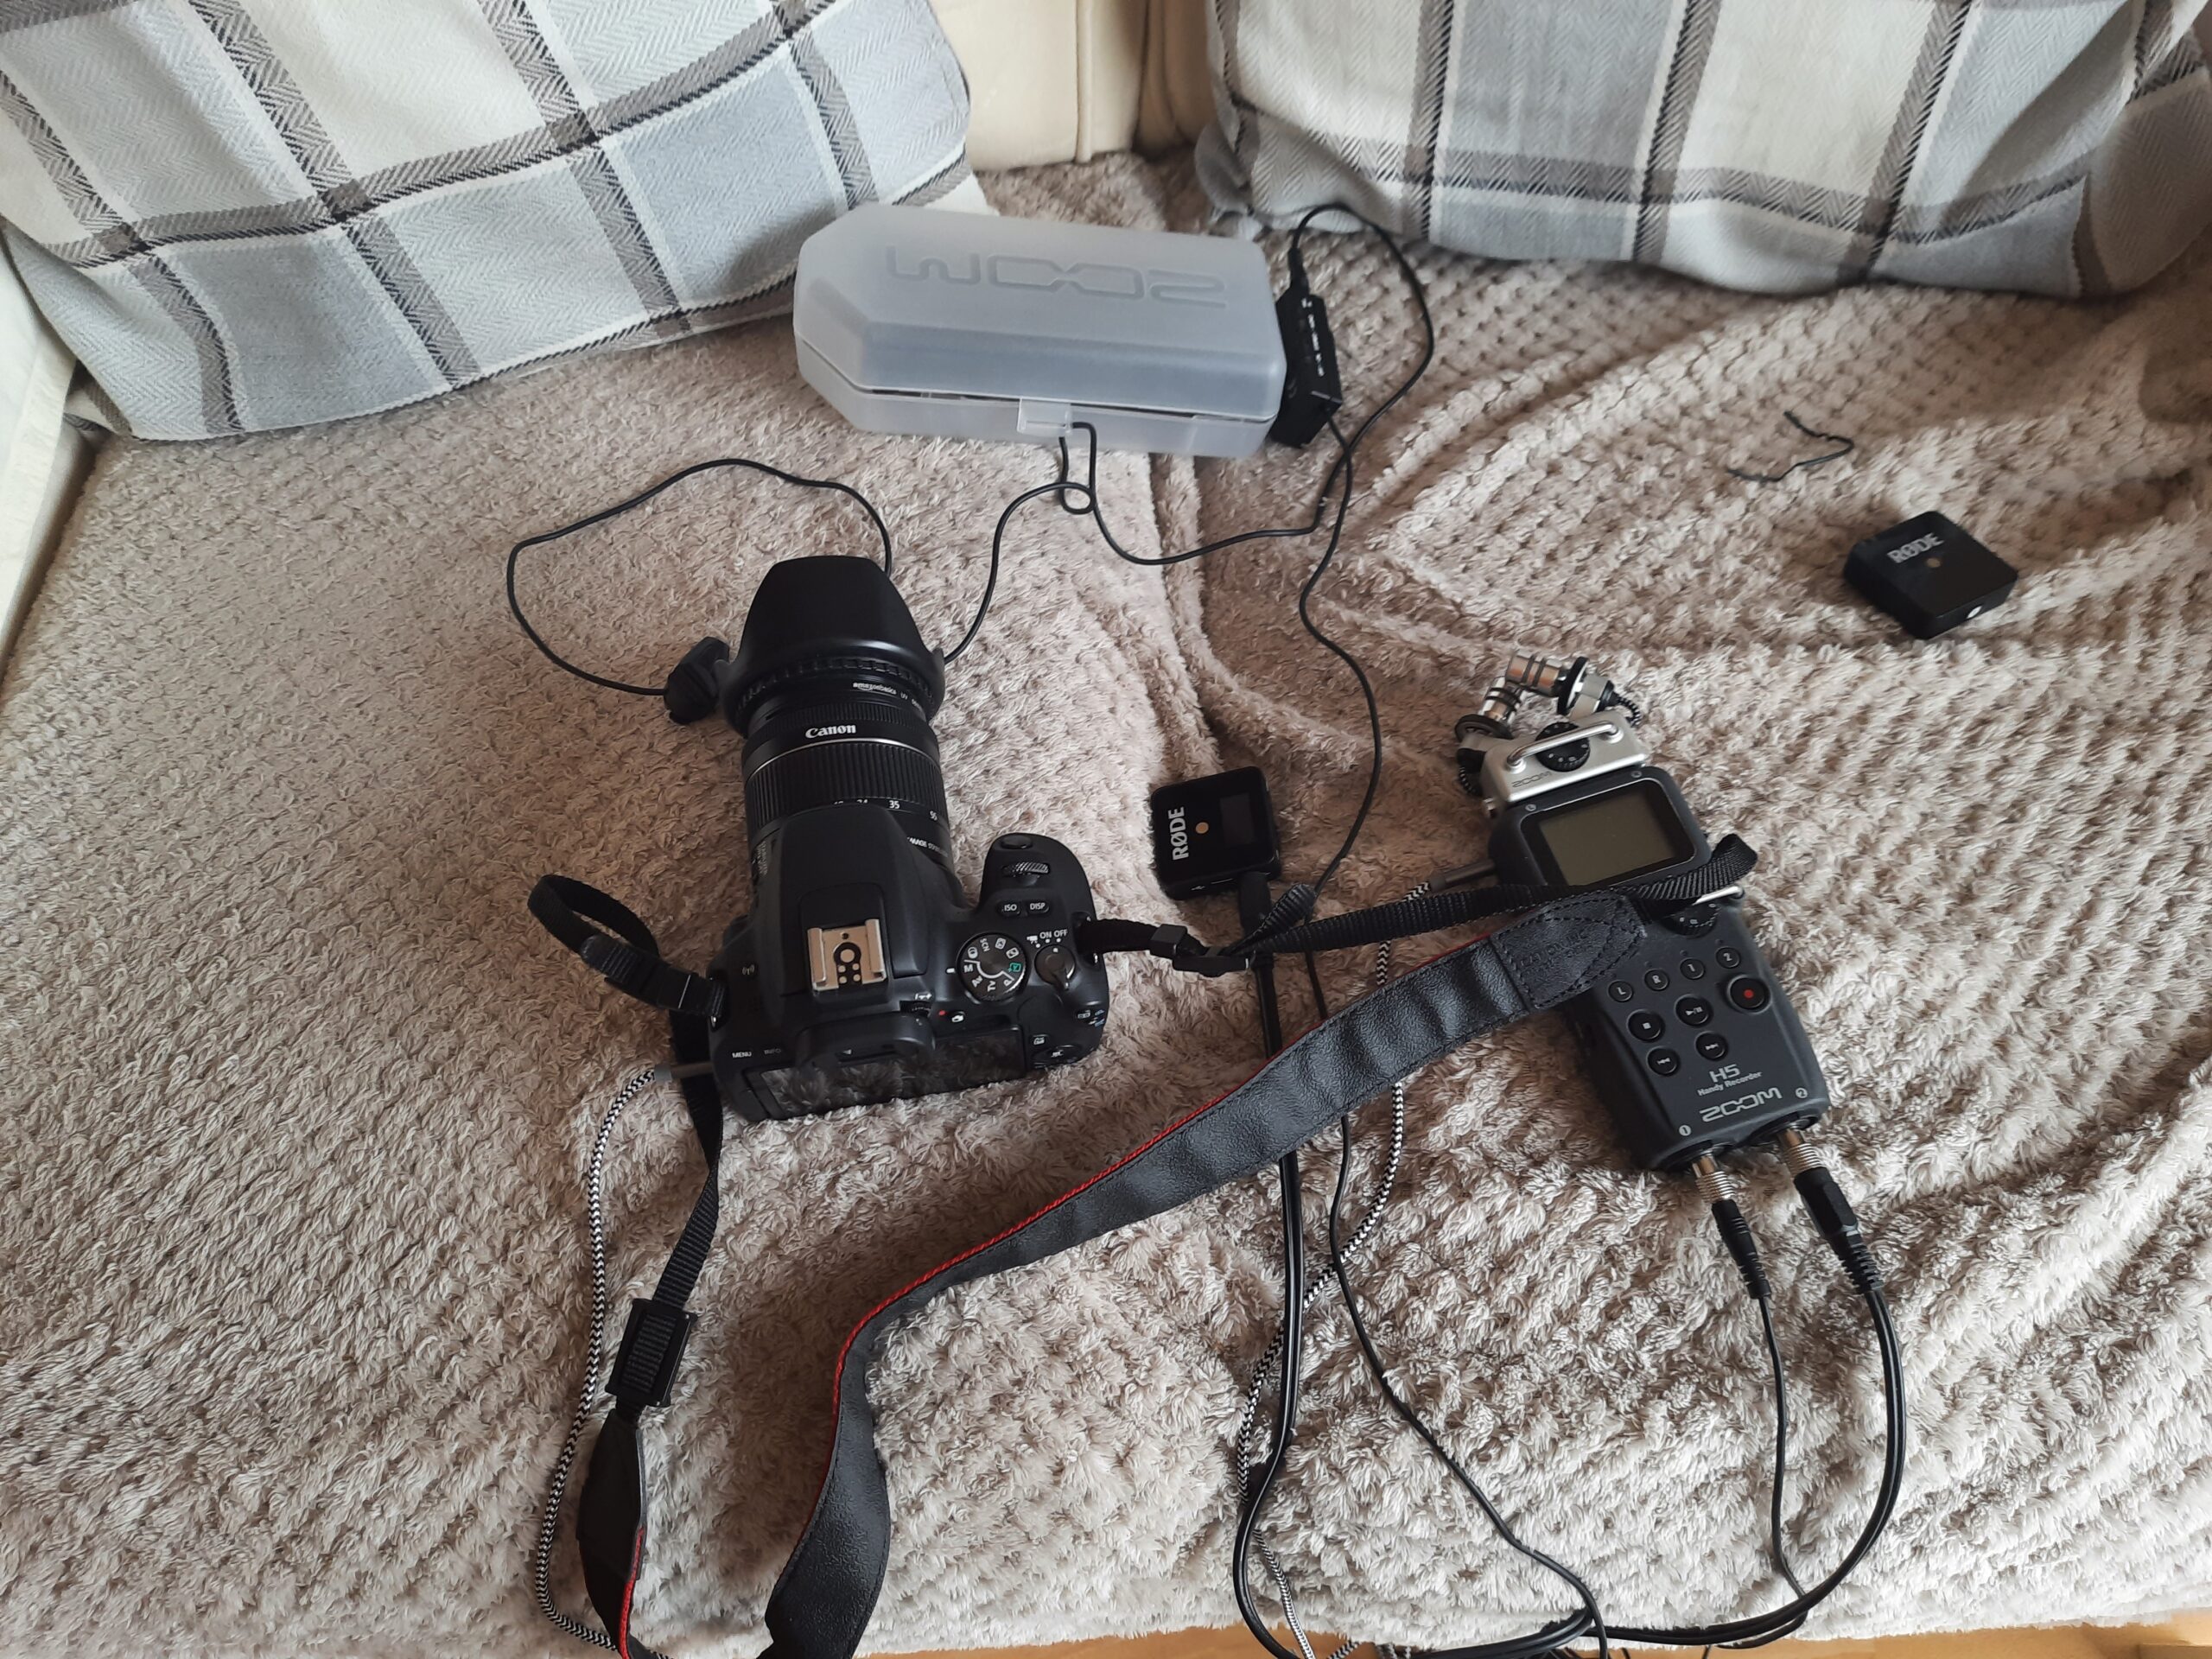
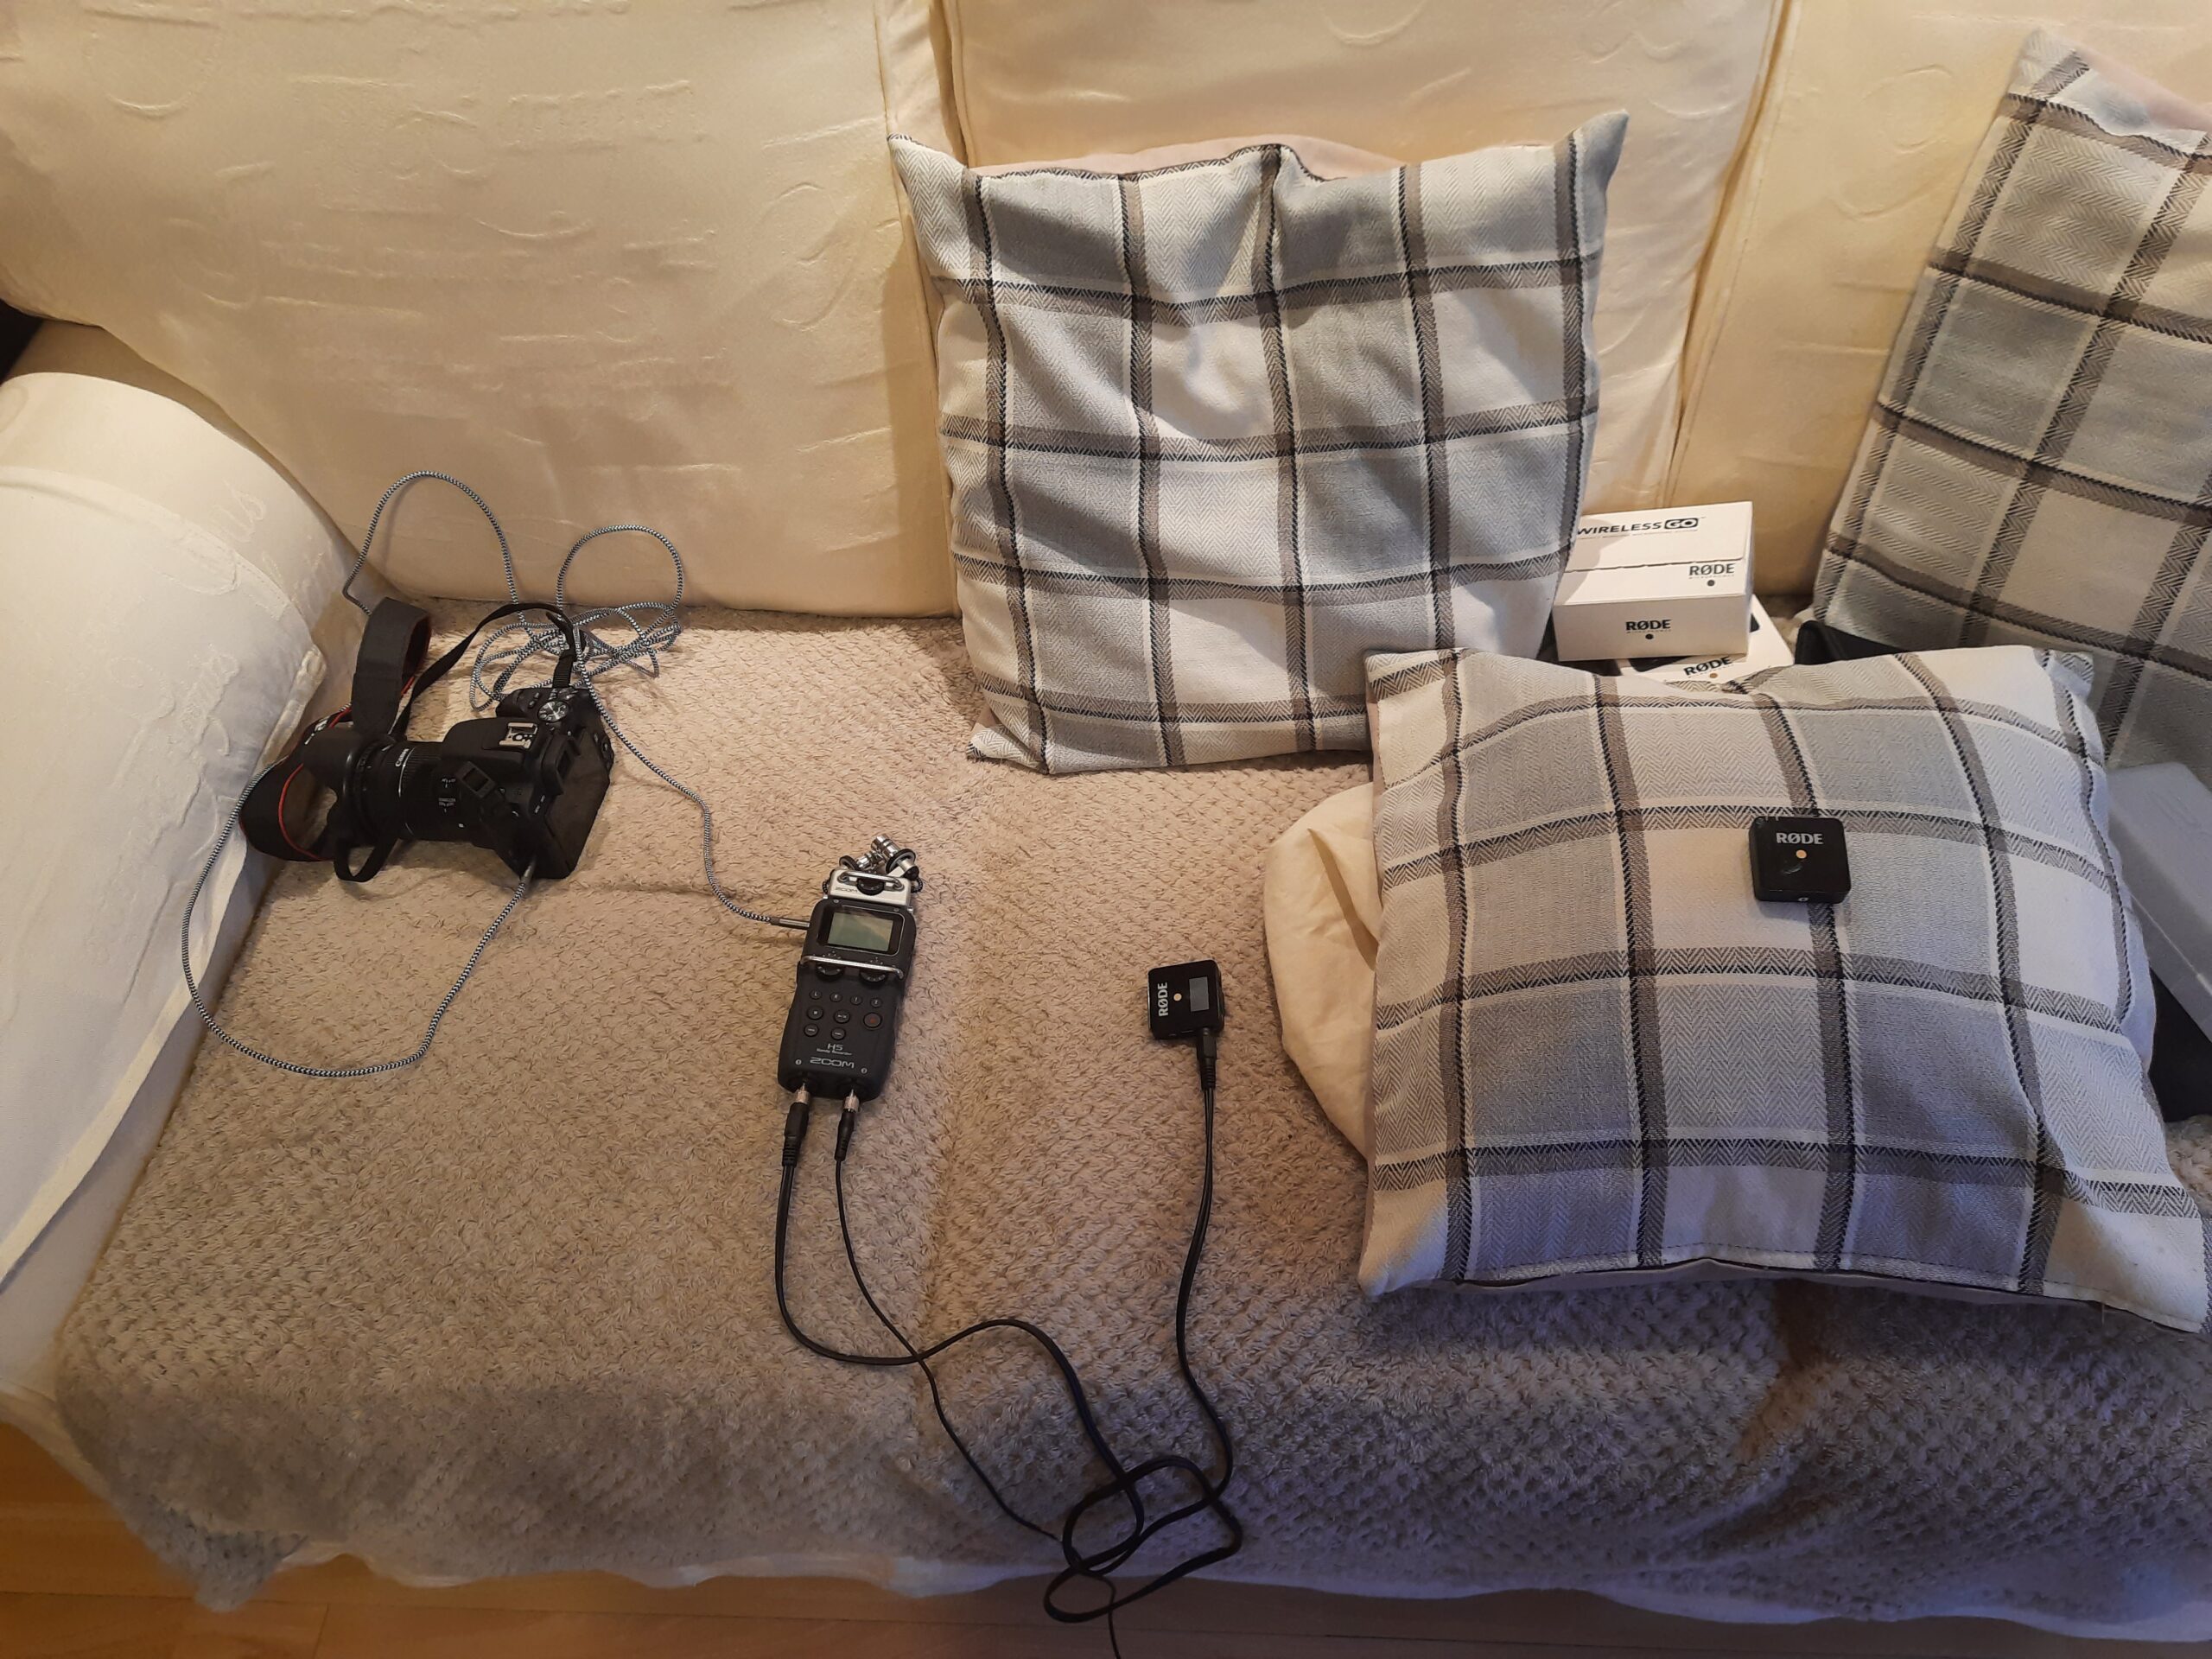
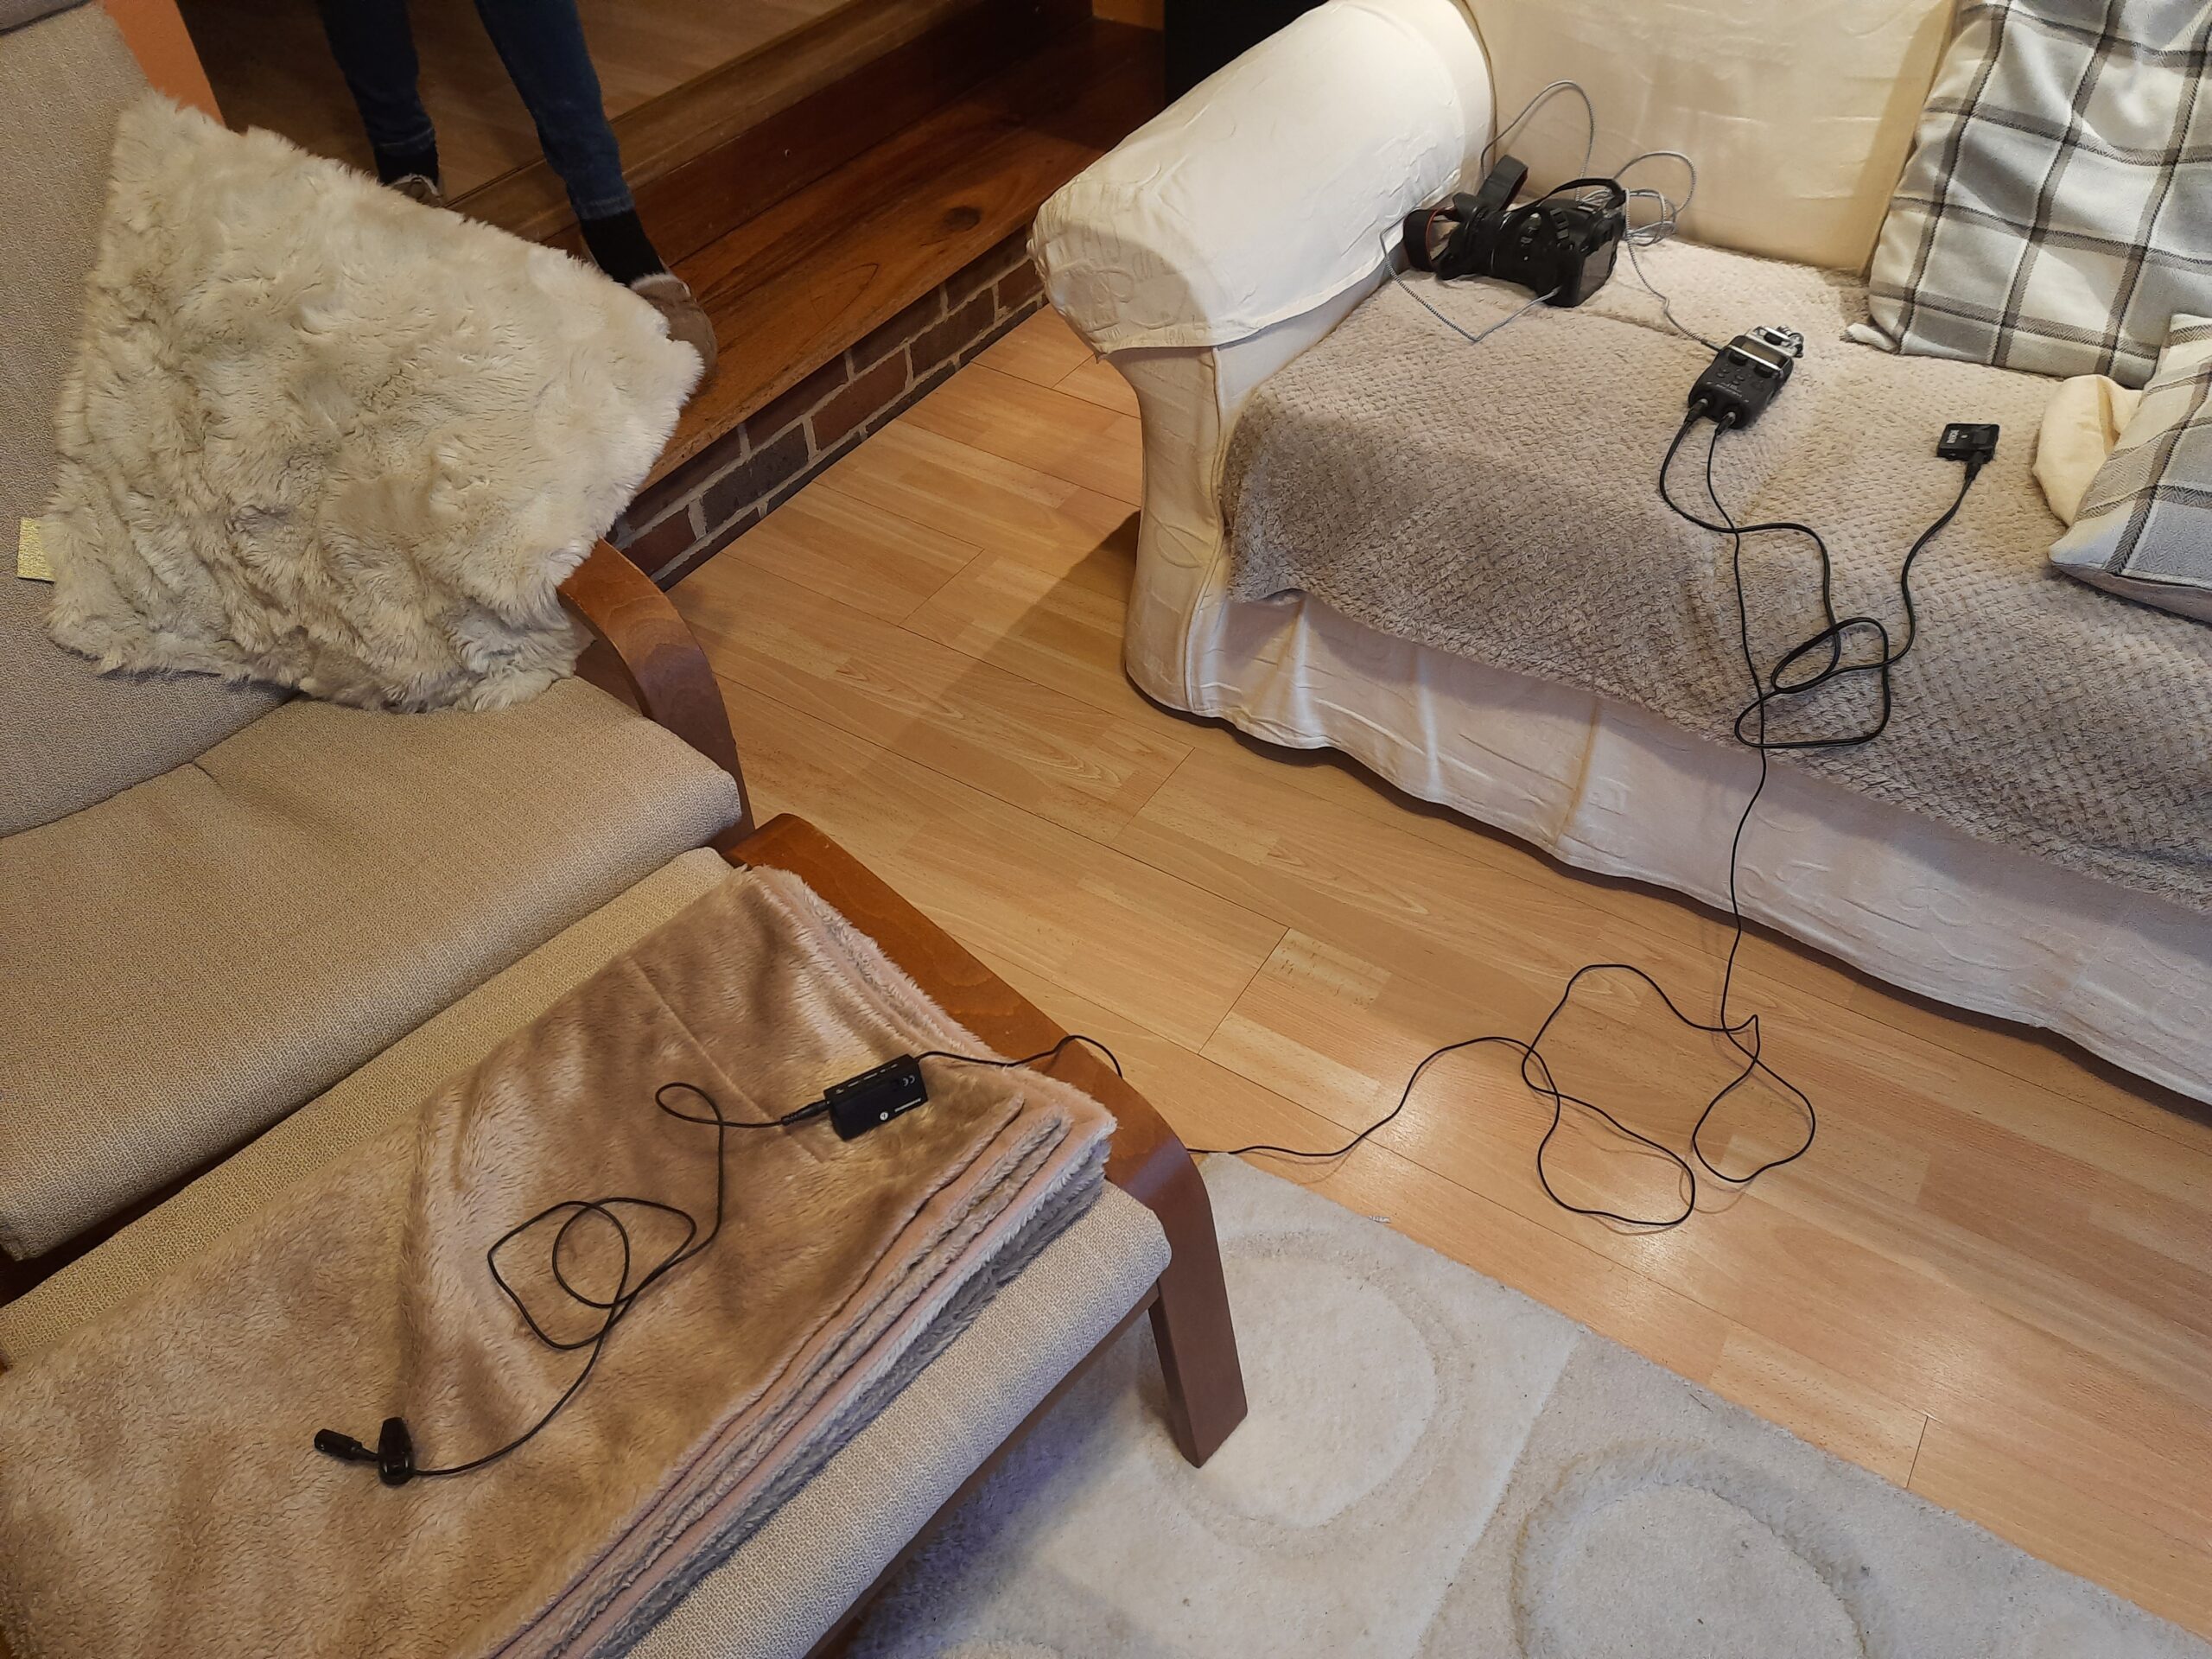
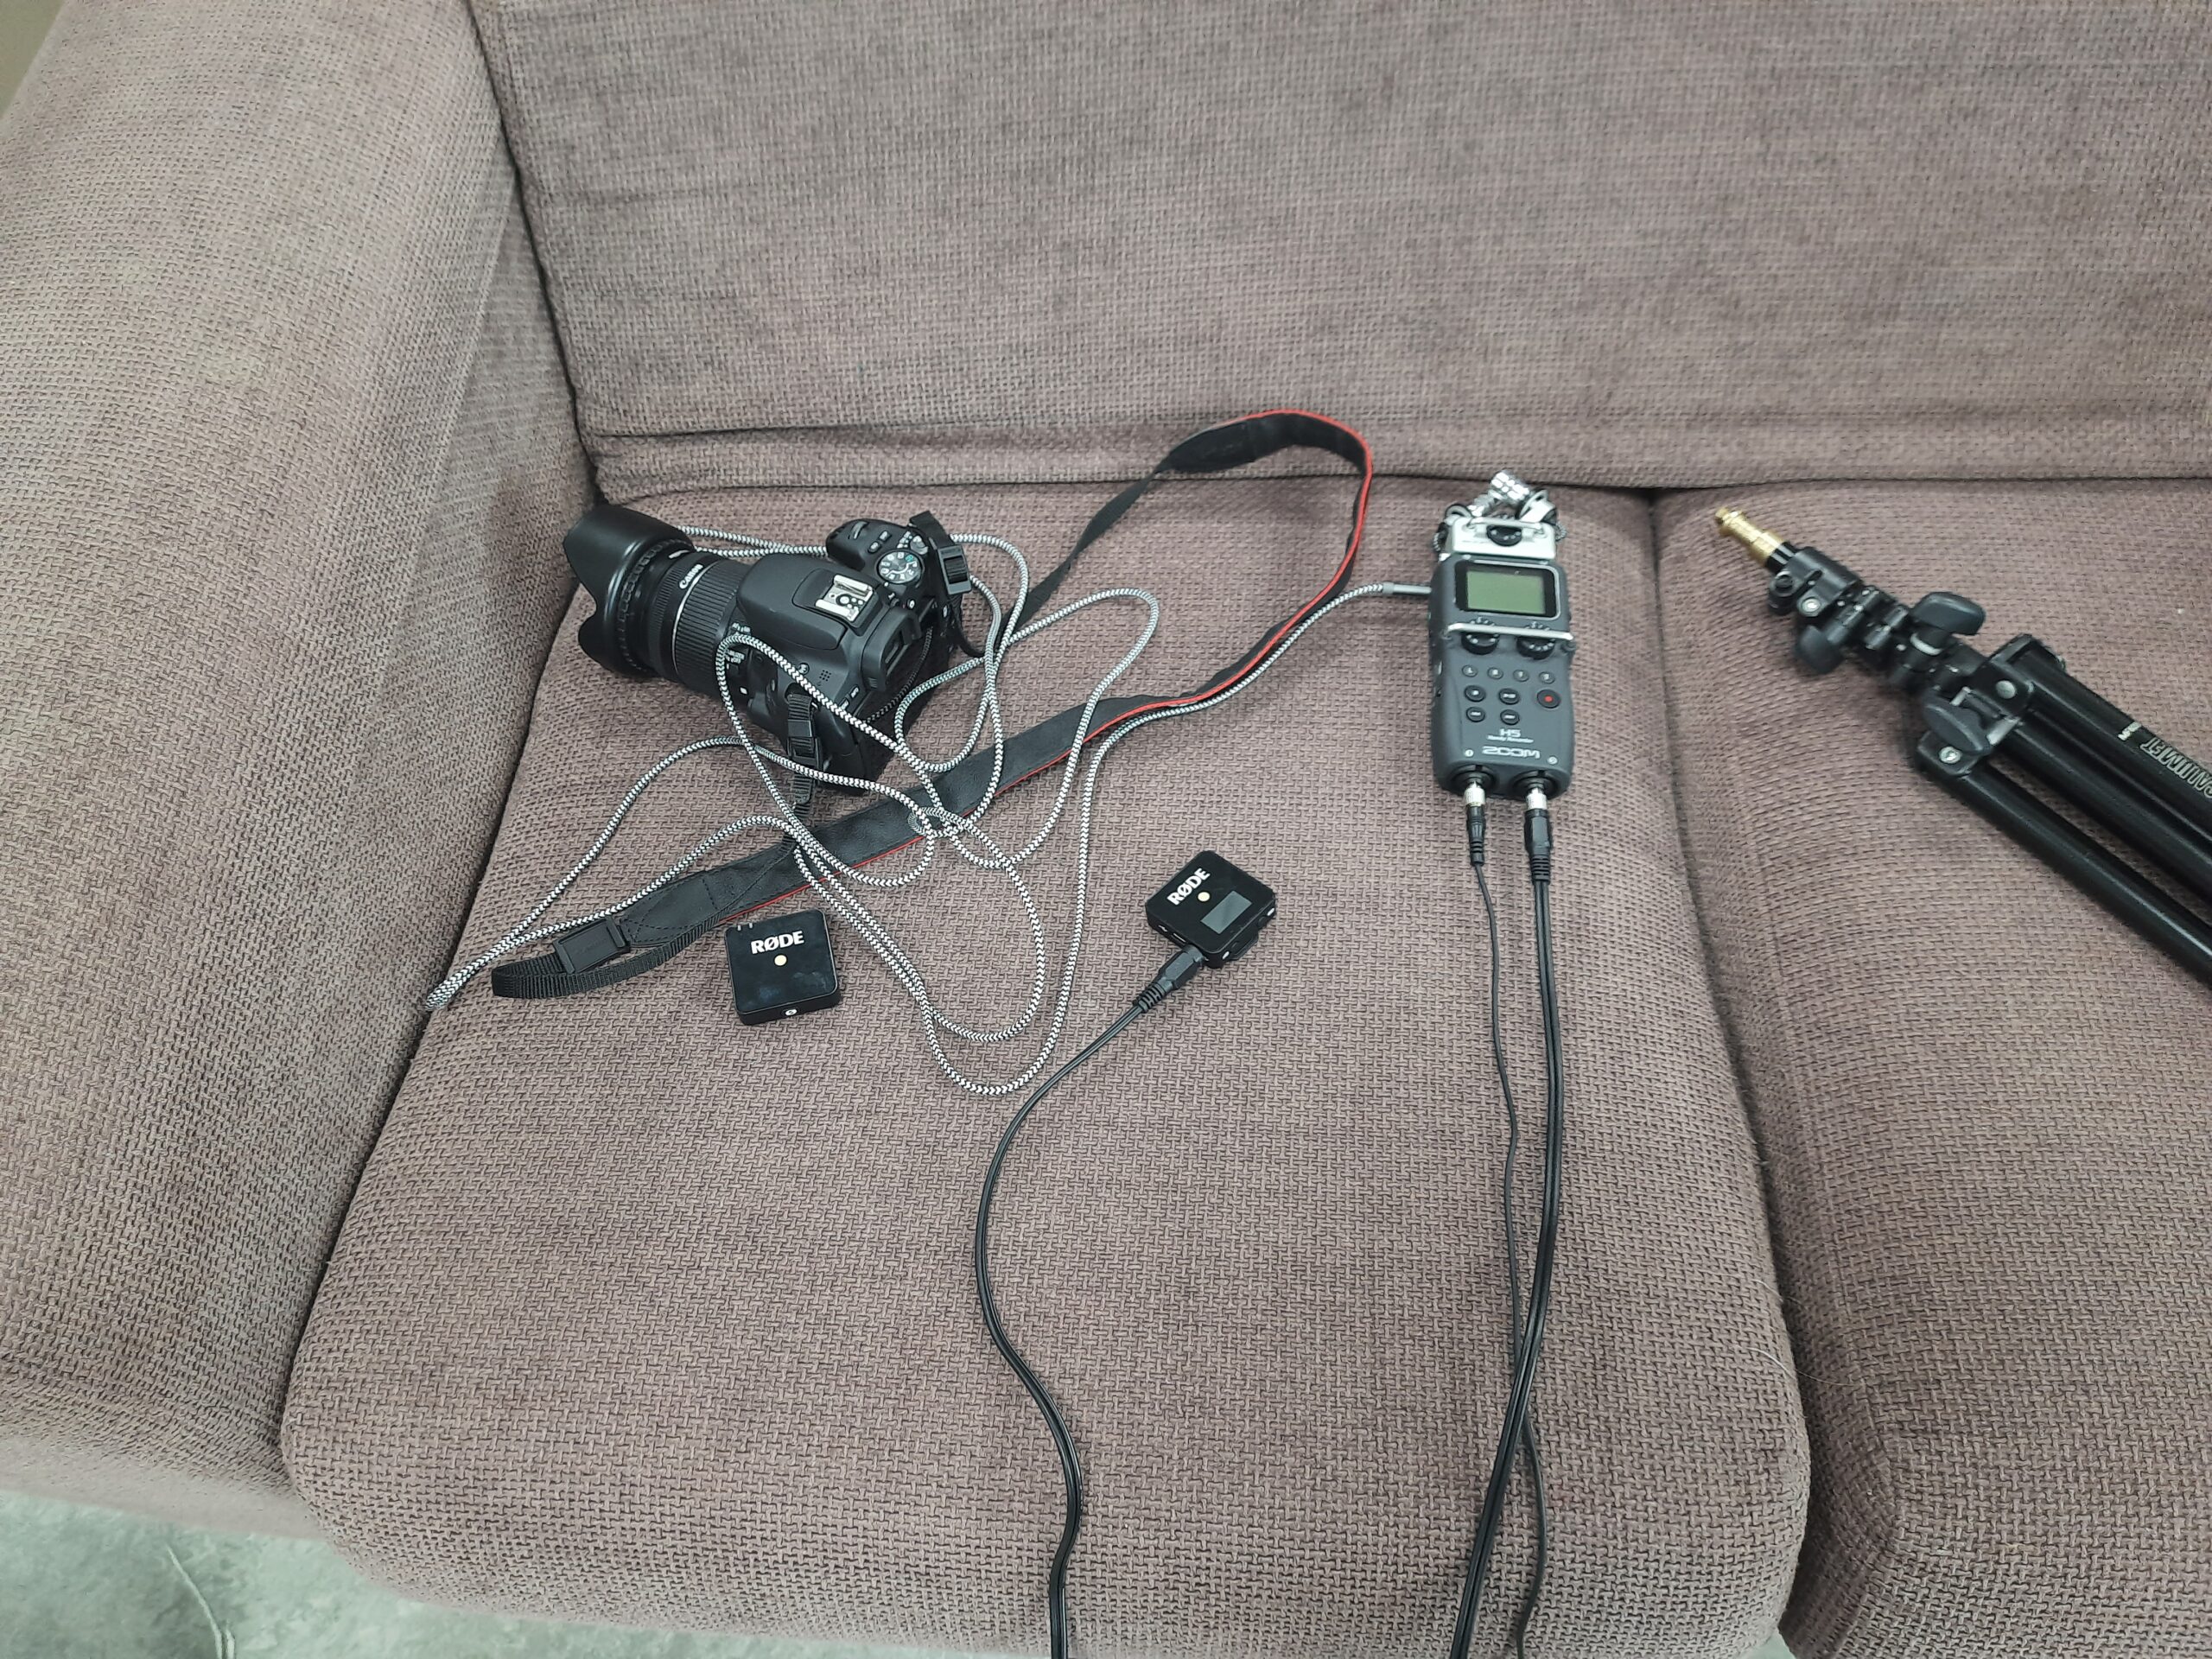
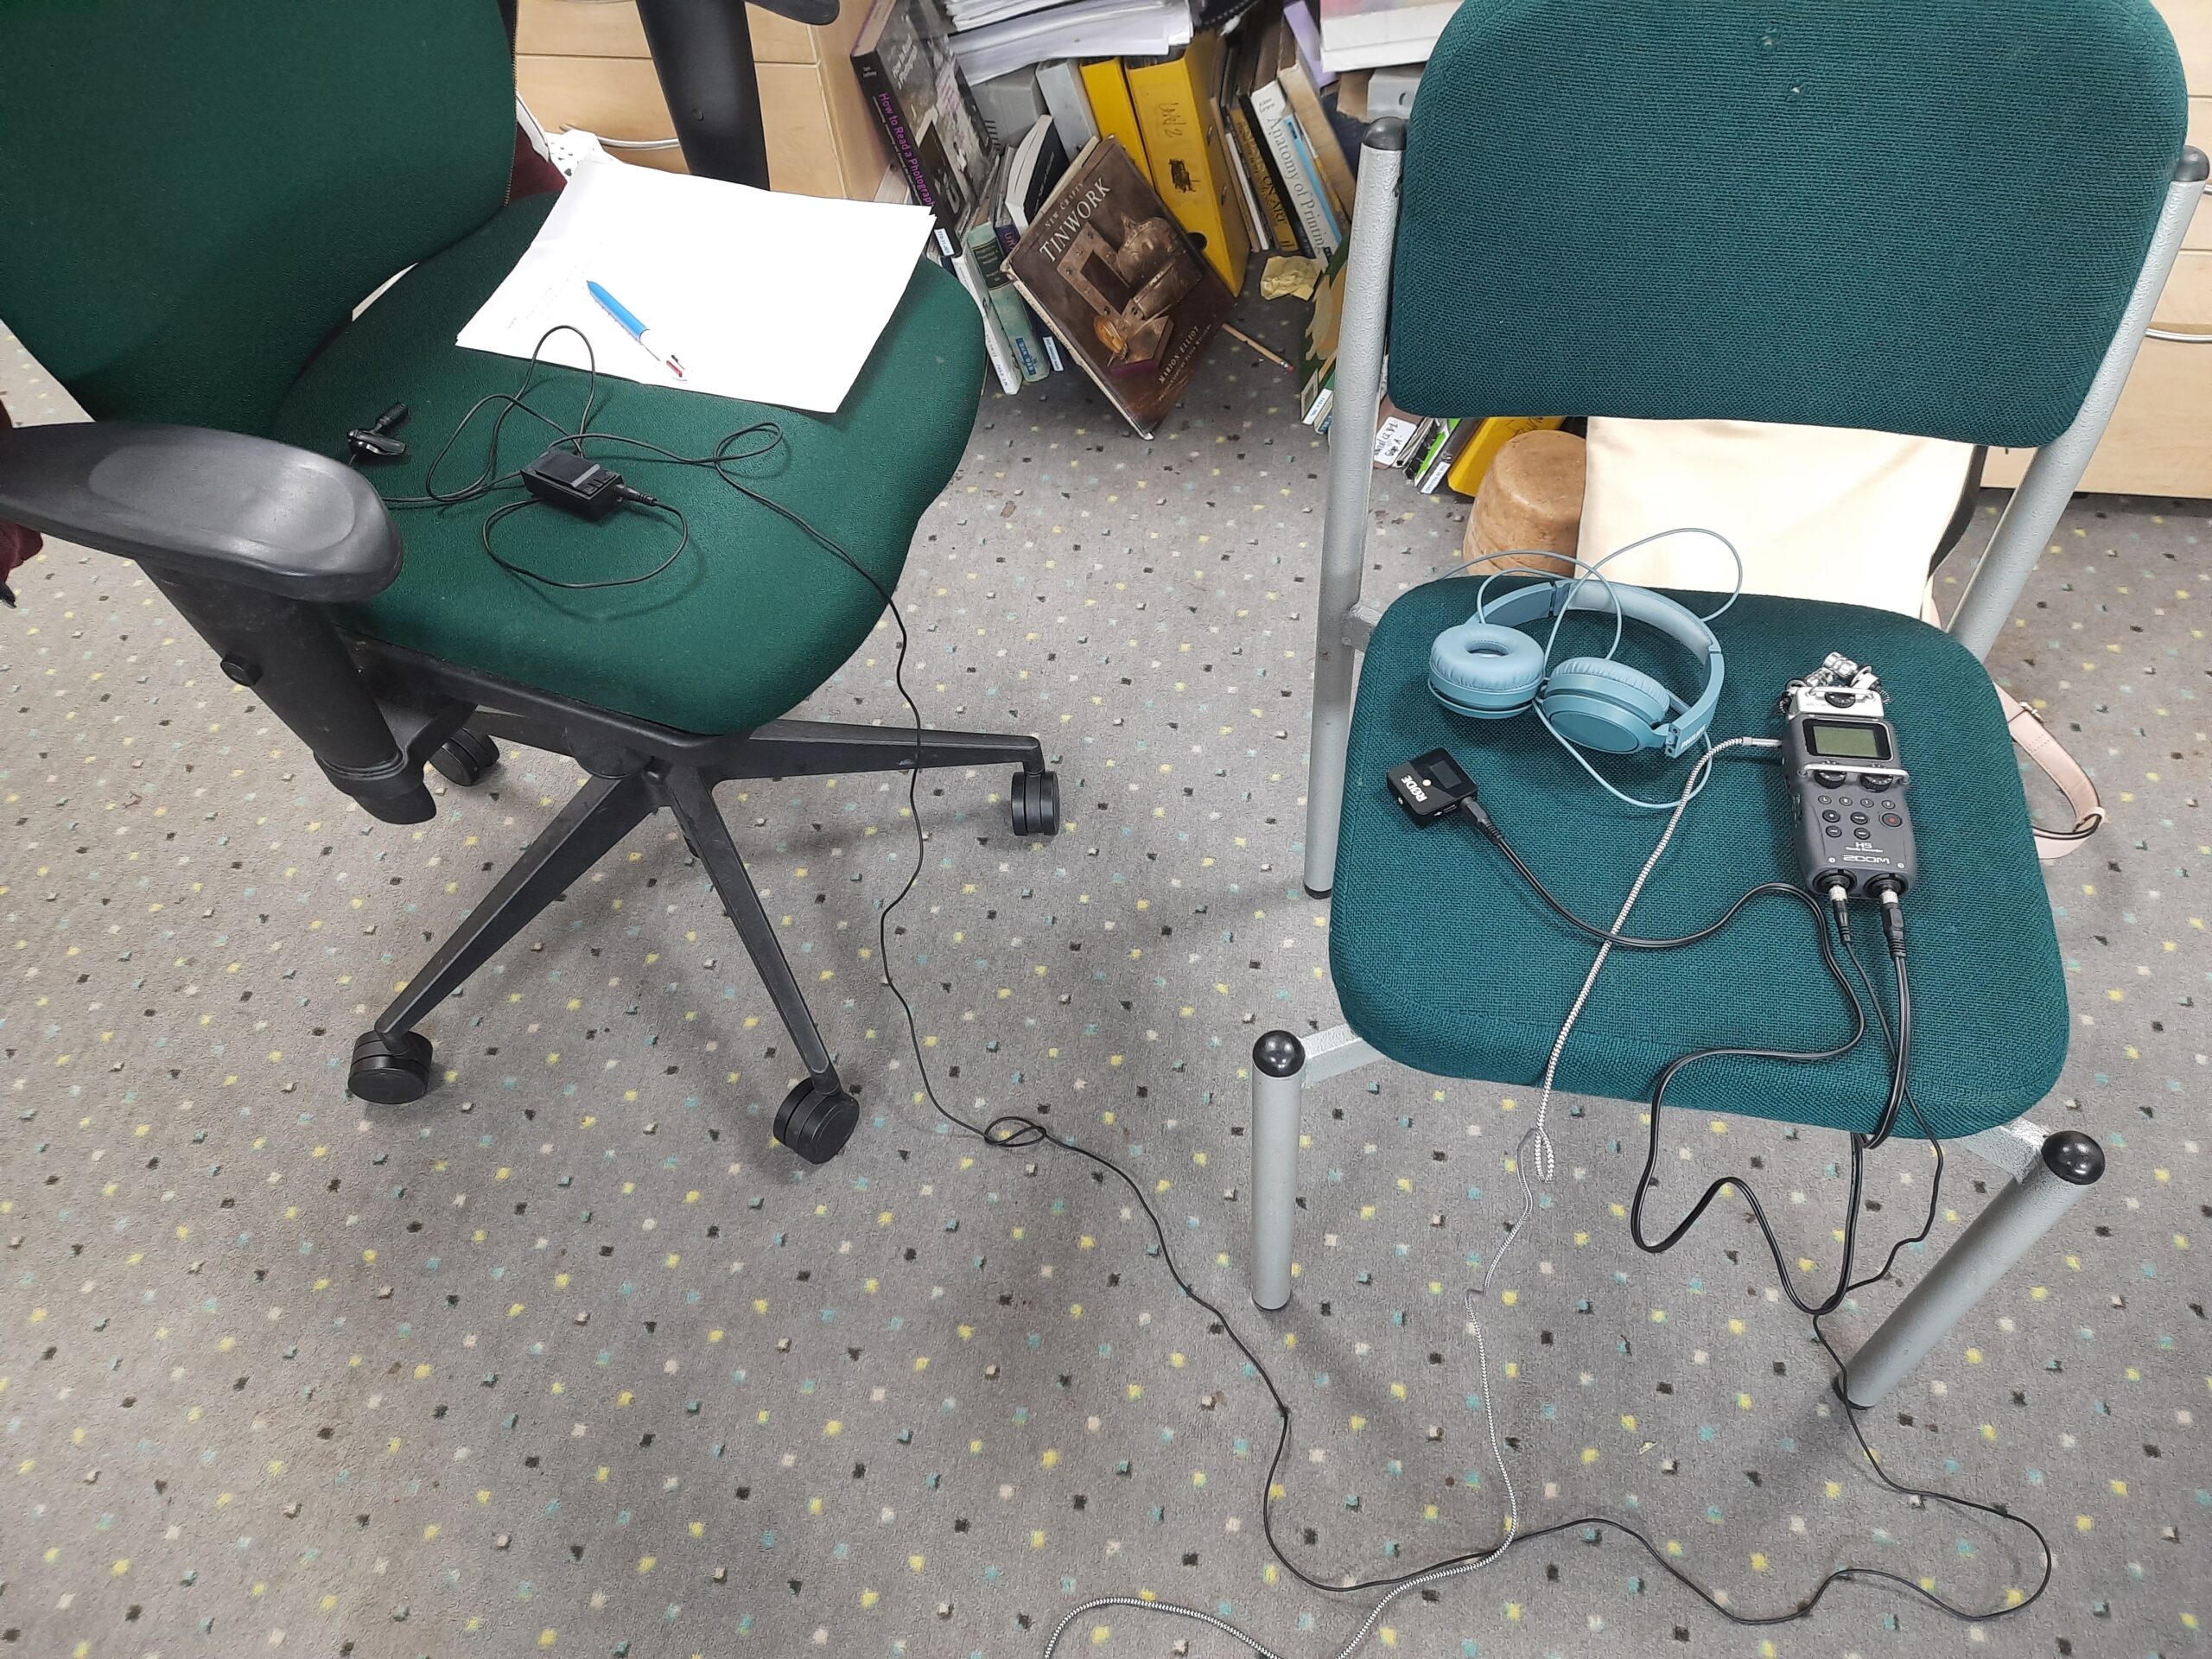
(30th April) At home, I practised setting up the mic equipment on my own. I began with the mic receiver as that is the heart of the set up. The mic receiver attaches the mics to the same point so we can collectively check the sound levels. It also connects the mics to the camera, which keeps the audio on track with the video. I switched on the equipment and tested it was working how it all should and also checked the sound levels. I laid out the equipment so that it made it easy to work with and I can clearly see how I did it, so I know what I’m doing next time if I get stuck. The next time I do this, I would like to try and adjust the camera settings along with the audio and complete a test video.
Filming Day 1 Images
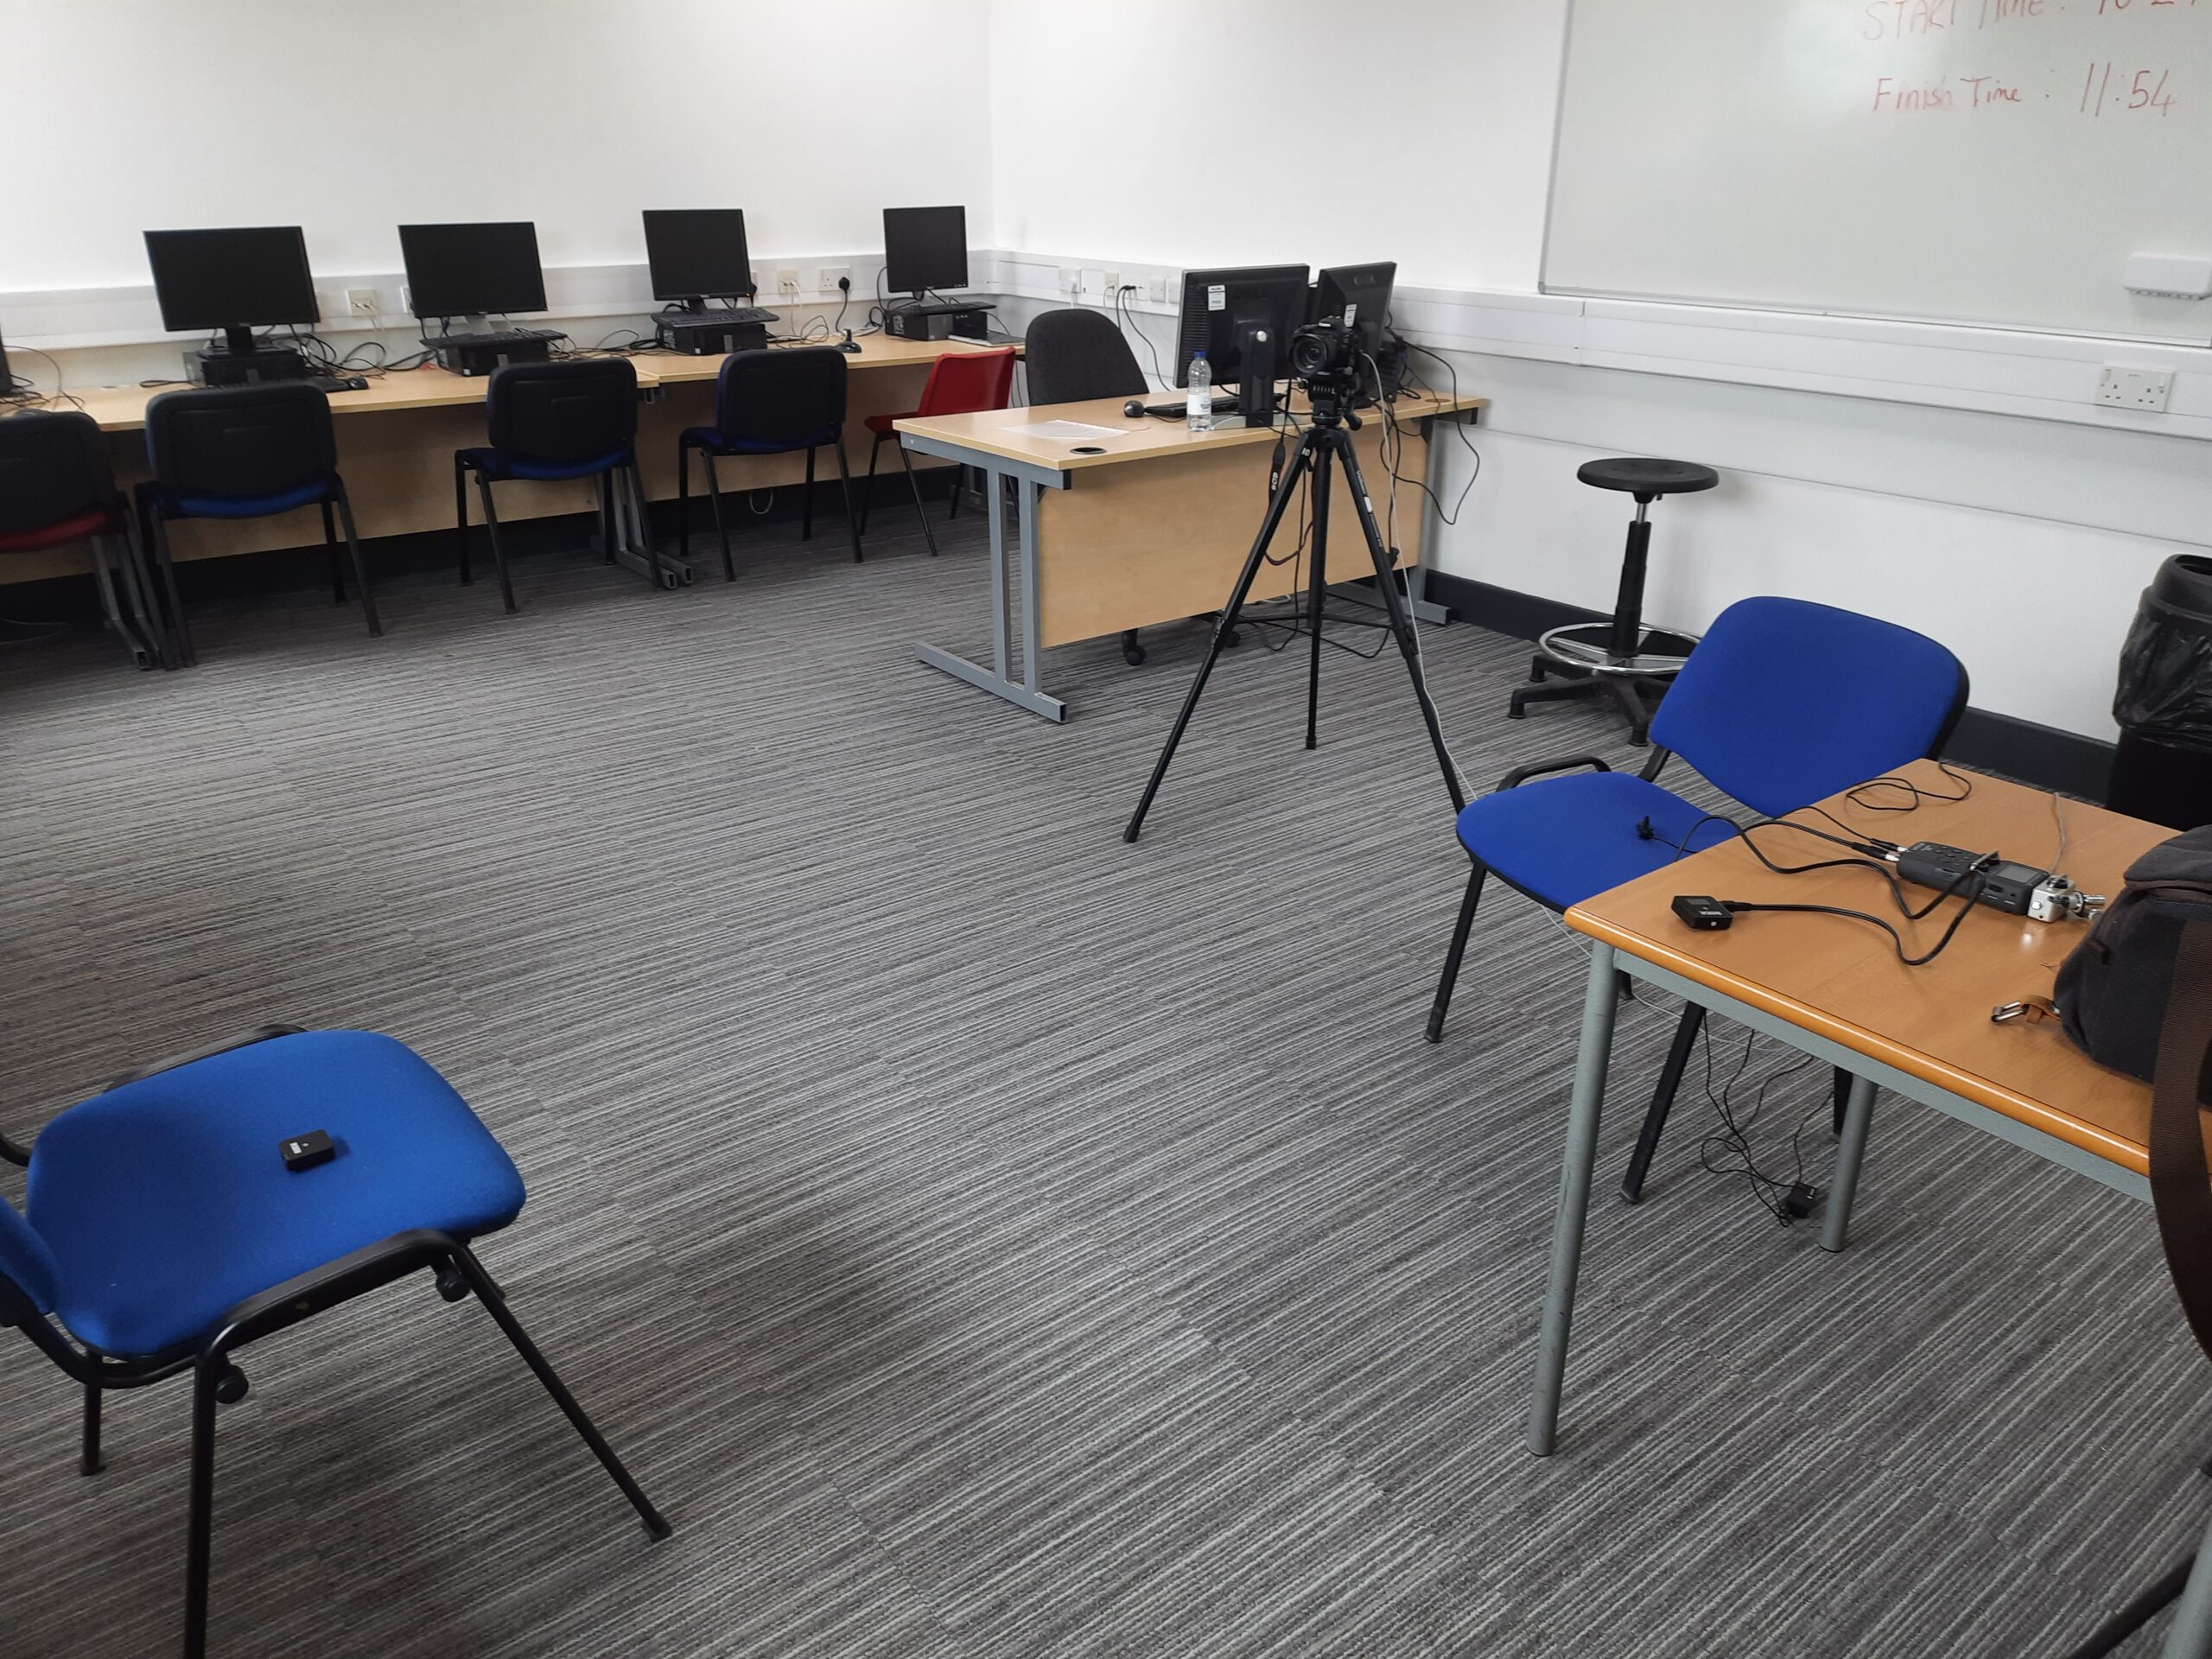
Set up mic equipment in classroom first to refresh memory
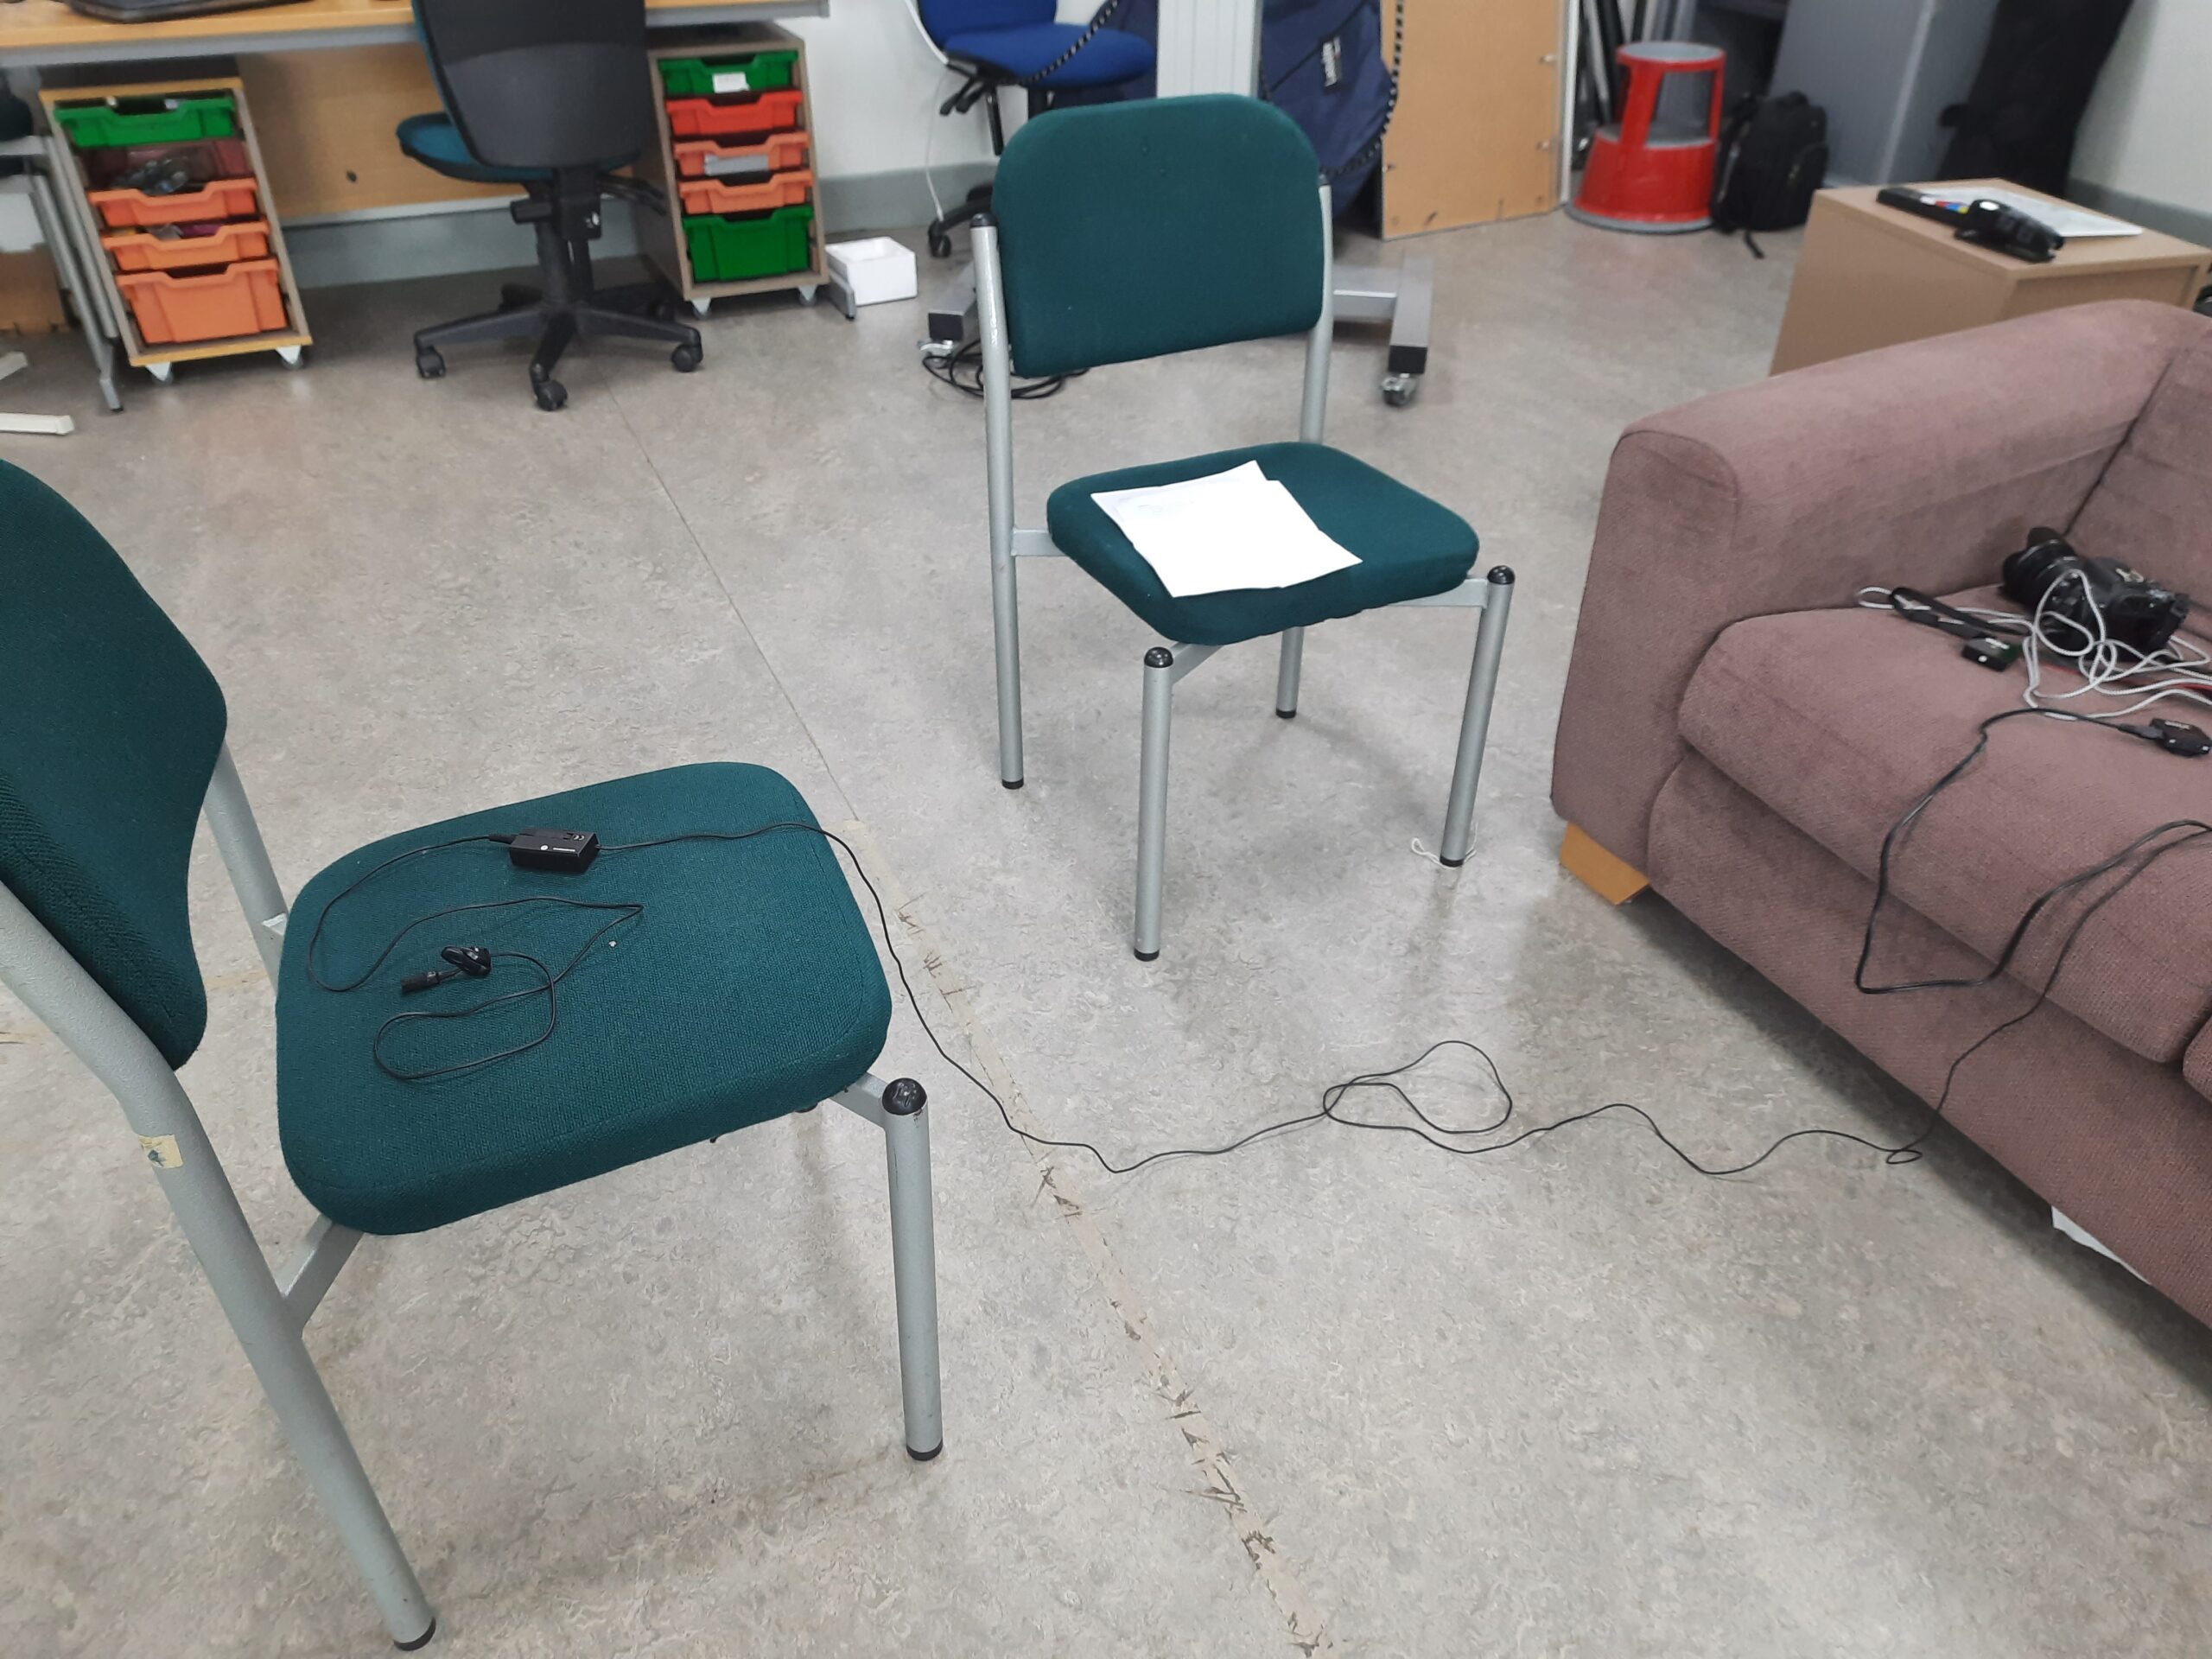
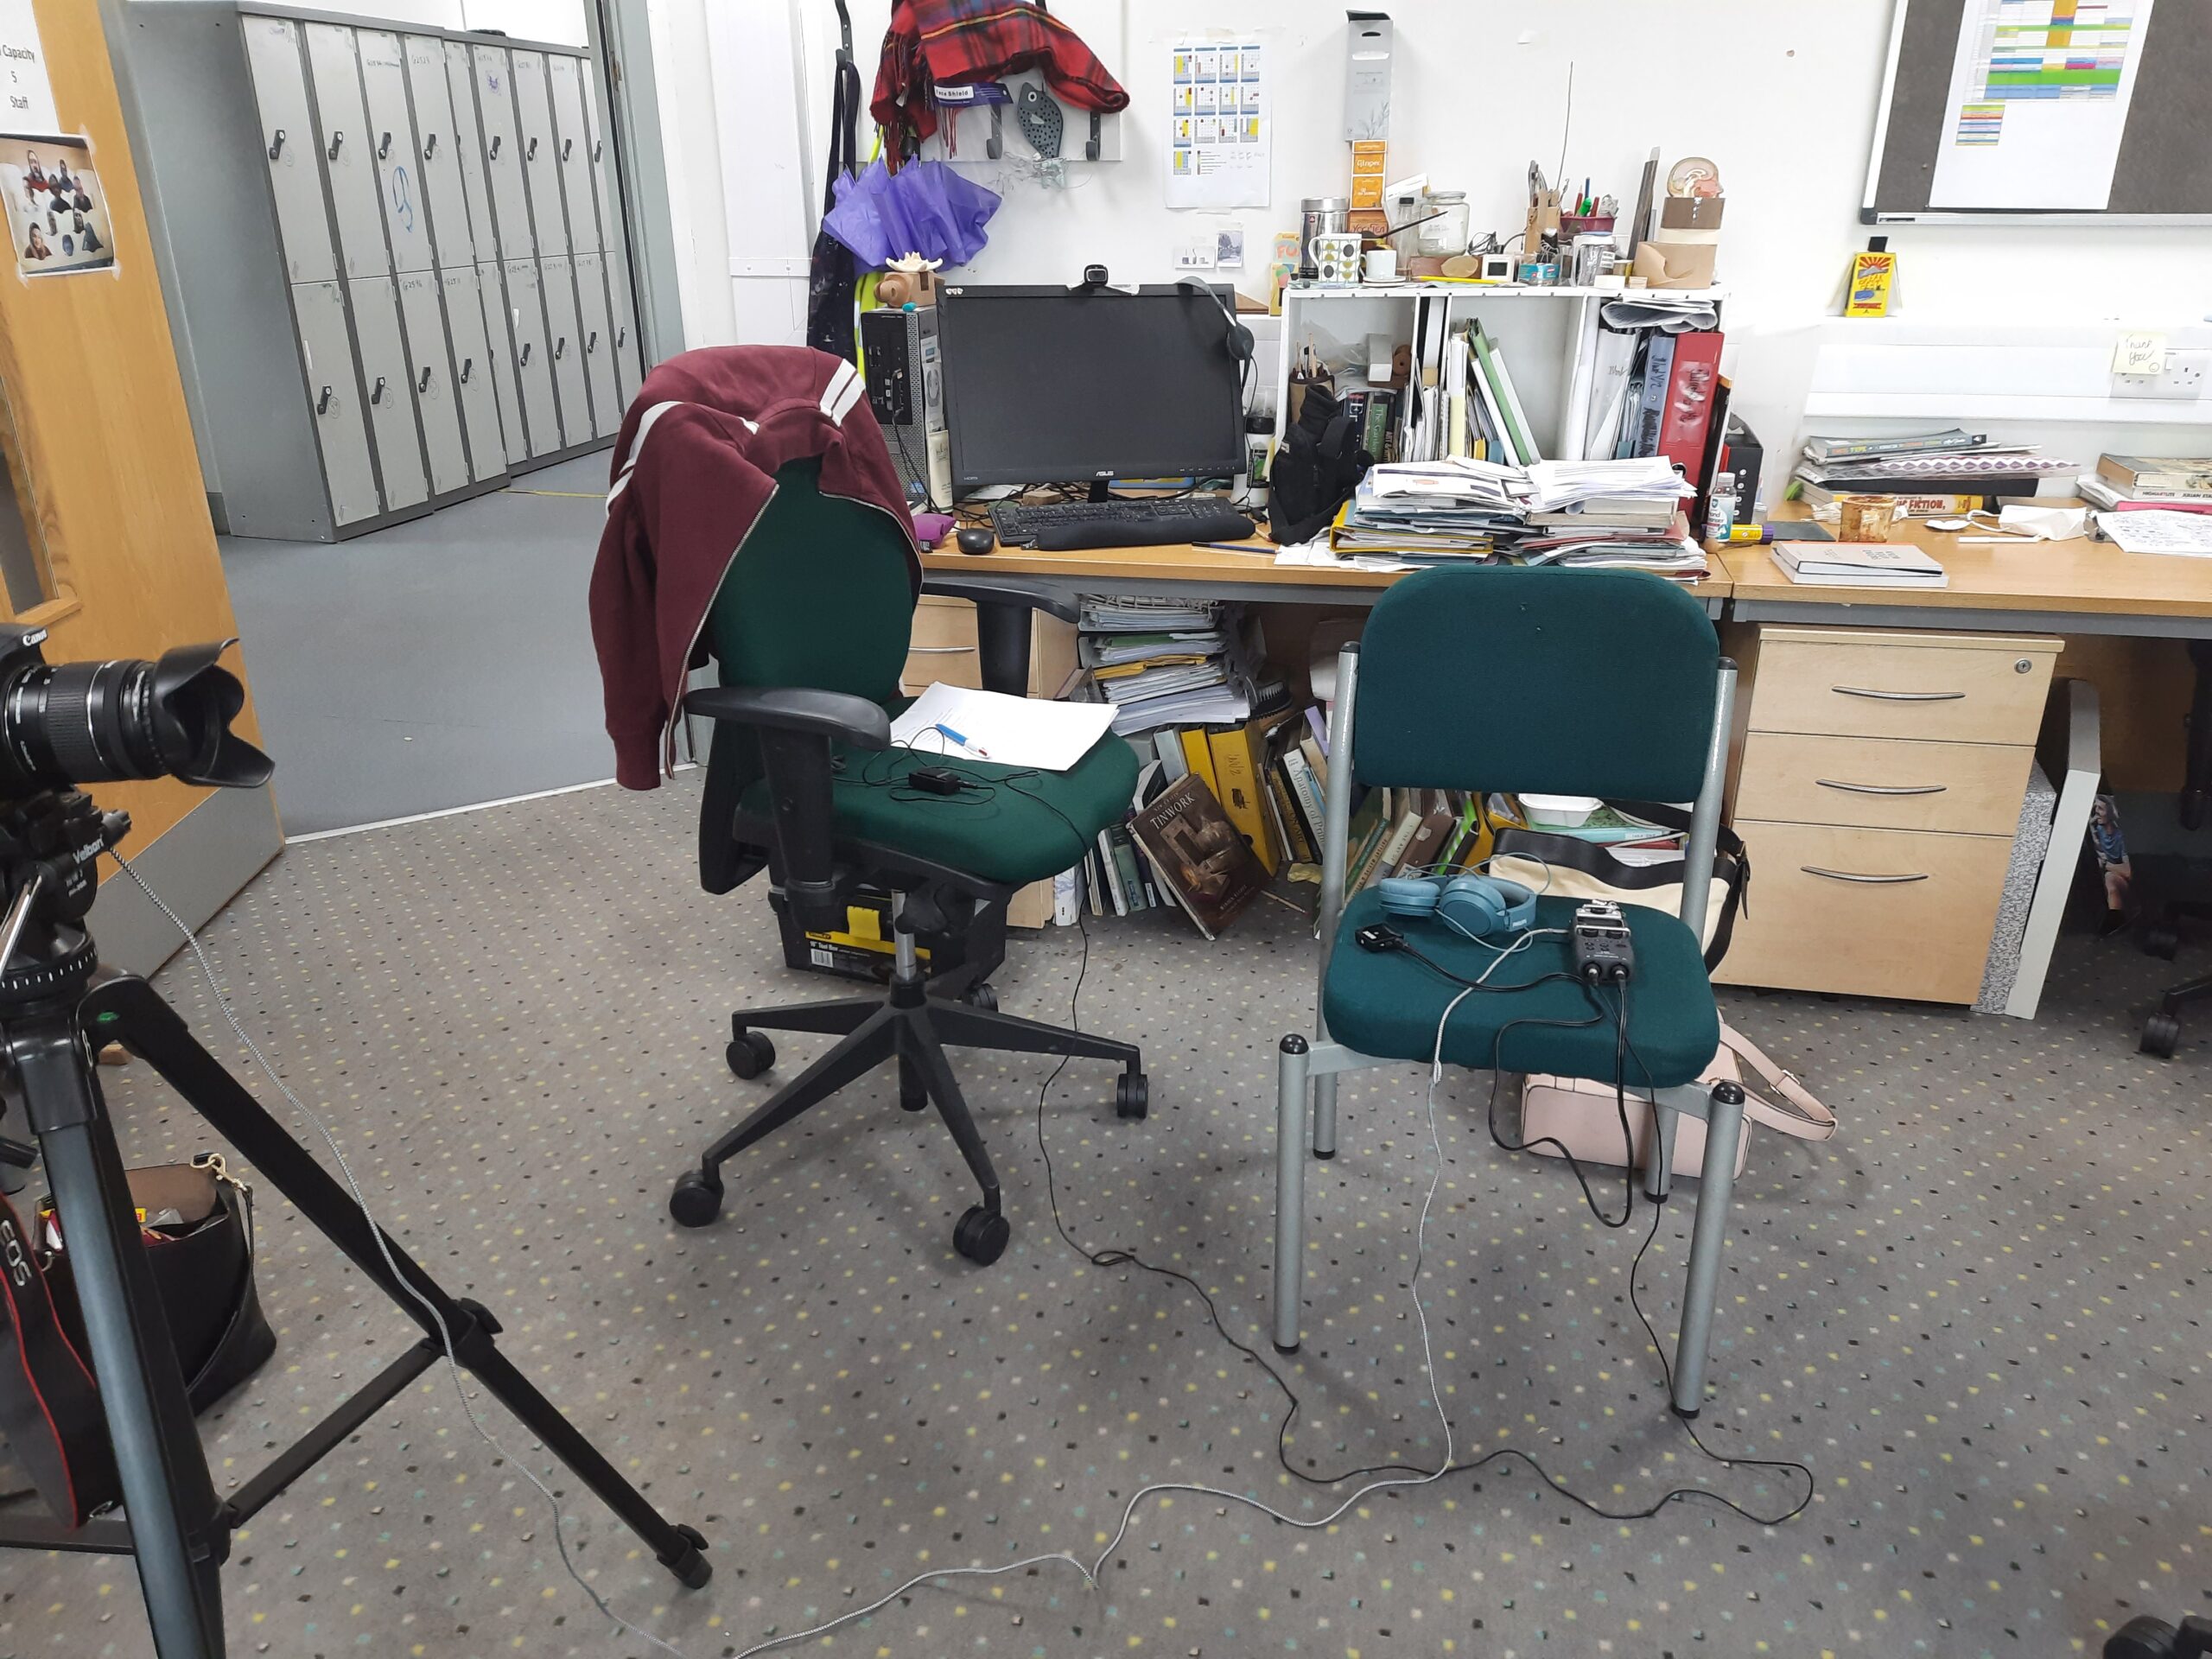
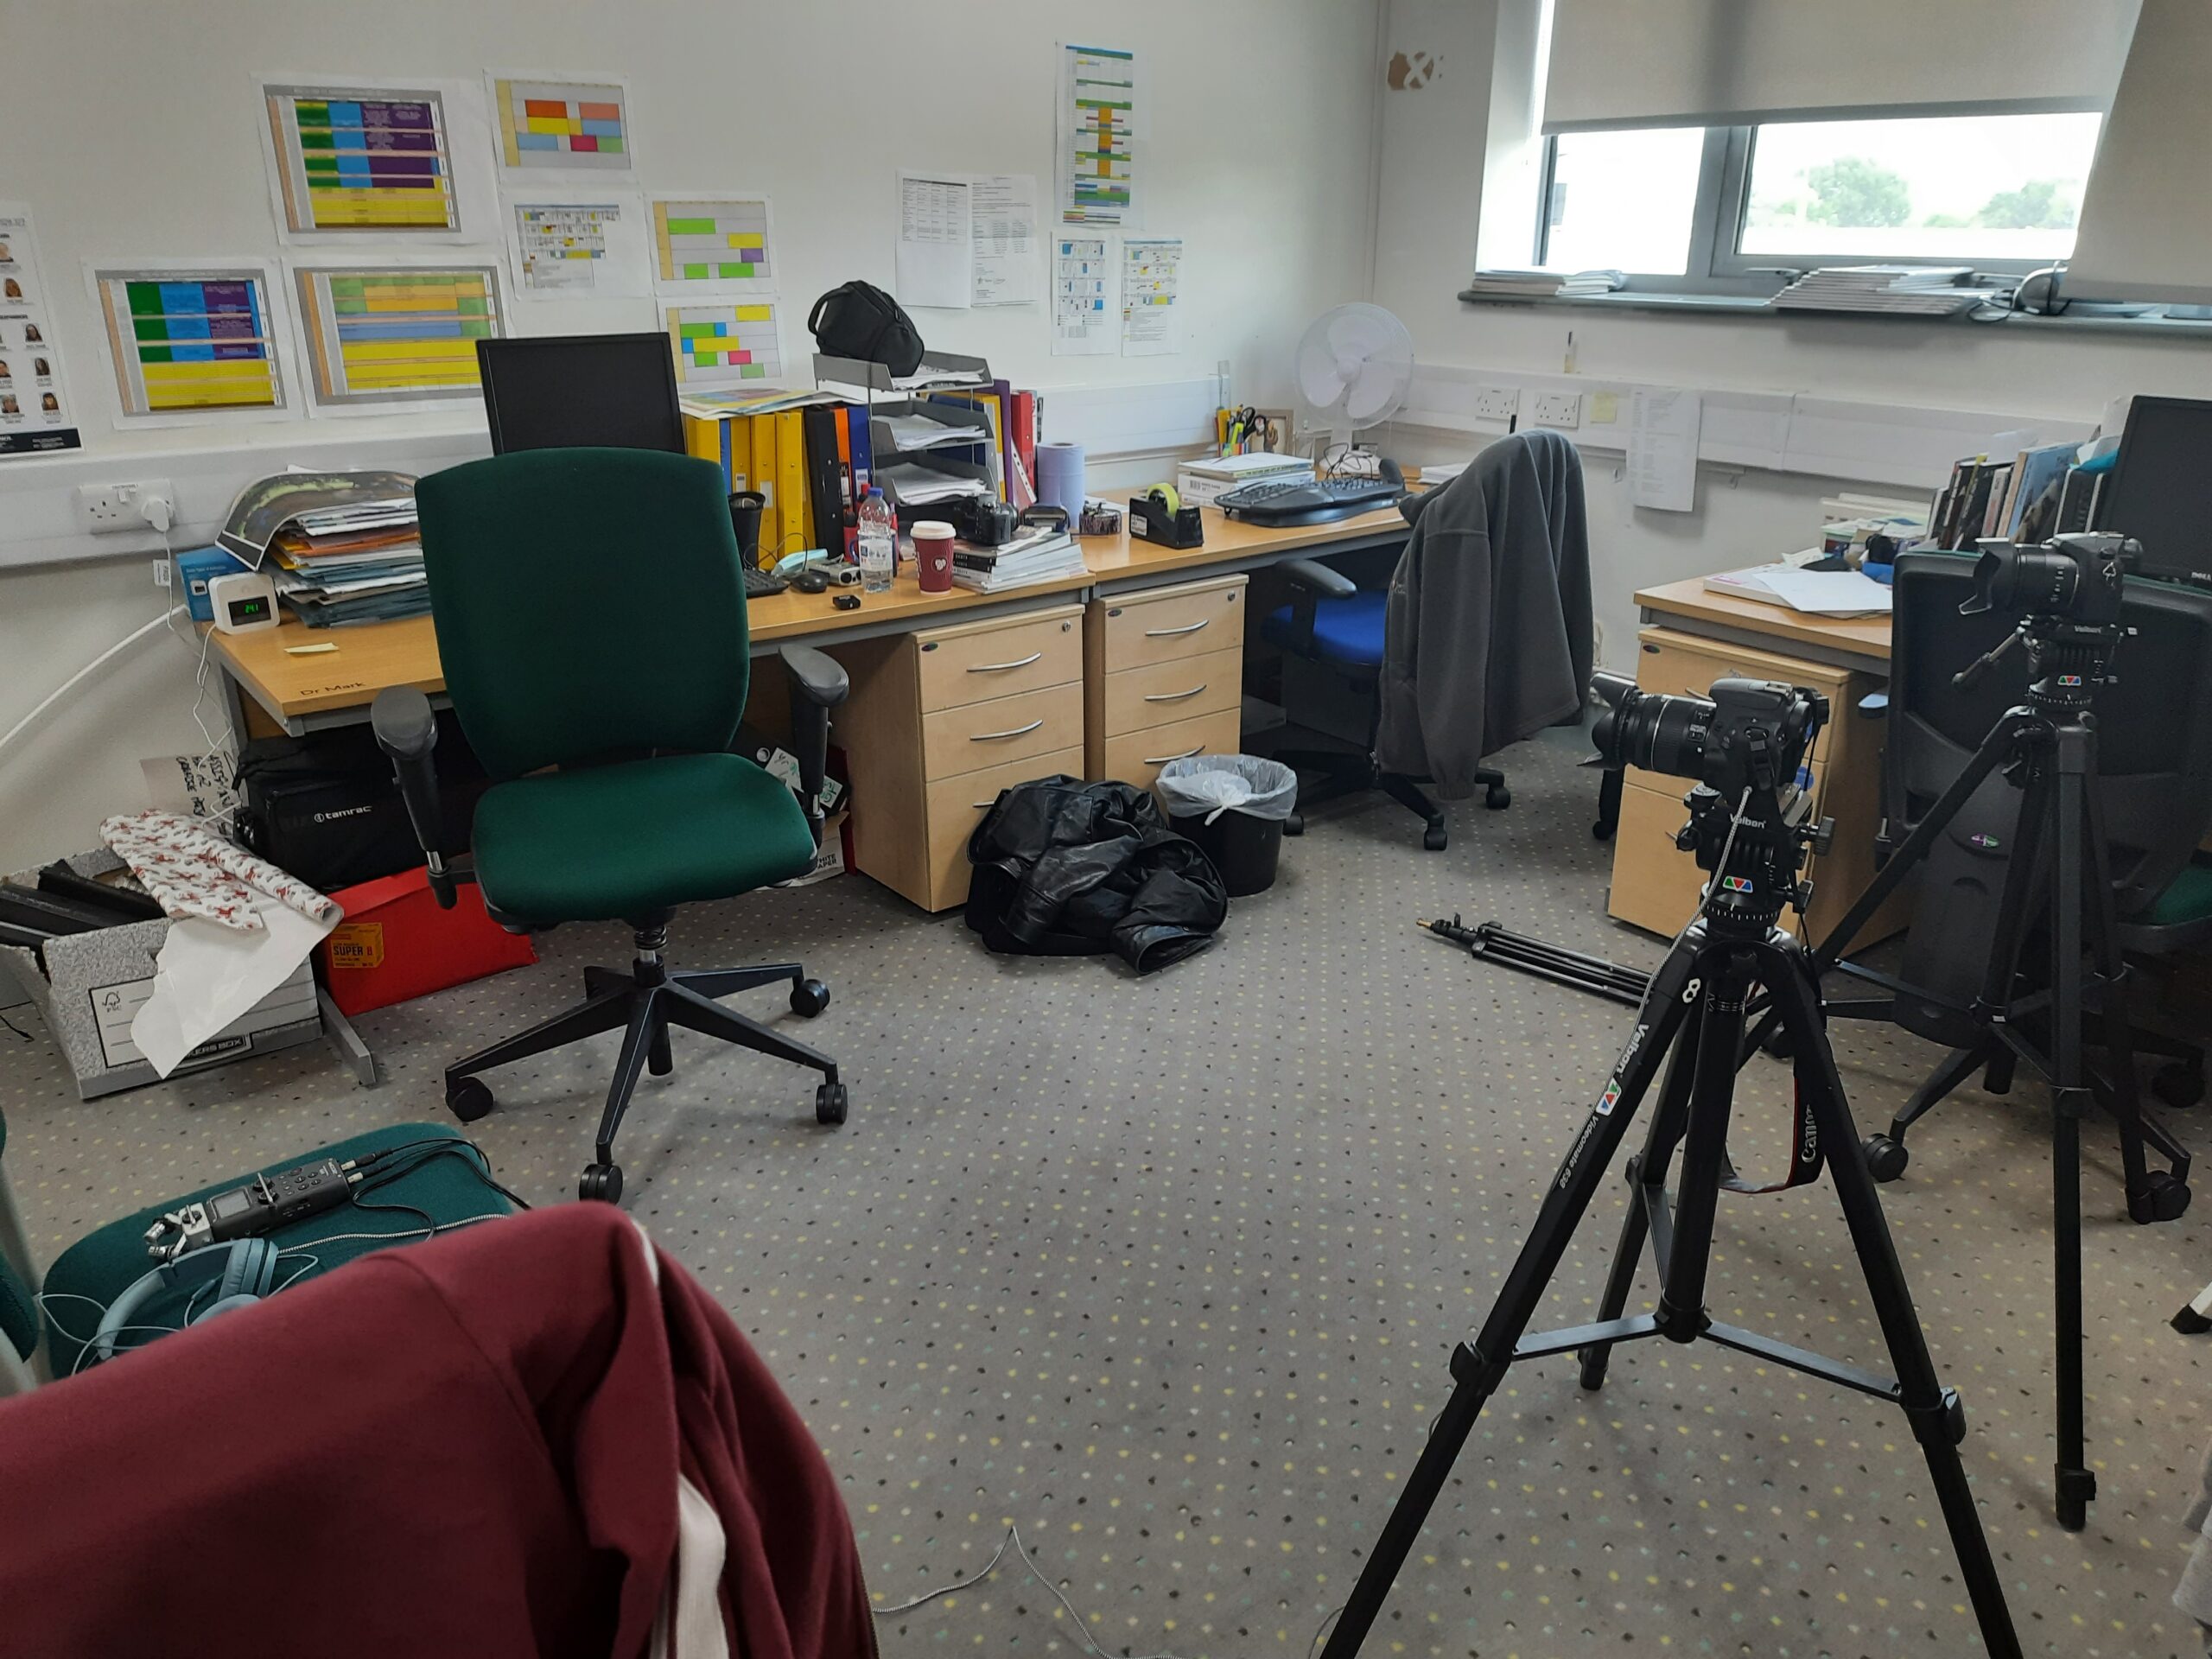
Images of mic equipment set up in office
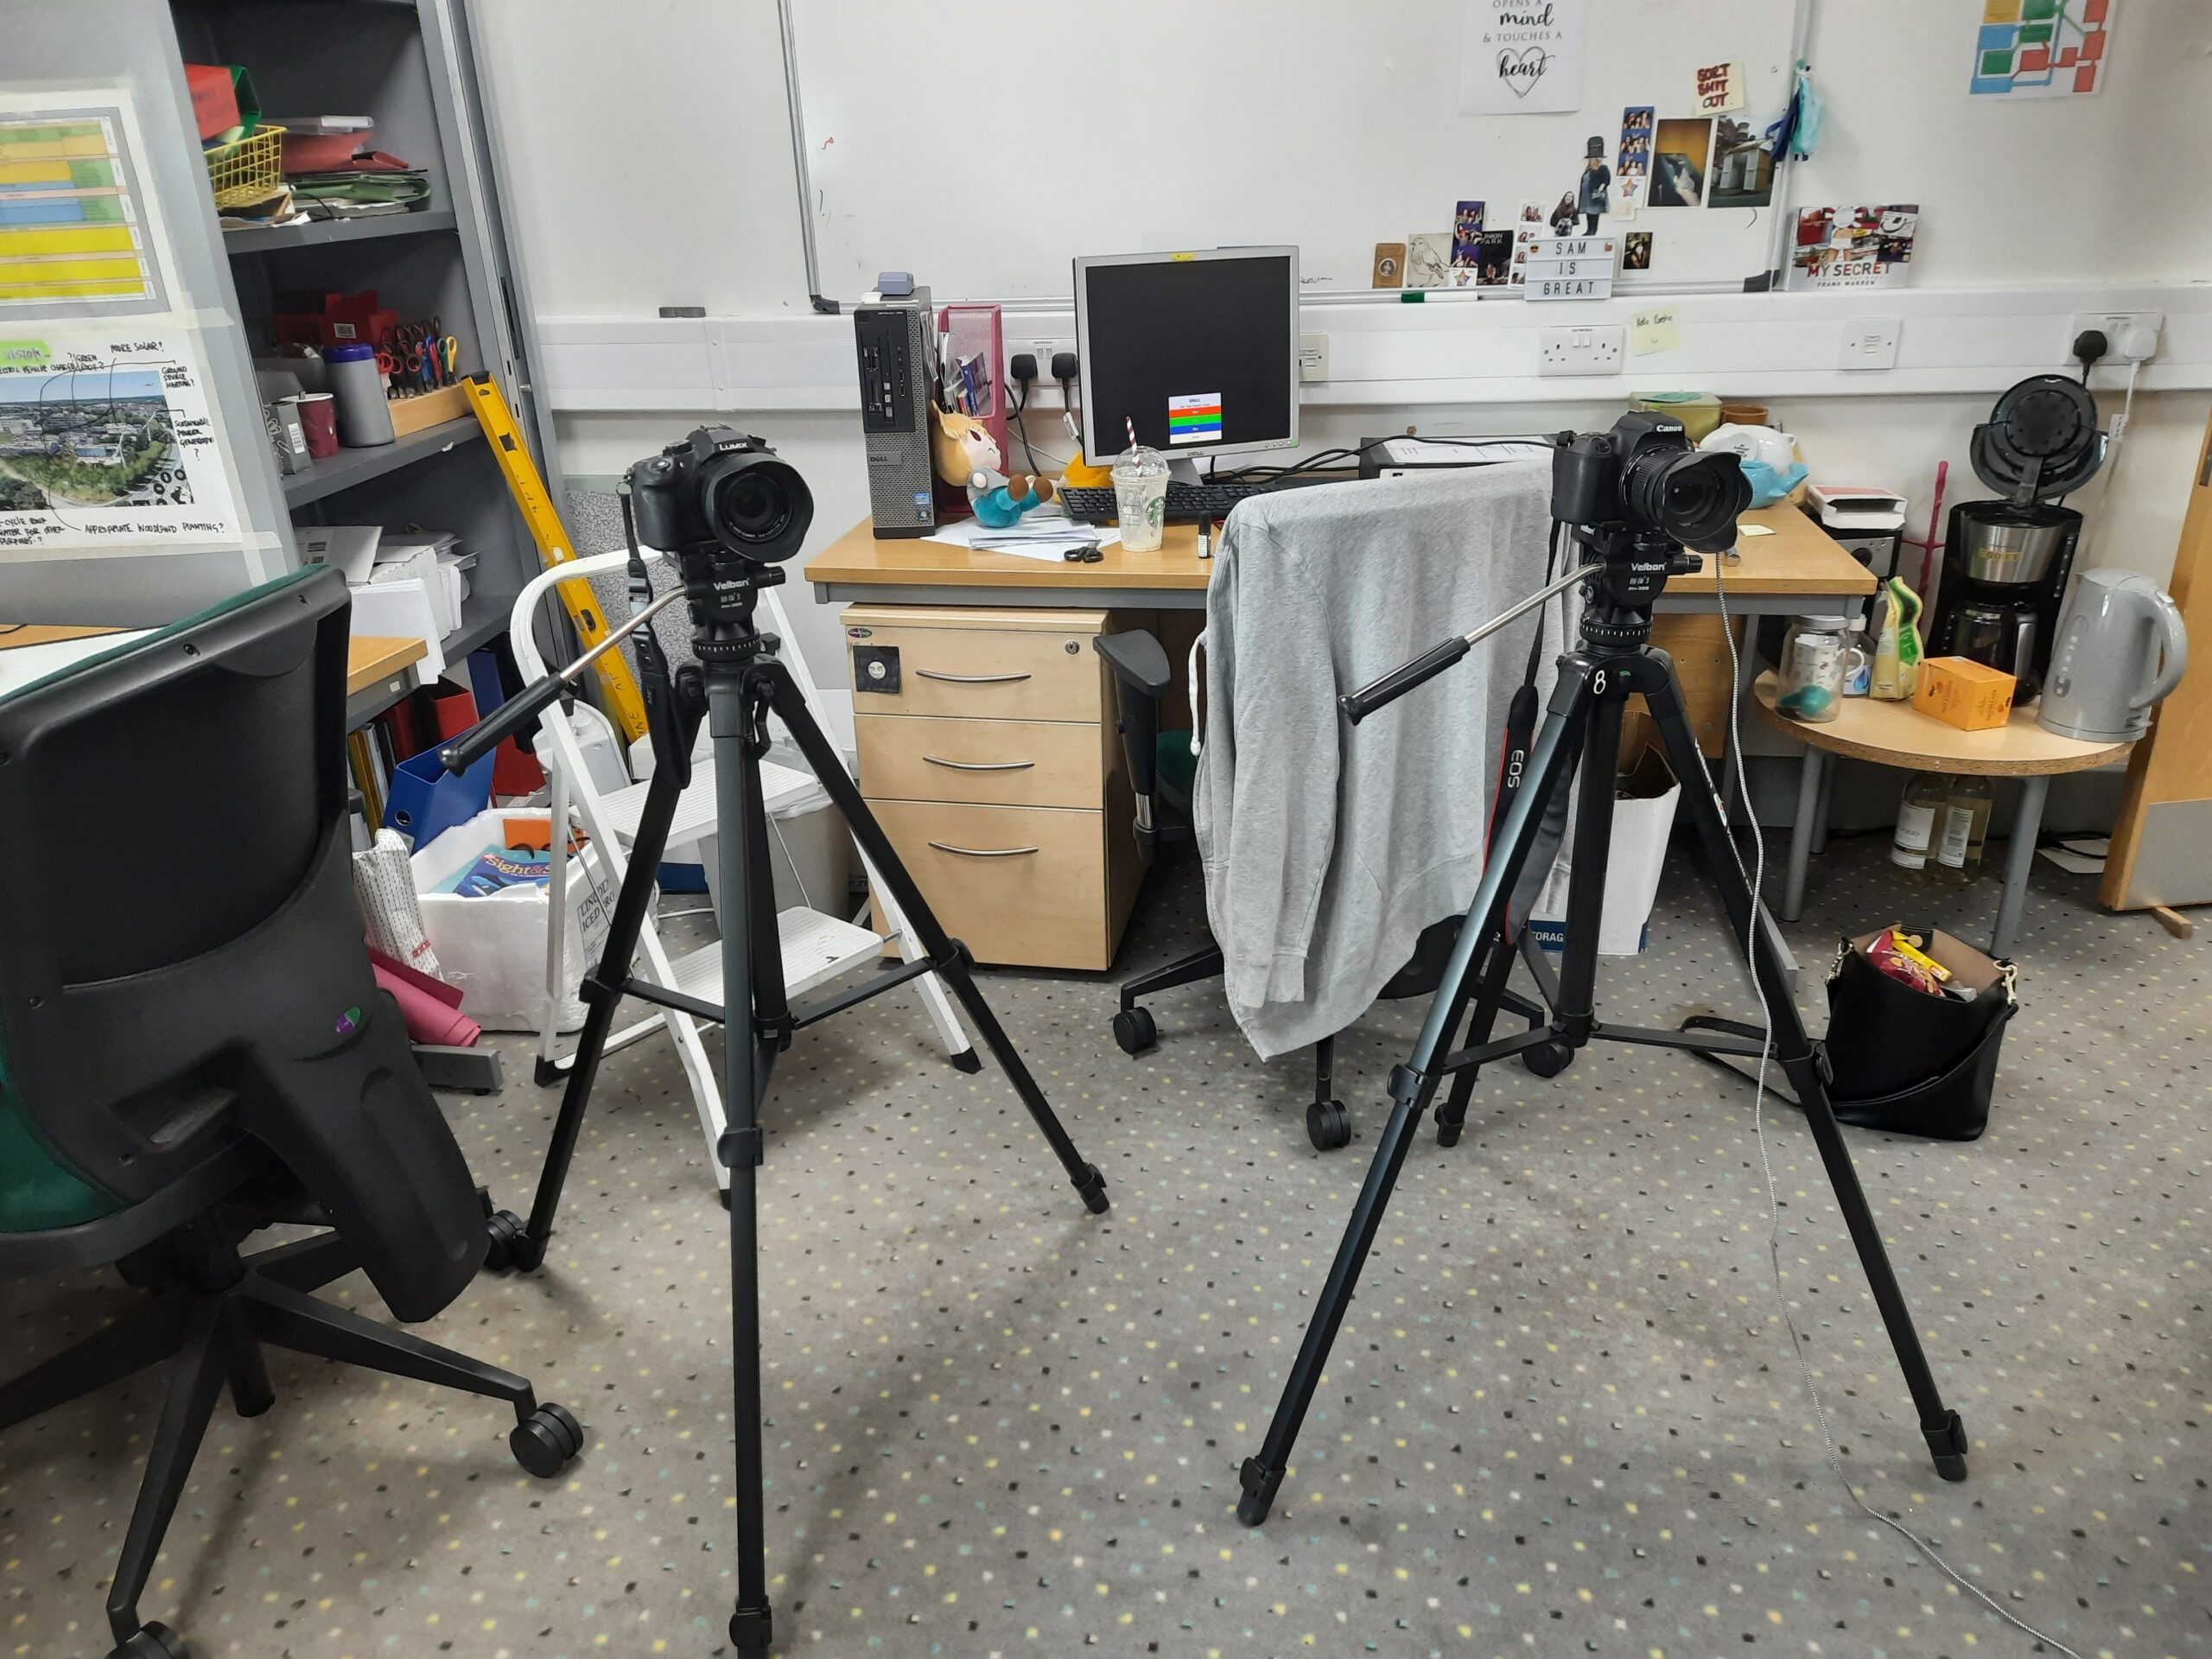
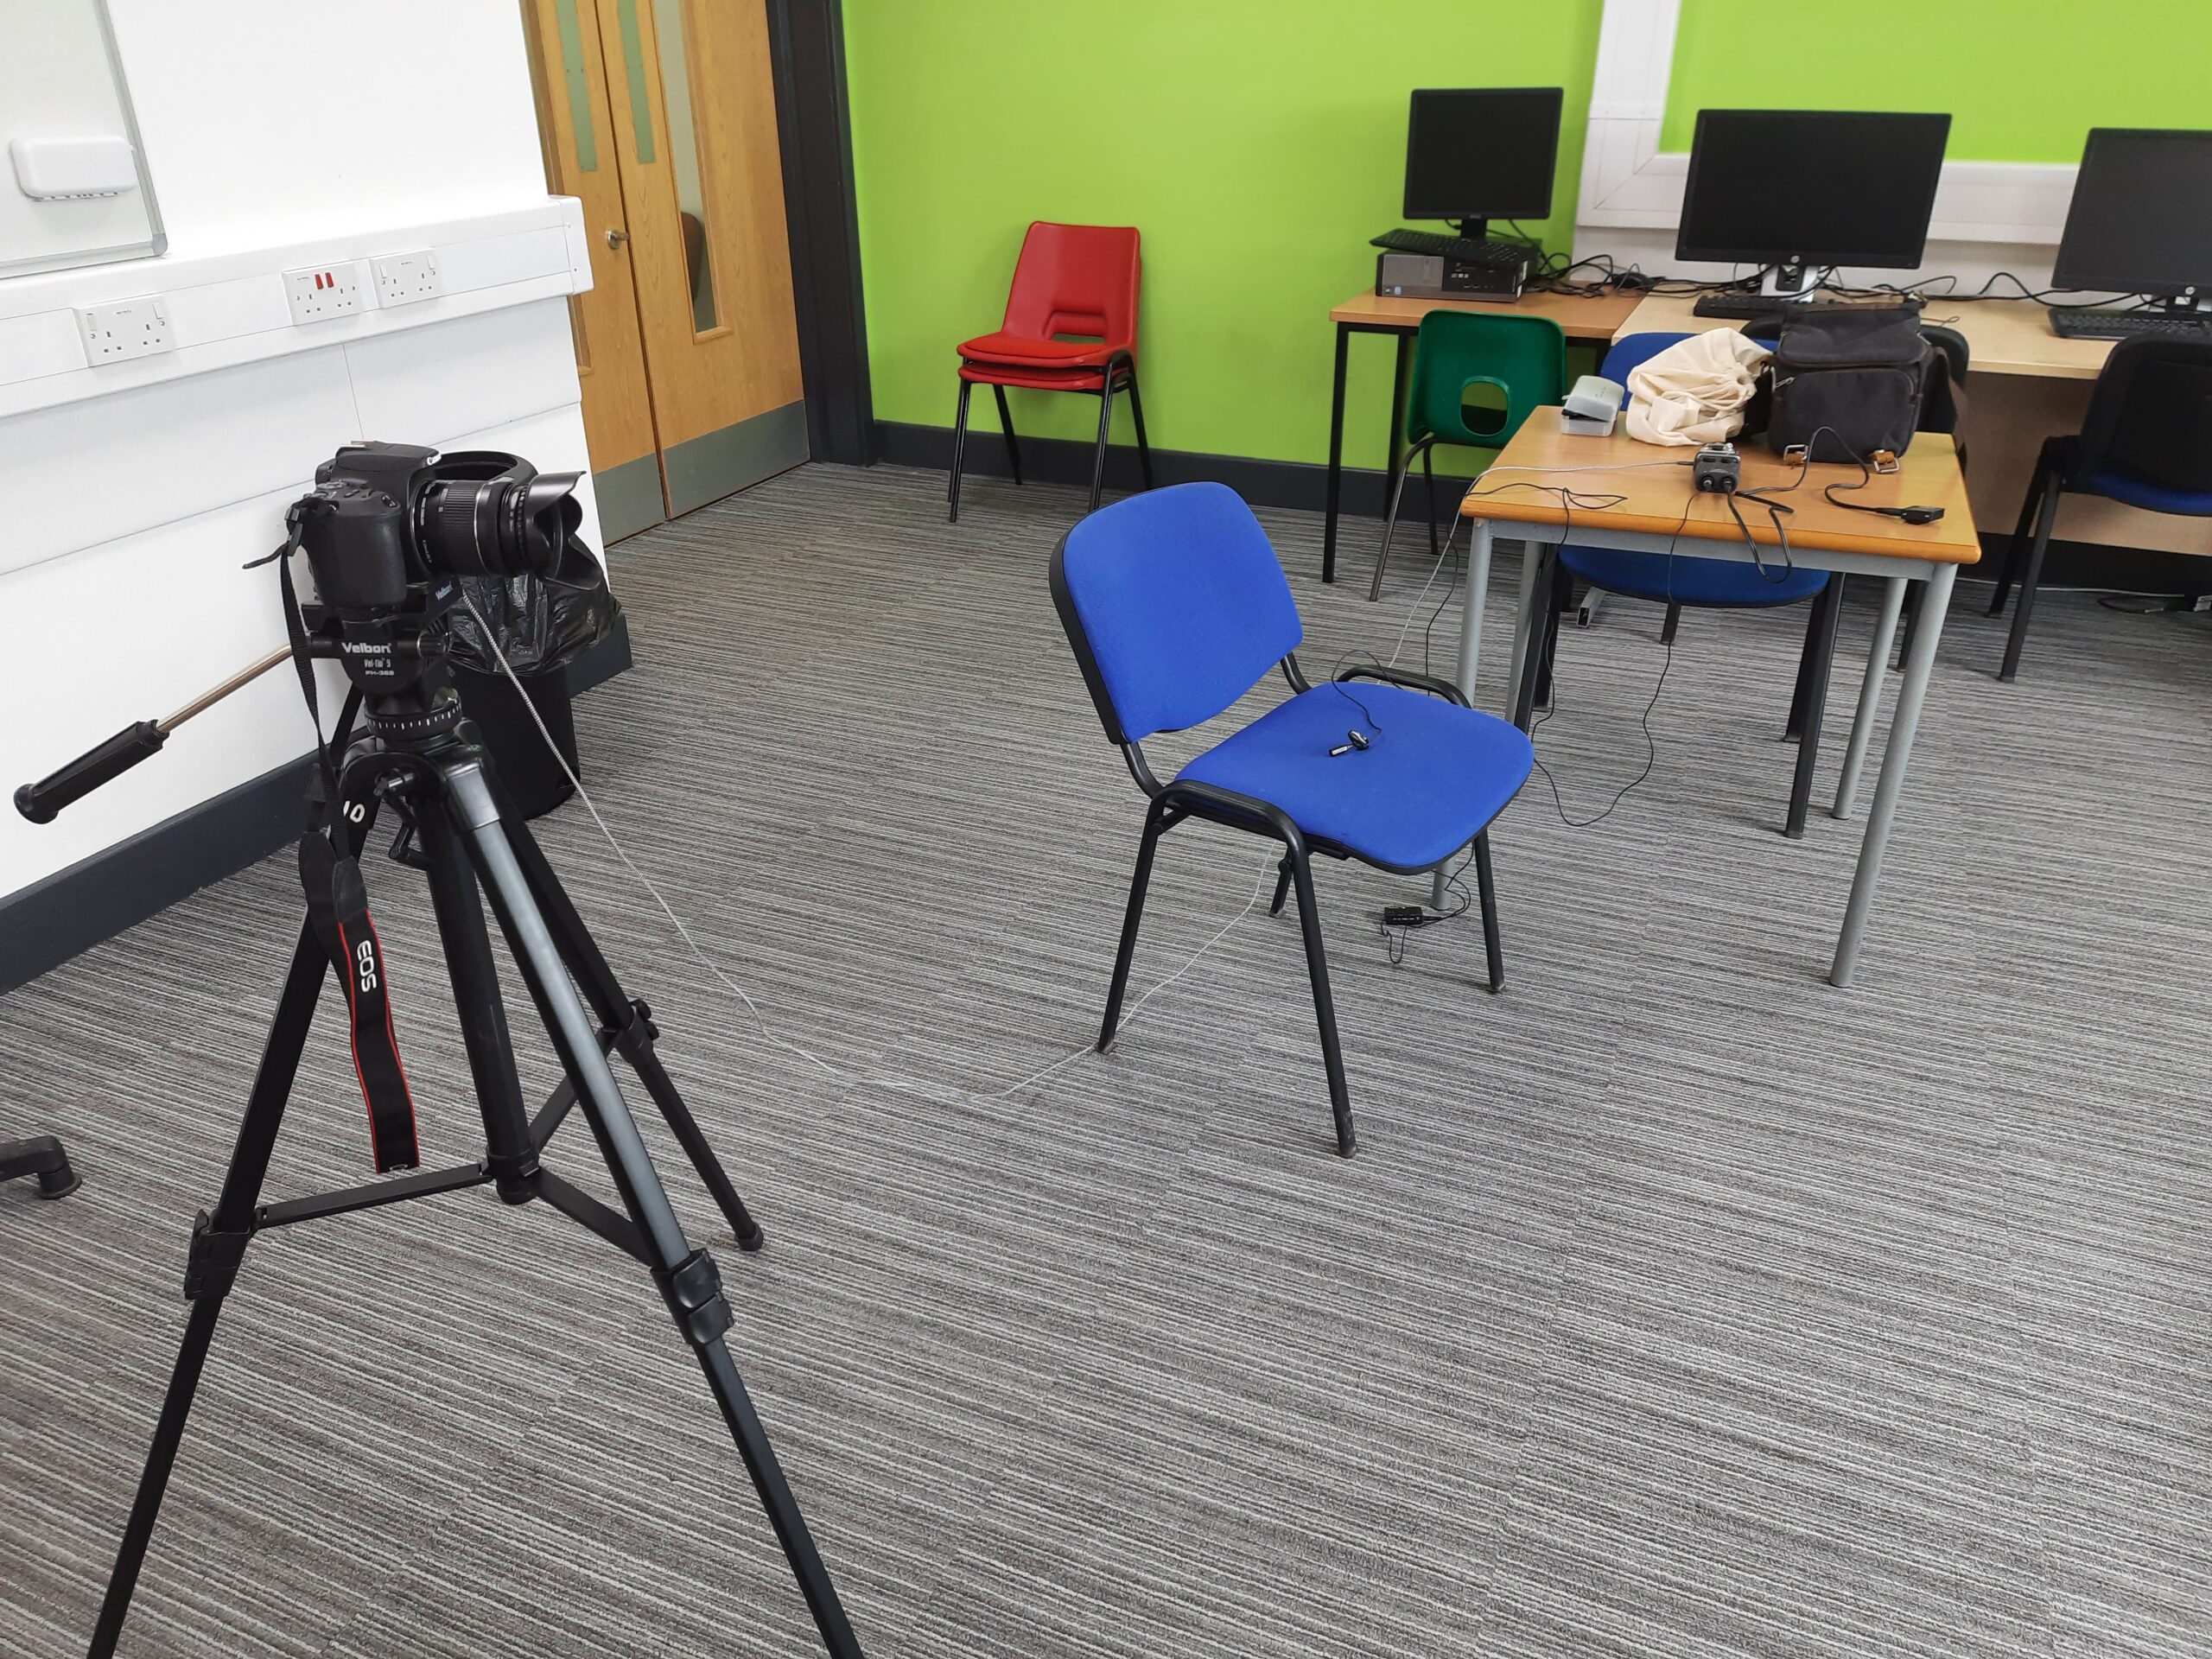
Image of whole set up
Interview 1
Checking Camera Settings
The first thing I looked at before switching everything else on was the settings on each camera. I focused on getting the shutter speed correct before anything else as that is very important to achieve a smooth video. I chose a low aperture to provide a bright looking shot. For the white balance, I kept it on Auto White Balance so that there was no worry for whether the white balance would look even by the time I look at the footage. By keeping it on AWB the camera can smartly determine the white balance on its own through the lighting. This means that I hopefully won’t have to edit the colours in post.
Testing Mics
I turned all the mics on and used headphones to test the audio. I found that it was clipping greatly. It was so loud that it hurt my ears at first! I used the mic recorder to adjust the sound of both mics. I wanted it loud enough so I could hear the audio well but also low enough that it didn’t clip, and I could hear it clearly.
Filming
As soon as we began filming, we used a clap board to create the noise that would help me match up the audio from the mic recorder to the video in post. I started by asking general questions like “introduce yourself” and “how often do you use social media”. Then I moved into the positives of social media. It was originally going to be the other way around with the negatives being spoken about first and then the positives. But, because of the way the interviewee was answering the questions I decided to move the questions in the direction they were going. This was to help the interviewee keep the flow with their answering. However, next time, I would prefer to keep to a tight system with the order in which I ask the questions as it became extremely confusing for me. I couldn’t keep track of what questions I had already asked. I think it would be ideal to tick off the questions as I go. I also discovered that many of the questions were pointless or not needed, so I will review what questions I need to make for a faster interview. This will benefit the interviewee as they wouldn’t want the interview to become boring or an intrusion on their time.
Interview 2 and 3
Filming
I only set up one camera for these interviews as I only have one tripod in my house. I didn’t feel this would limit the outcome of the interviews. Instead of using a clap board I just clapped with my hands to help sync up the audio. While asking the questions, I was making notes based on how the interviewee received them. Some questions where changed, some were removed. I actually got some new ideas for extra questions I could add. As I’m completing each interview, my interview questions get better and better for the next time I interview someone. One thing I did differently this time was that I clapped before stopping the recording. The reason for this was so that syncing is made much easier. After the interviews, I imported the footage to my computer and made sure it was in multiple places so that I won't lose them.
Interview 4
Filming
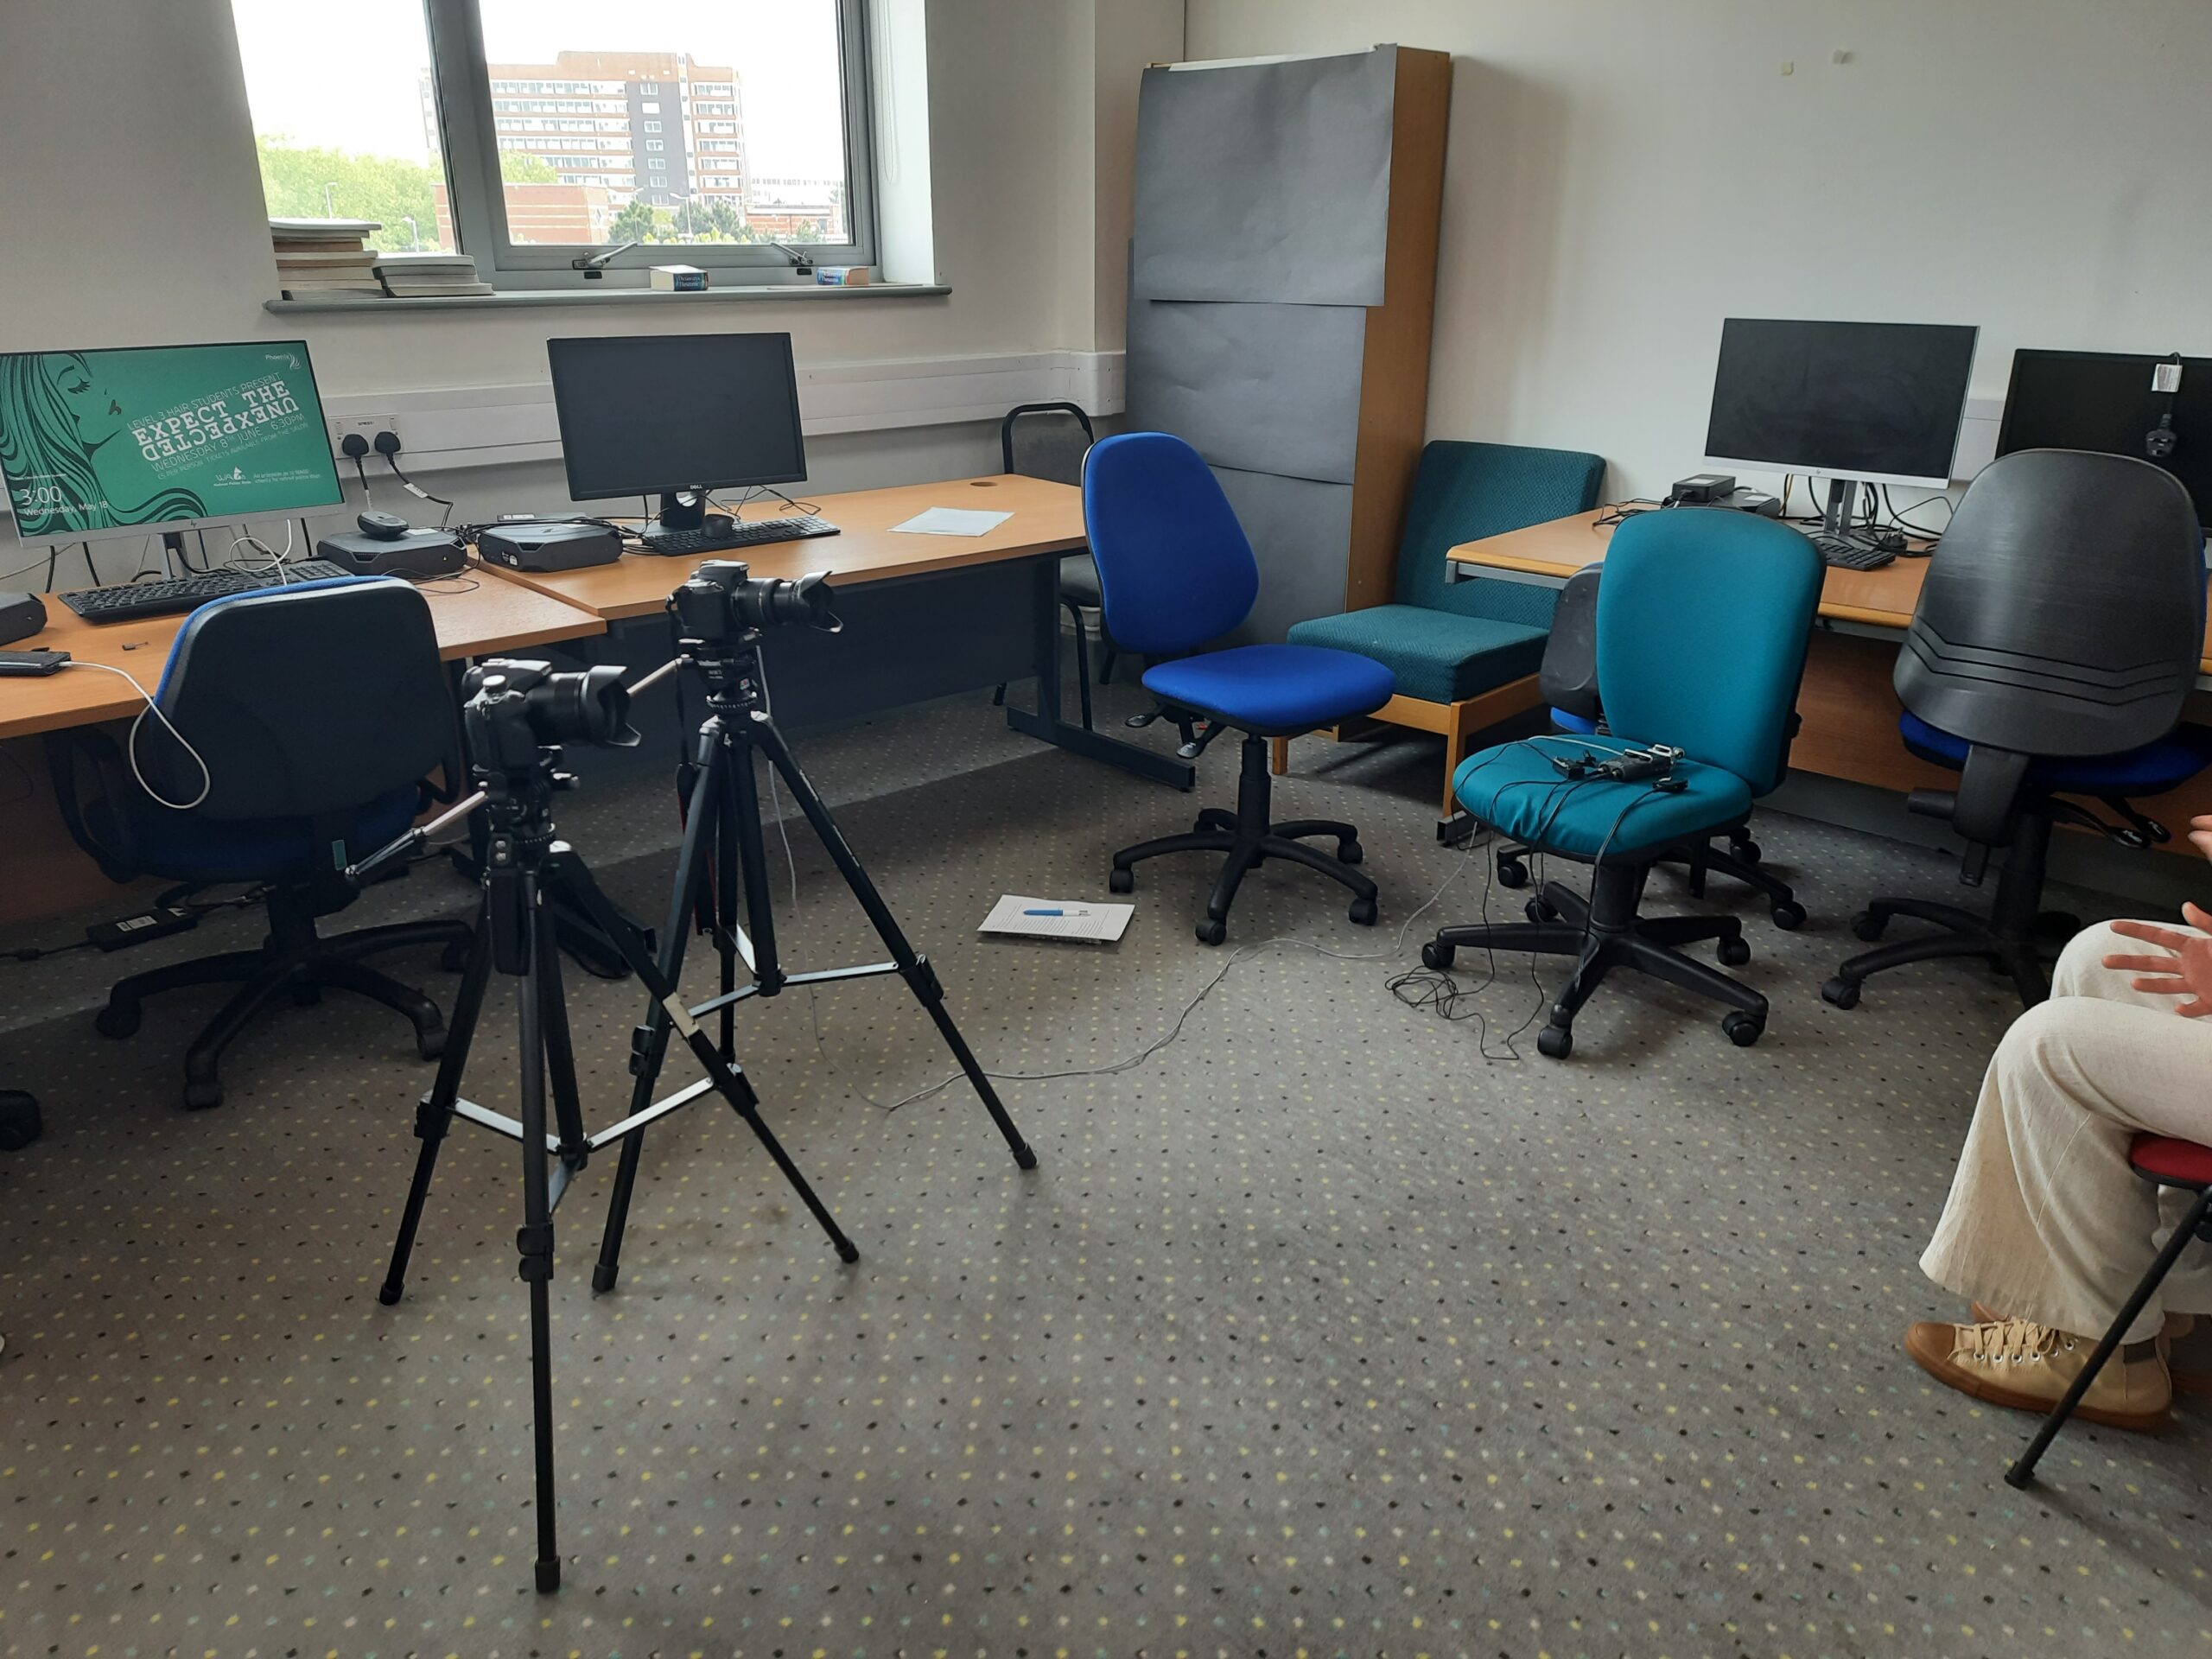
I found a free room to film in and I set up the equipment. I use tripods from College much like my first interview, so they were the only pieces of equipment I had to borrow. The room had lots of natural light coming in, so I didn't bother setting up lighting. I was very pleased with my decision, as the footage came out perfectly bright, no lighting was needed. Like my past interviews, I used a chair to keep the audio equipment together. So that it wasn’t visible in the shot, I had the chair closer to me. Both cameras were set up directly next to each other. I kept the framing consistent with camera A being a more close-up angle and camera B being a medium shot. I made sure that one of us clapped after starting the recording so that I can sync up the footage with no frustrations. This is a very crucial step. When filming was over I checked through each piece of equipment, in order, to ensure that everything had been turned off.
Interview 5
Images
Filming
One thing I learnt after completing this interview is to plan the parts you don’t think you need to plan. I had the shock of a lifetime when I was unable to find an empty room to film in. I realised I should have enquired about available rooms which would have prevented this issue. Because of this unlucky and unexpected problem, setting up was extremely delayed. This meant that I had to rush to set up which caused me to miss out vital points which I didn’t notice until over half through the interview. I’m unsure quite how this happened but set up the interview the incorrect way round. You would normally have the subject facing the light, however, I had the interviewee’s back to the light and the camera was facing the light. This means the subject will be much darker than I would have liked, and our focus will be concentrated on the window (light source) instead. Rushing to set up also caused me to leave my belongings in the background of the shot. This looks unprofessional and off-putting in the shot. Not being able to double check my set up because of time constraints allowed me to make two big mistakes which I can’t reverse. Going into any future project, I will make sure to secure a room in advance so there are no unpleasant surprises and strains on time.
Animation (Kristina’s Story)
Making
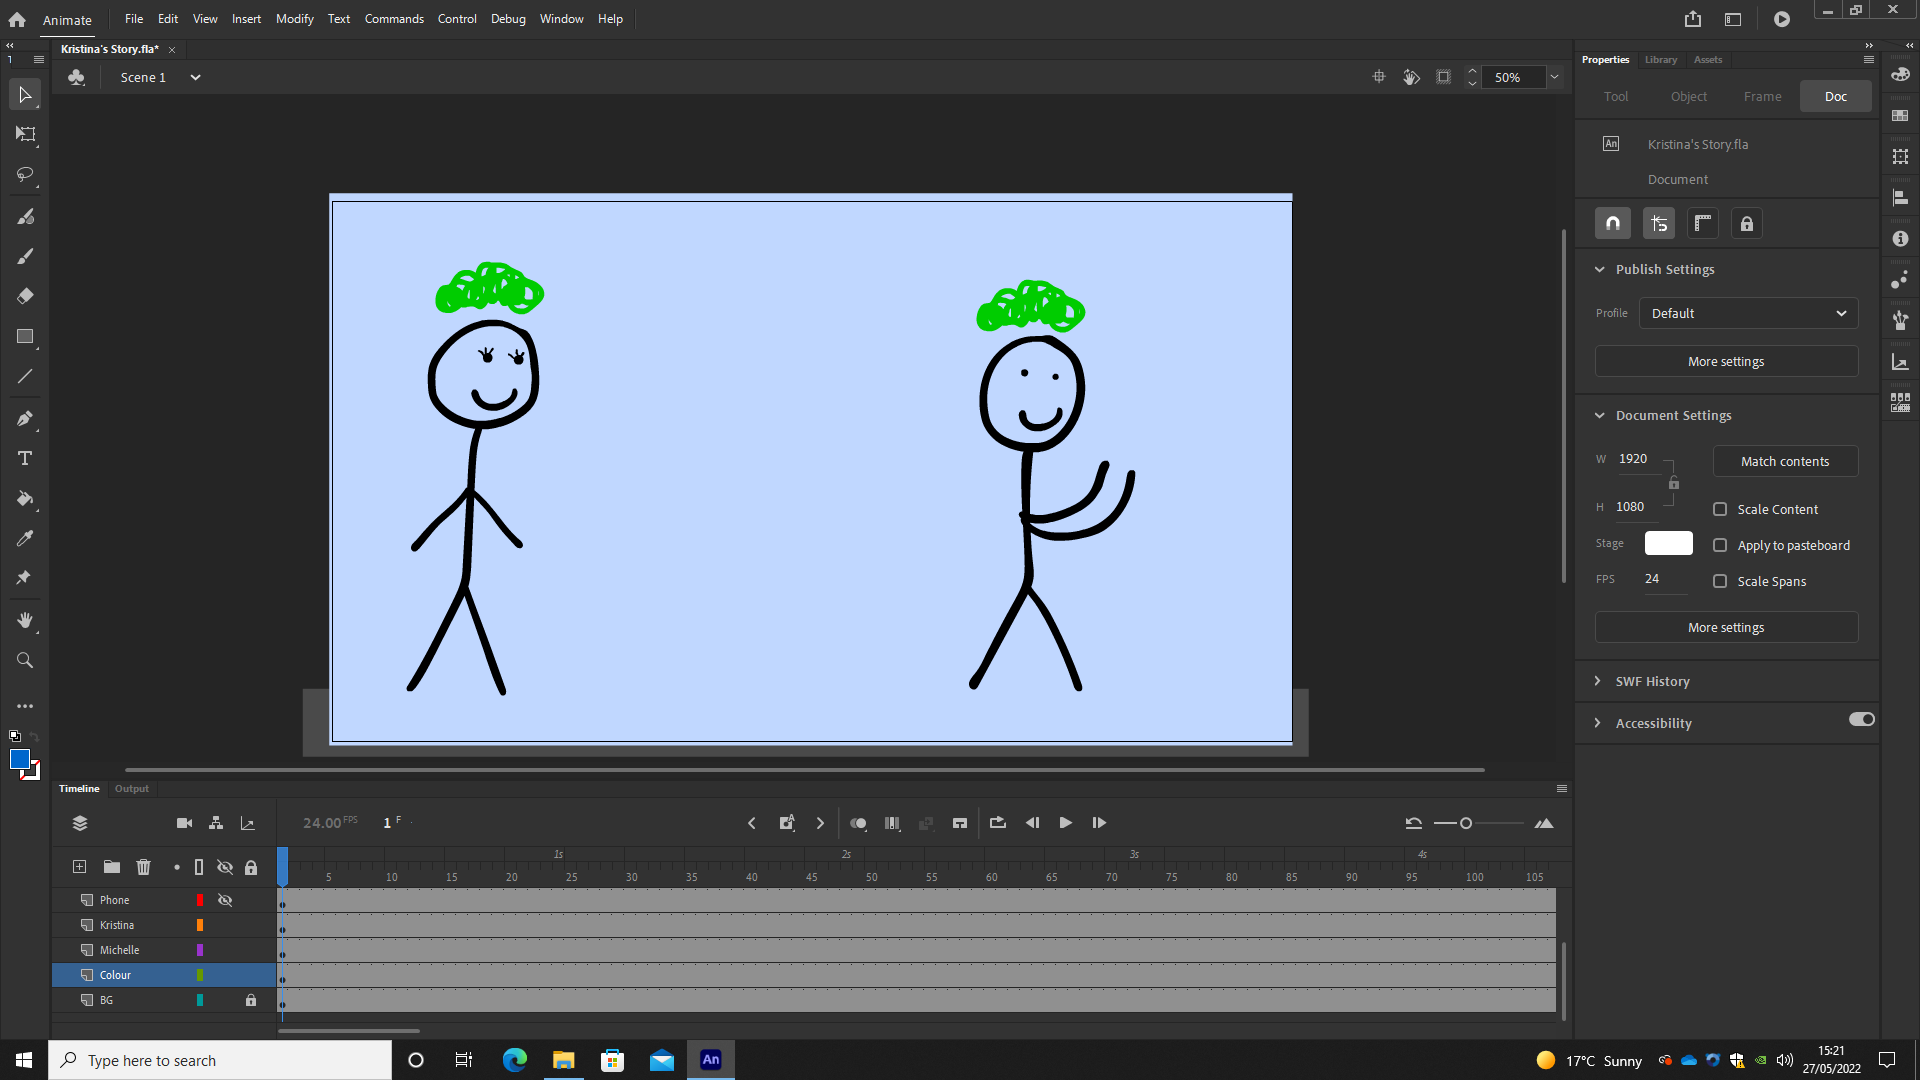
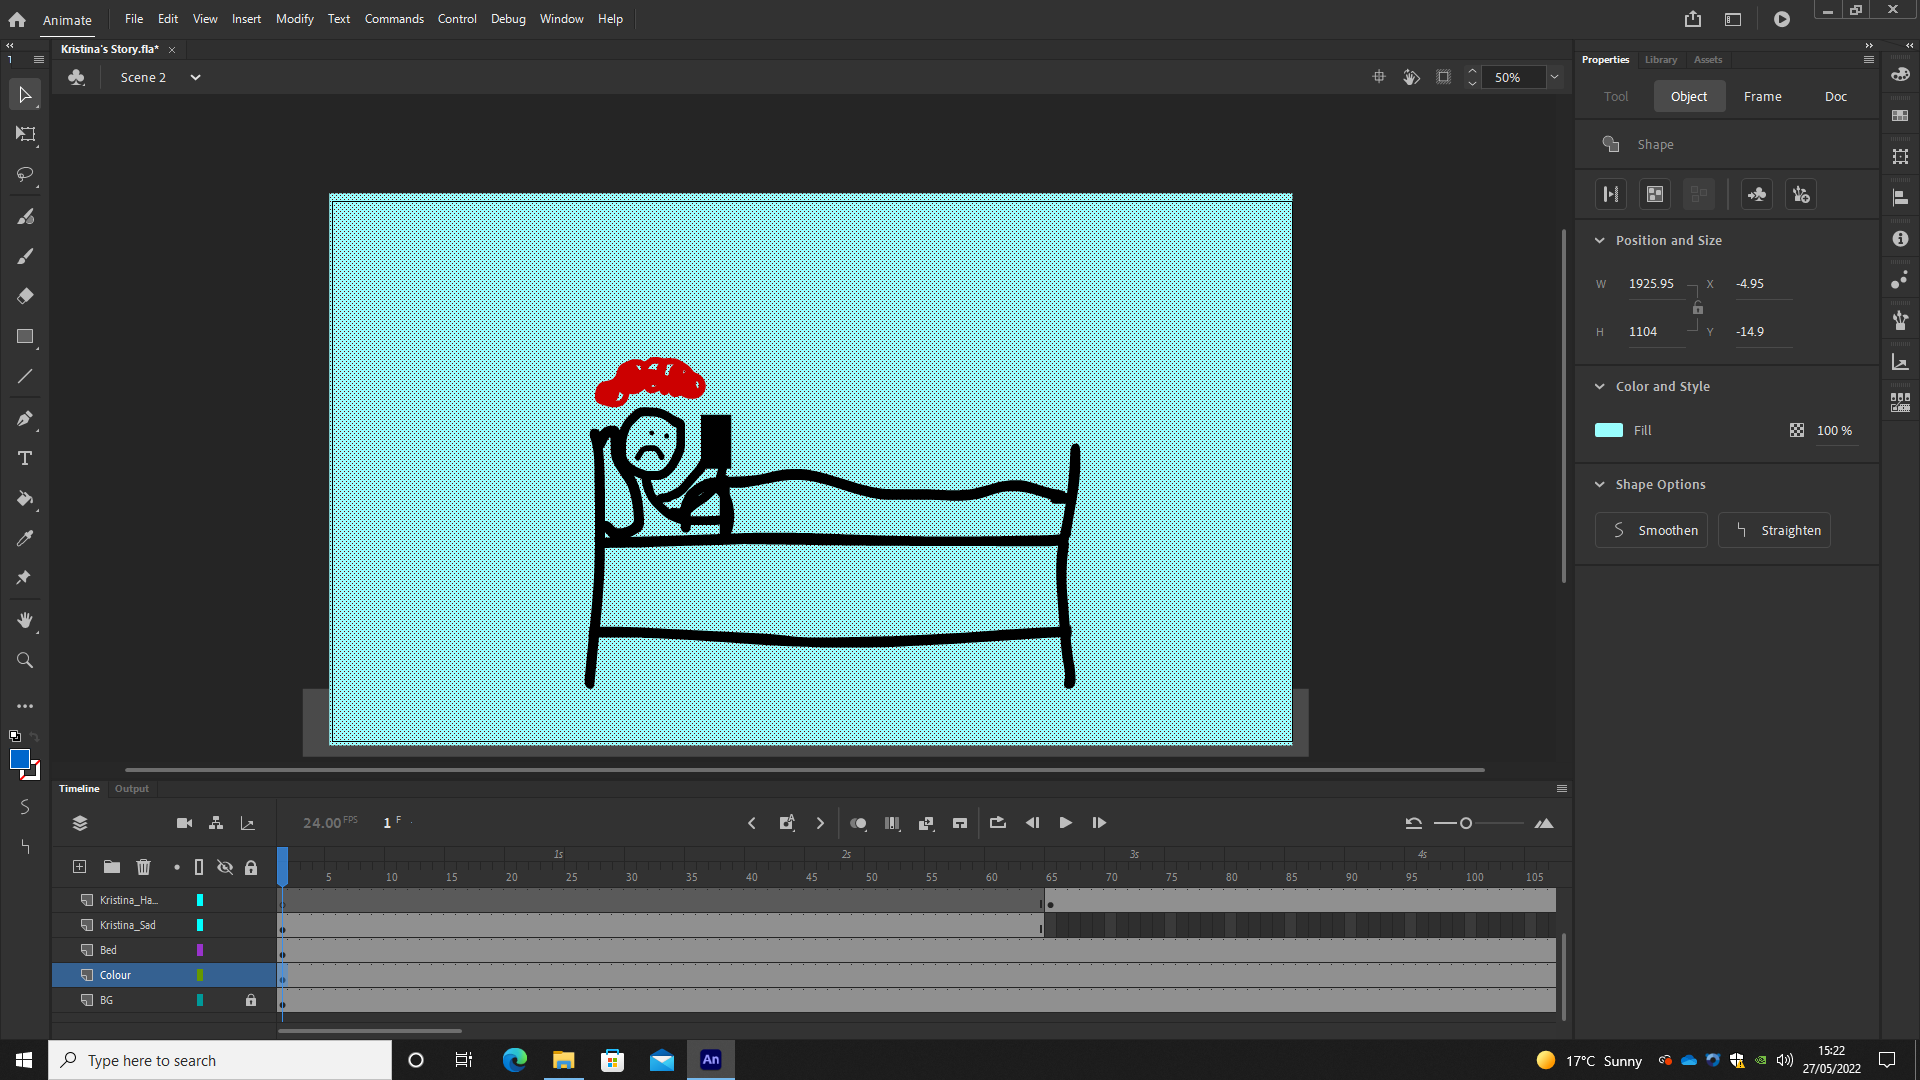
The screenshots you are seeing are from a software called Animate which I am using to create this animation. The idea of this animation is to convey the story of Kristina visually while a narration is giving out the story. This is supposed to be incredibly basic due to the fact that the story will mainly be told through the audio. This means that the animation doesn’t have to be extravagant but just demonstrate what Kristina is doing at each point.
Learning this software for the first time emitted a lot of pressure to put it lightly. I had never used Animate before so trying to learn it and complete an animation in a week was tricky. I kept the animation very basic, so basic in fact that the only movements I actually created was with the emotion bubble above the character's heads. I just drew out the different scenes and copied and pasted the emotion bubbles from the first scene. I knew I didn't have to re-draw the emotion bubble at all because the idea was that they would look consistently the same in each scene. Most of the animation was copy and pasted from previous scenes there wasn't actually that much drawing involved. So the animation came out very simple, but exactly what I needed. I managed to complete it in the time I had, and it shows Kristina's story perfectly, which is what I needed it to do.

