Final Major Project Production
Finding Clips
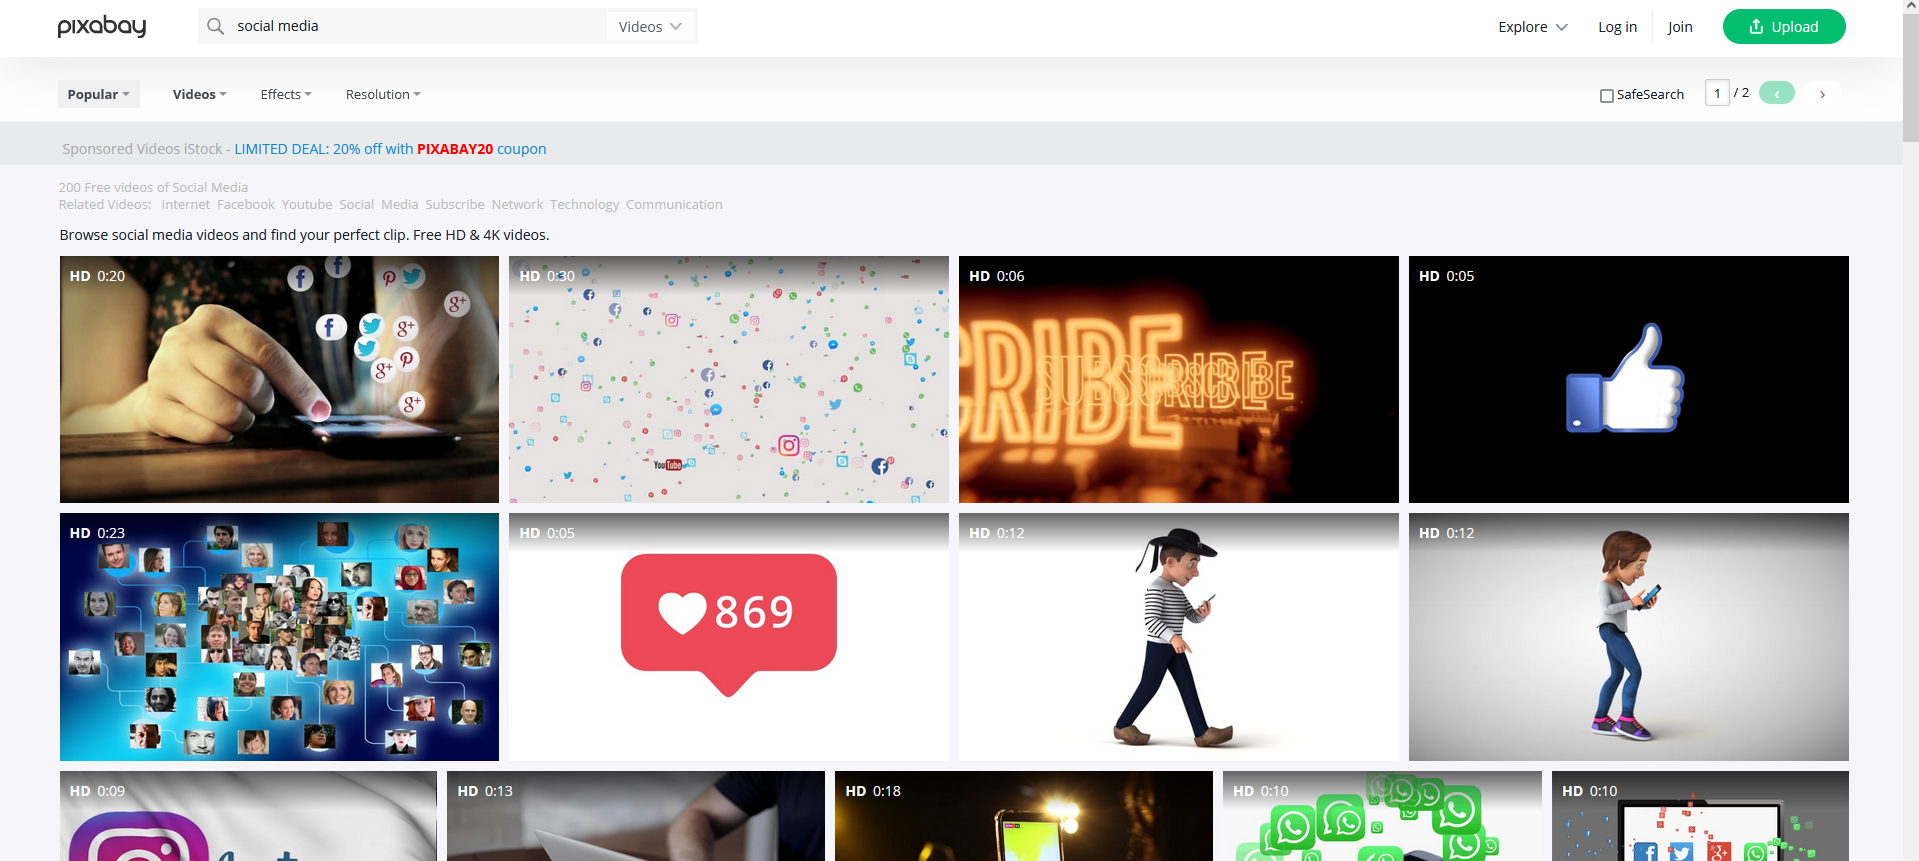
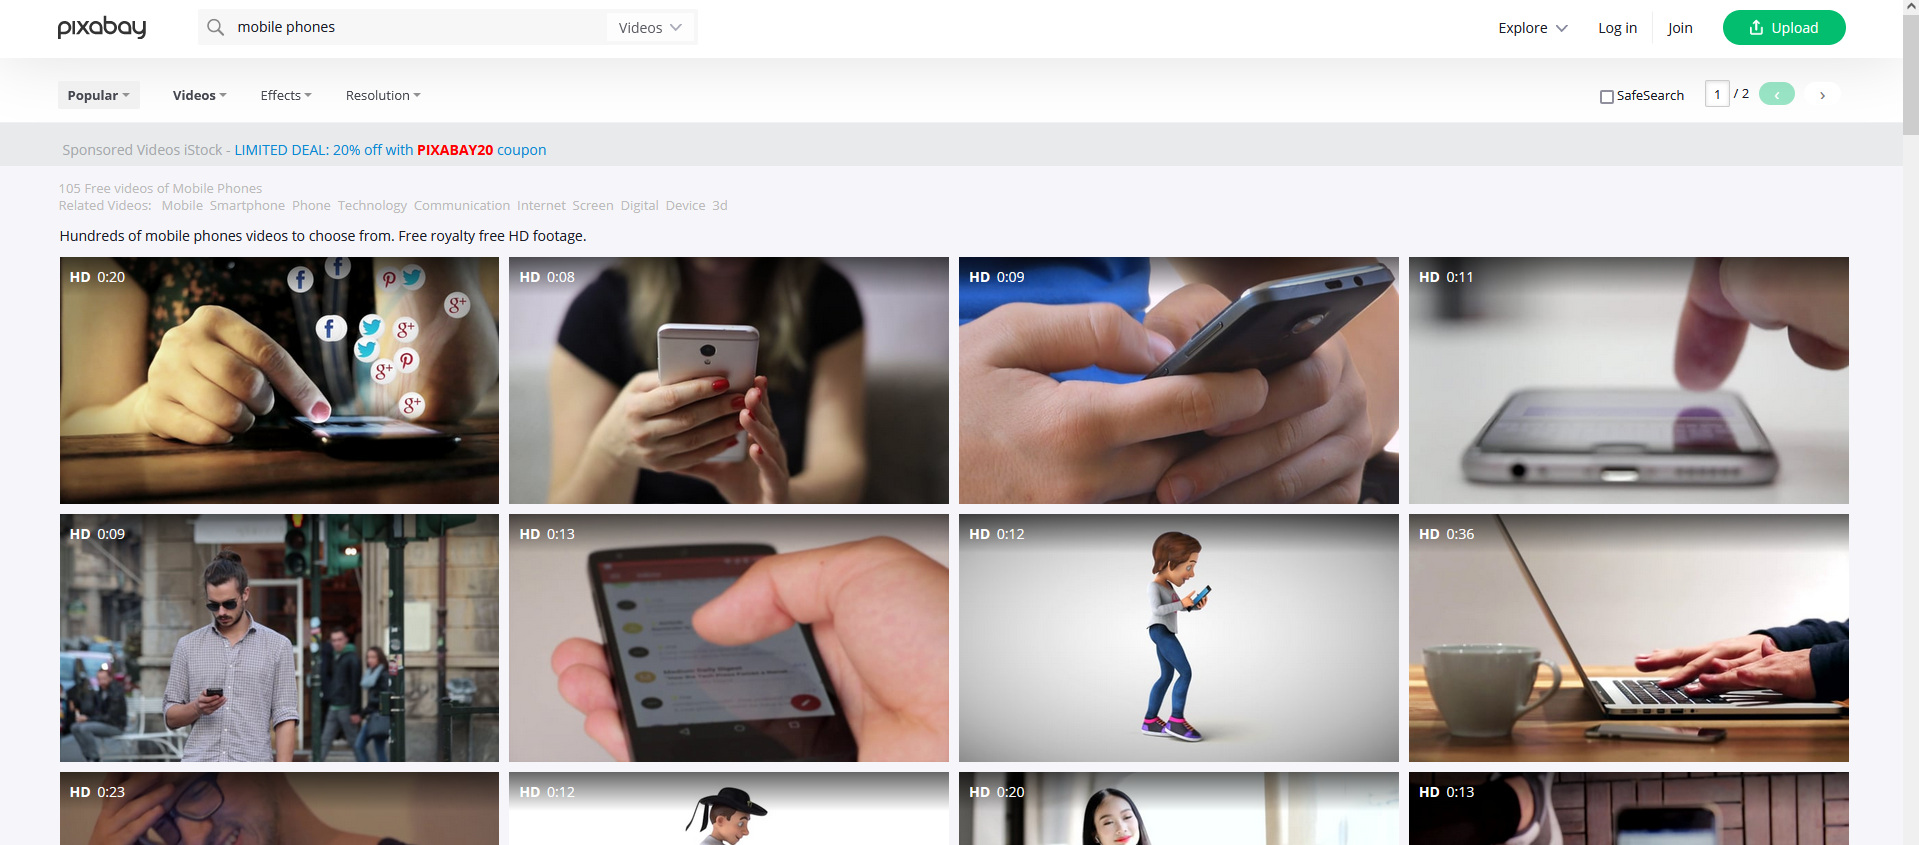
To find clips suitable for my documentary, I used a site named Pixabay. Pixabay has a range of quality images and videos. I use it whenever I gather images as I am assured that the quality will be to a consistent high standard. I normally just use Pixabay to collect images for my website or mood boards, but it comes in handy for videos too. Pixabay’s content is copyright free which is obviously important when making any video. The goal I had going into this stage of the project, was to find clips that represented the words being said. If the narrator talks about people in a general sense, then I can have clips of busy streets filled with people. Or if they mention a specific social media platform, then I can show a video of someone using it. I want the clips to clearly represent the current topic in the video.
I collected a range of videos that match up with the key themes of the documentary. I used searches such as ‘busy’, ‘people’, ‘mobile phone’, ‘social media’, and ‘mental health’ to discover clips of the nature that I wanted.
Finding Images
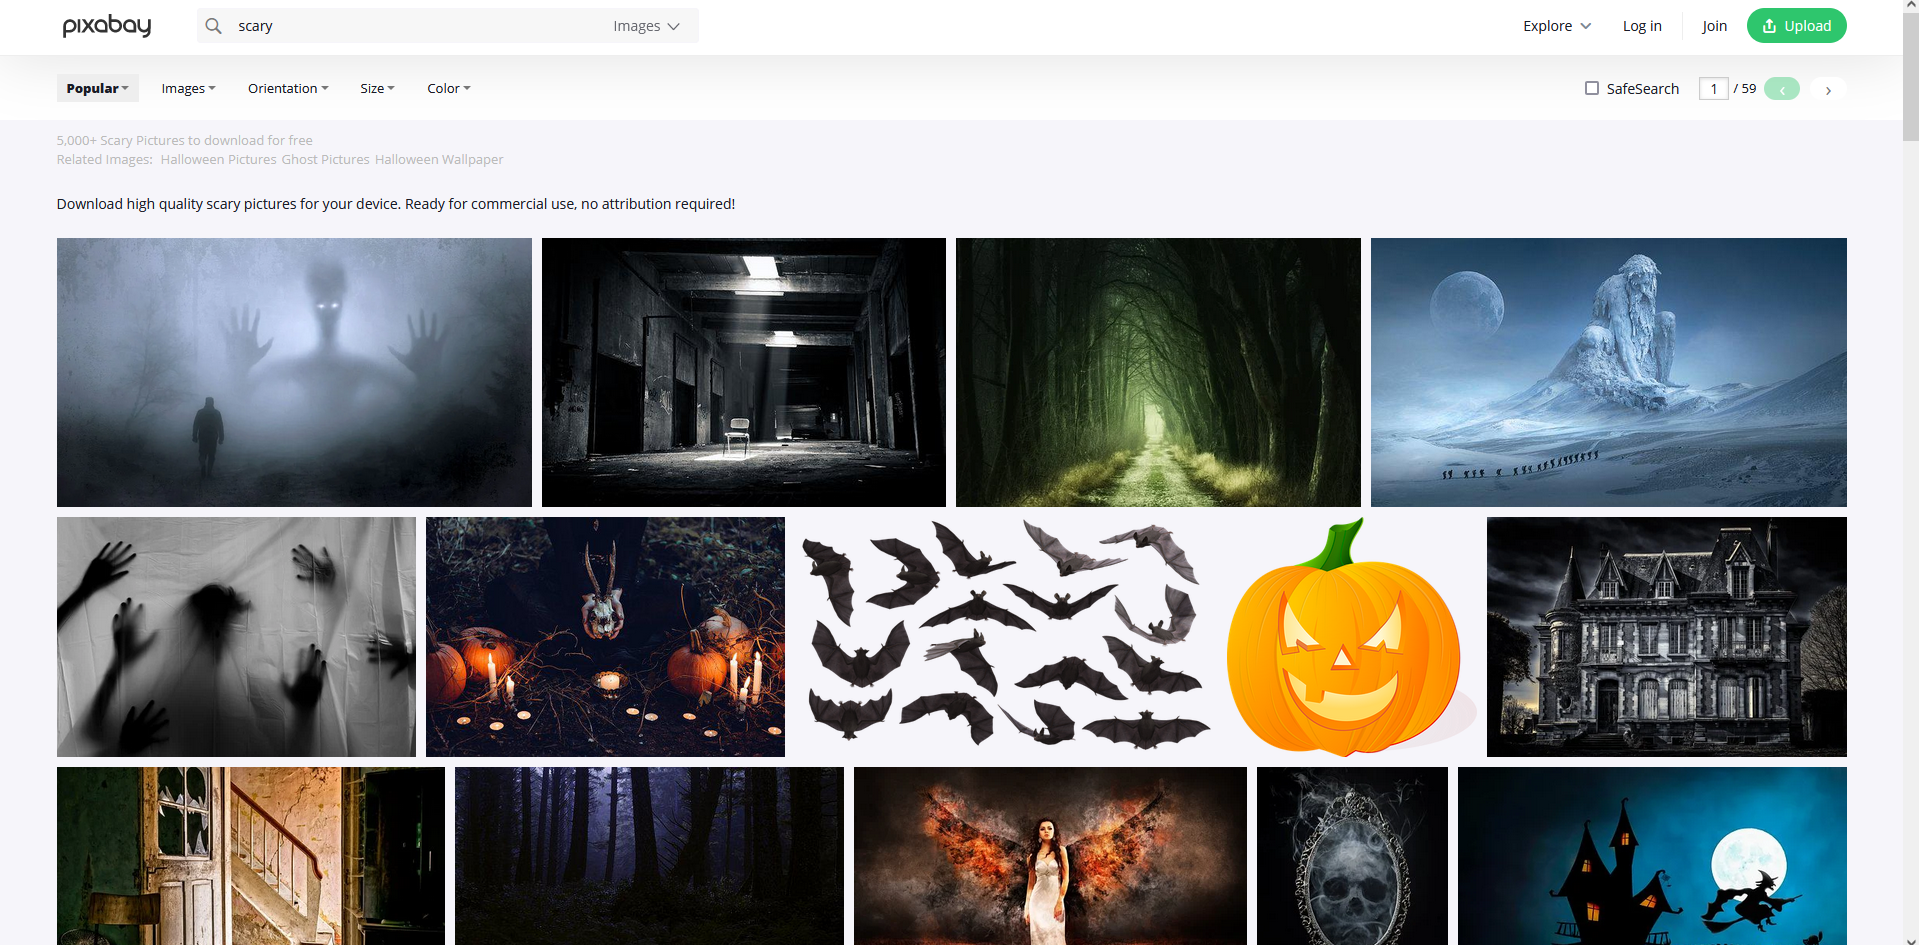
I used Pixabay to find images too. I wanted to relate the images in an incredibly literal way to the narration. So I opened the script and looked through the narration to see what words stood out. If a particular term stood out that I was also able to visualise, I grabbed an image representing it. For ‘scary effects’ I searched the word ‘scary’ to find an image to use. To organise these I made a folder named ‘Documentary Images’ and inside that, I will make separate folders to categorise the images. This will help me when I start editing.
Practise Production – Microphones
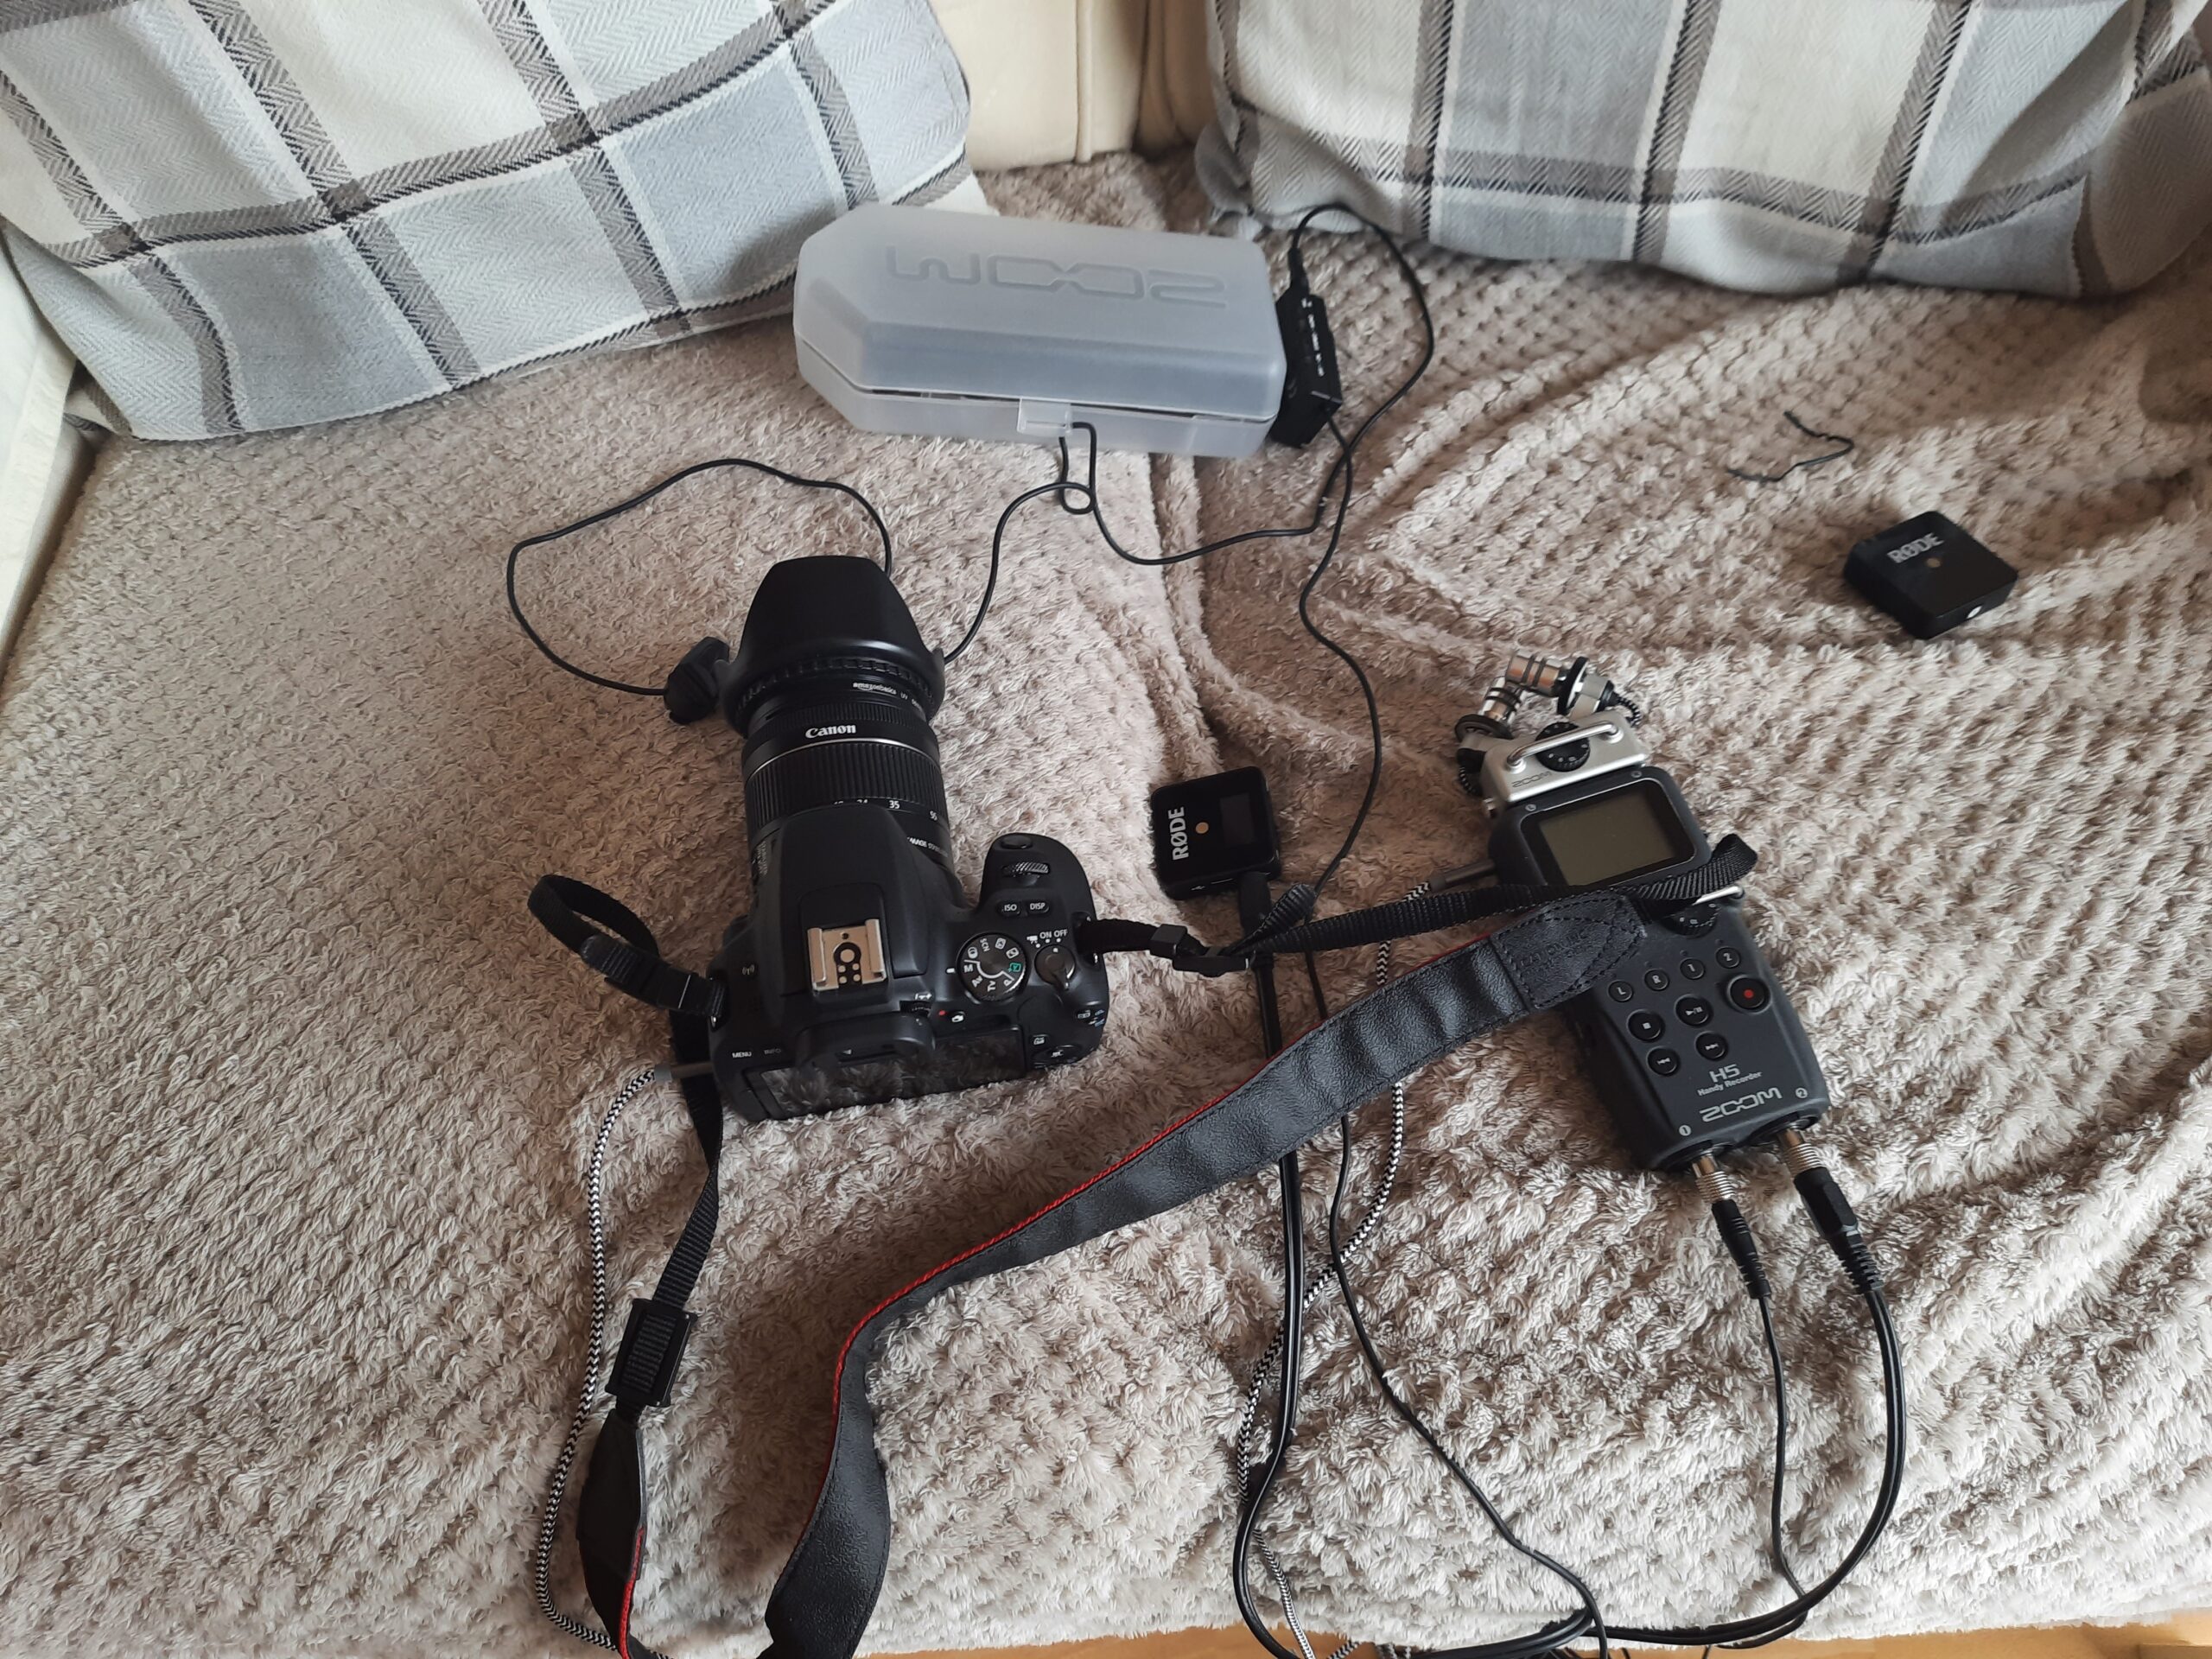
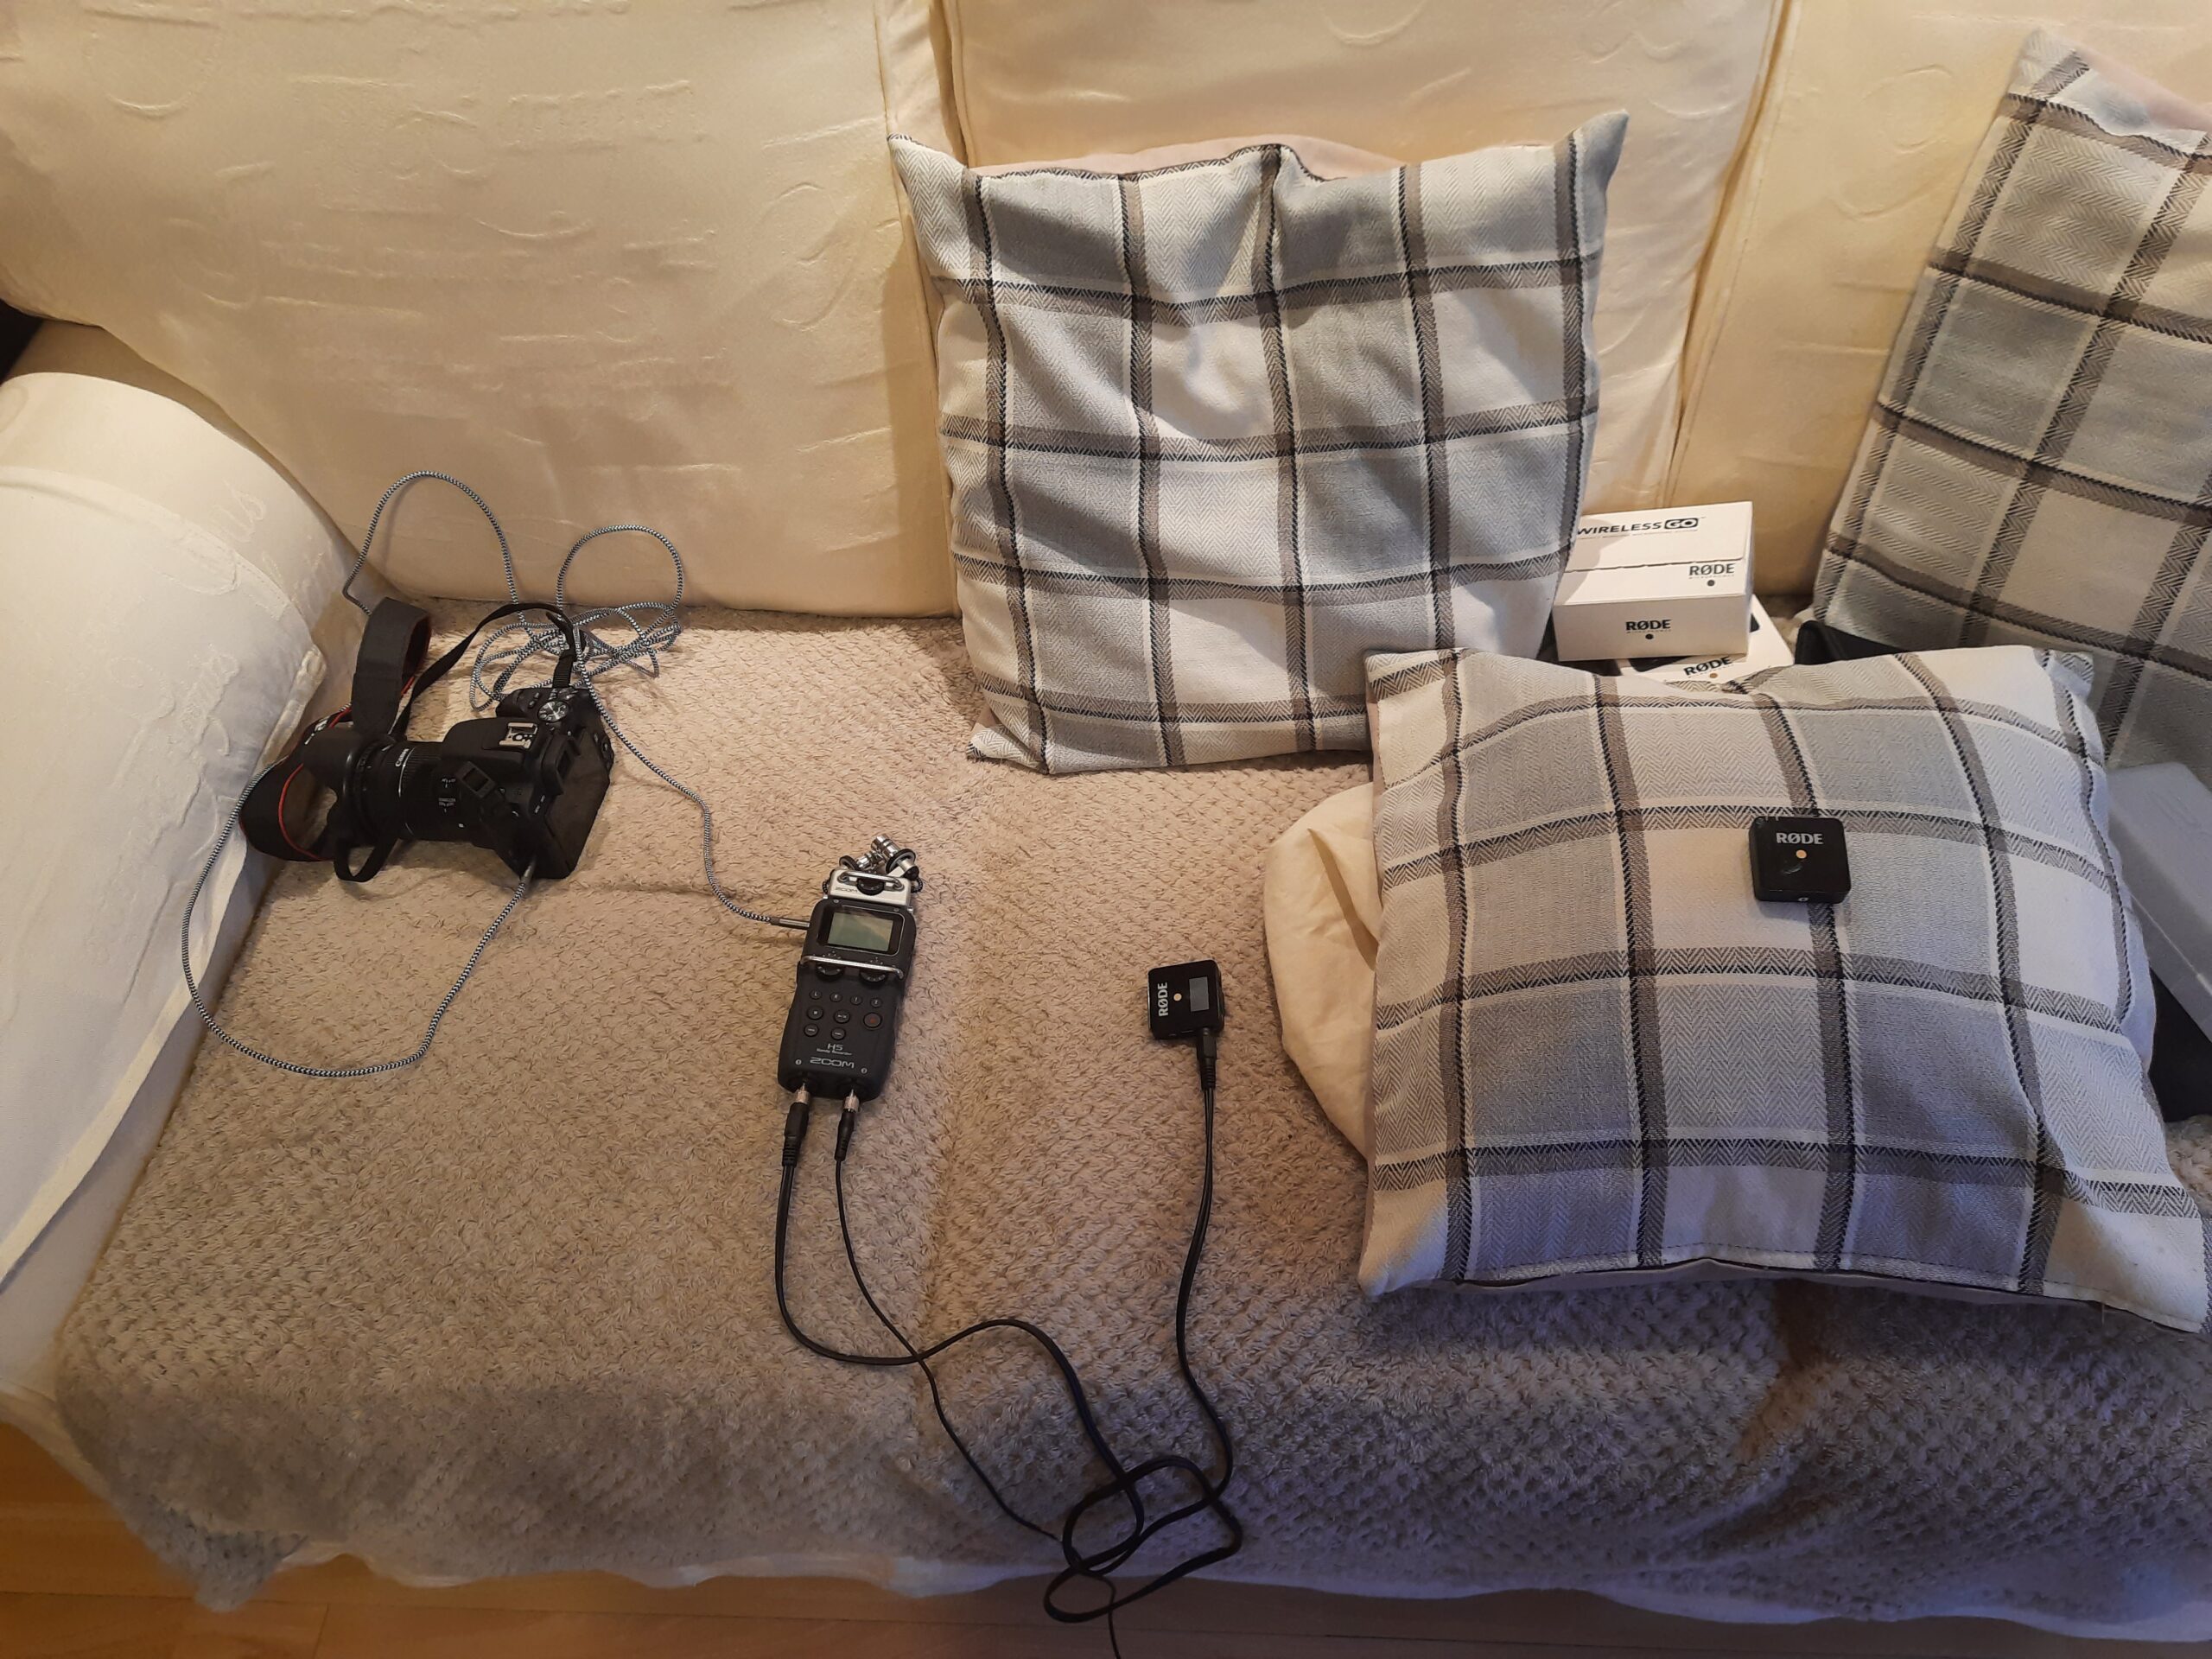
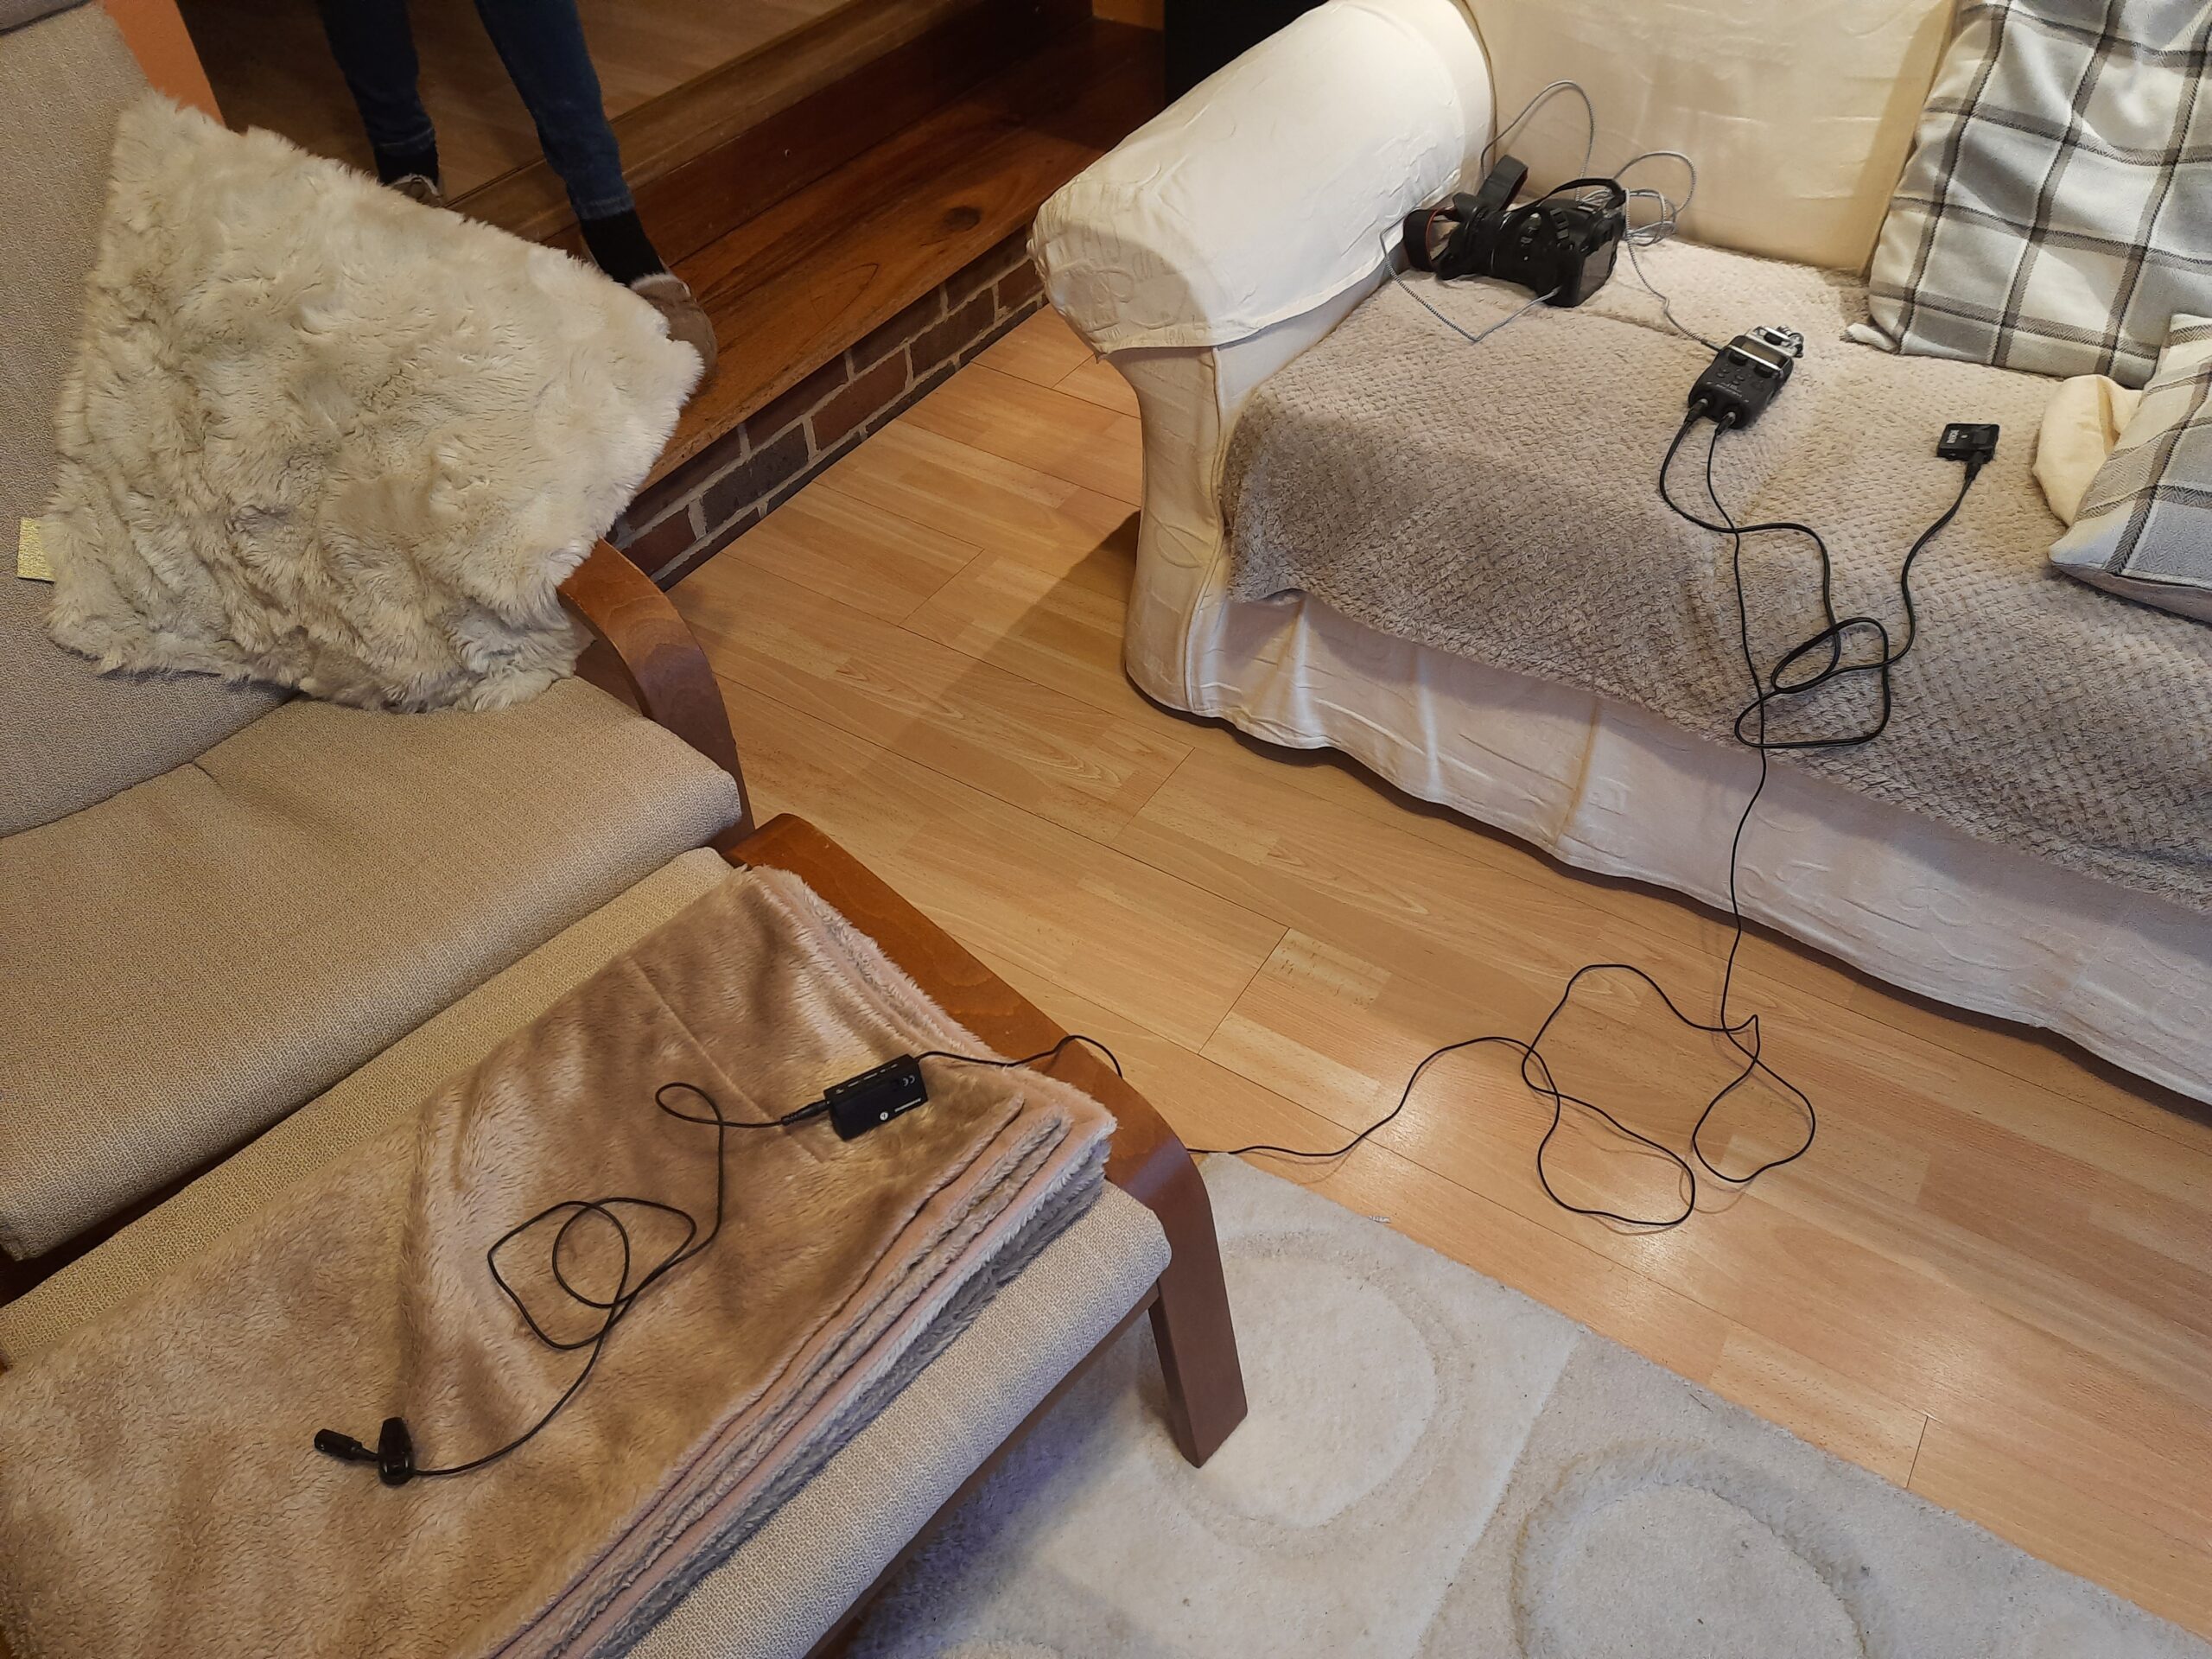
(27th April) I tested out some sound using microphones from home. I wore a lapel mic while we were filming. When listening back at the quality, I found that the lapel mic wasn't very good quality. I thought it sounded like there was less bass in the sound than I would have liked. Next time we do this, I will complete the set up by myself.
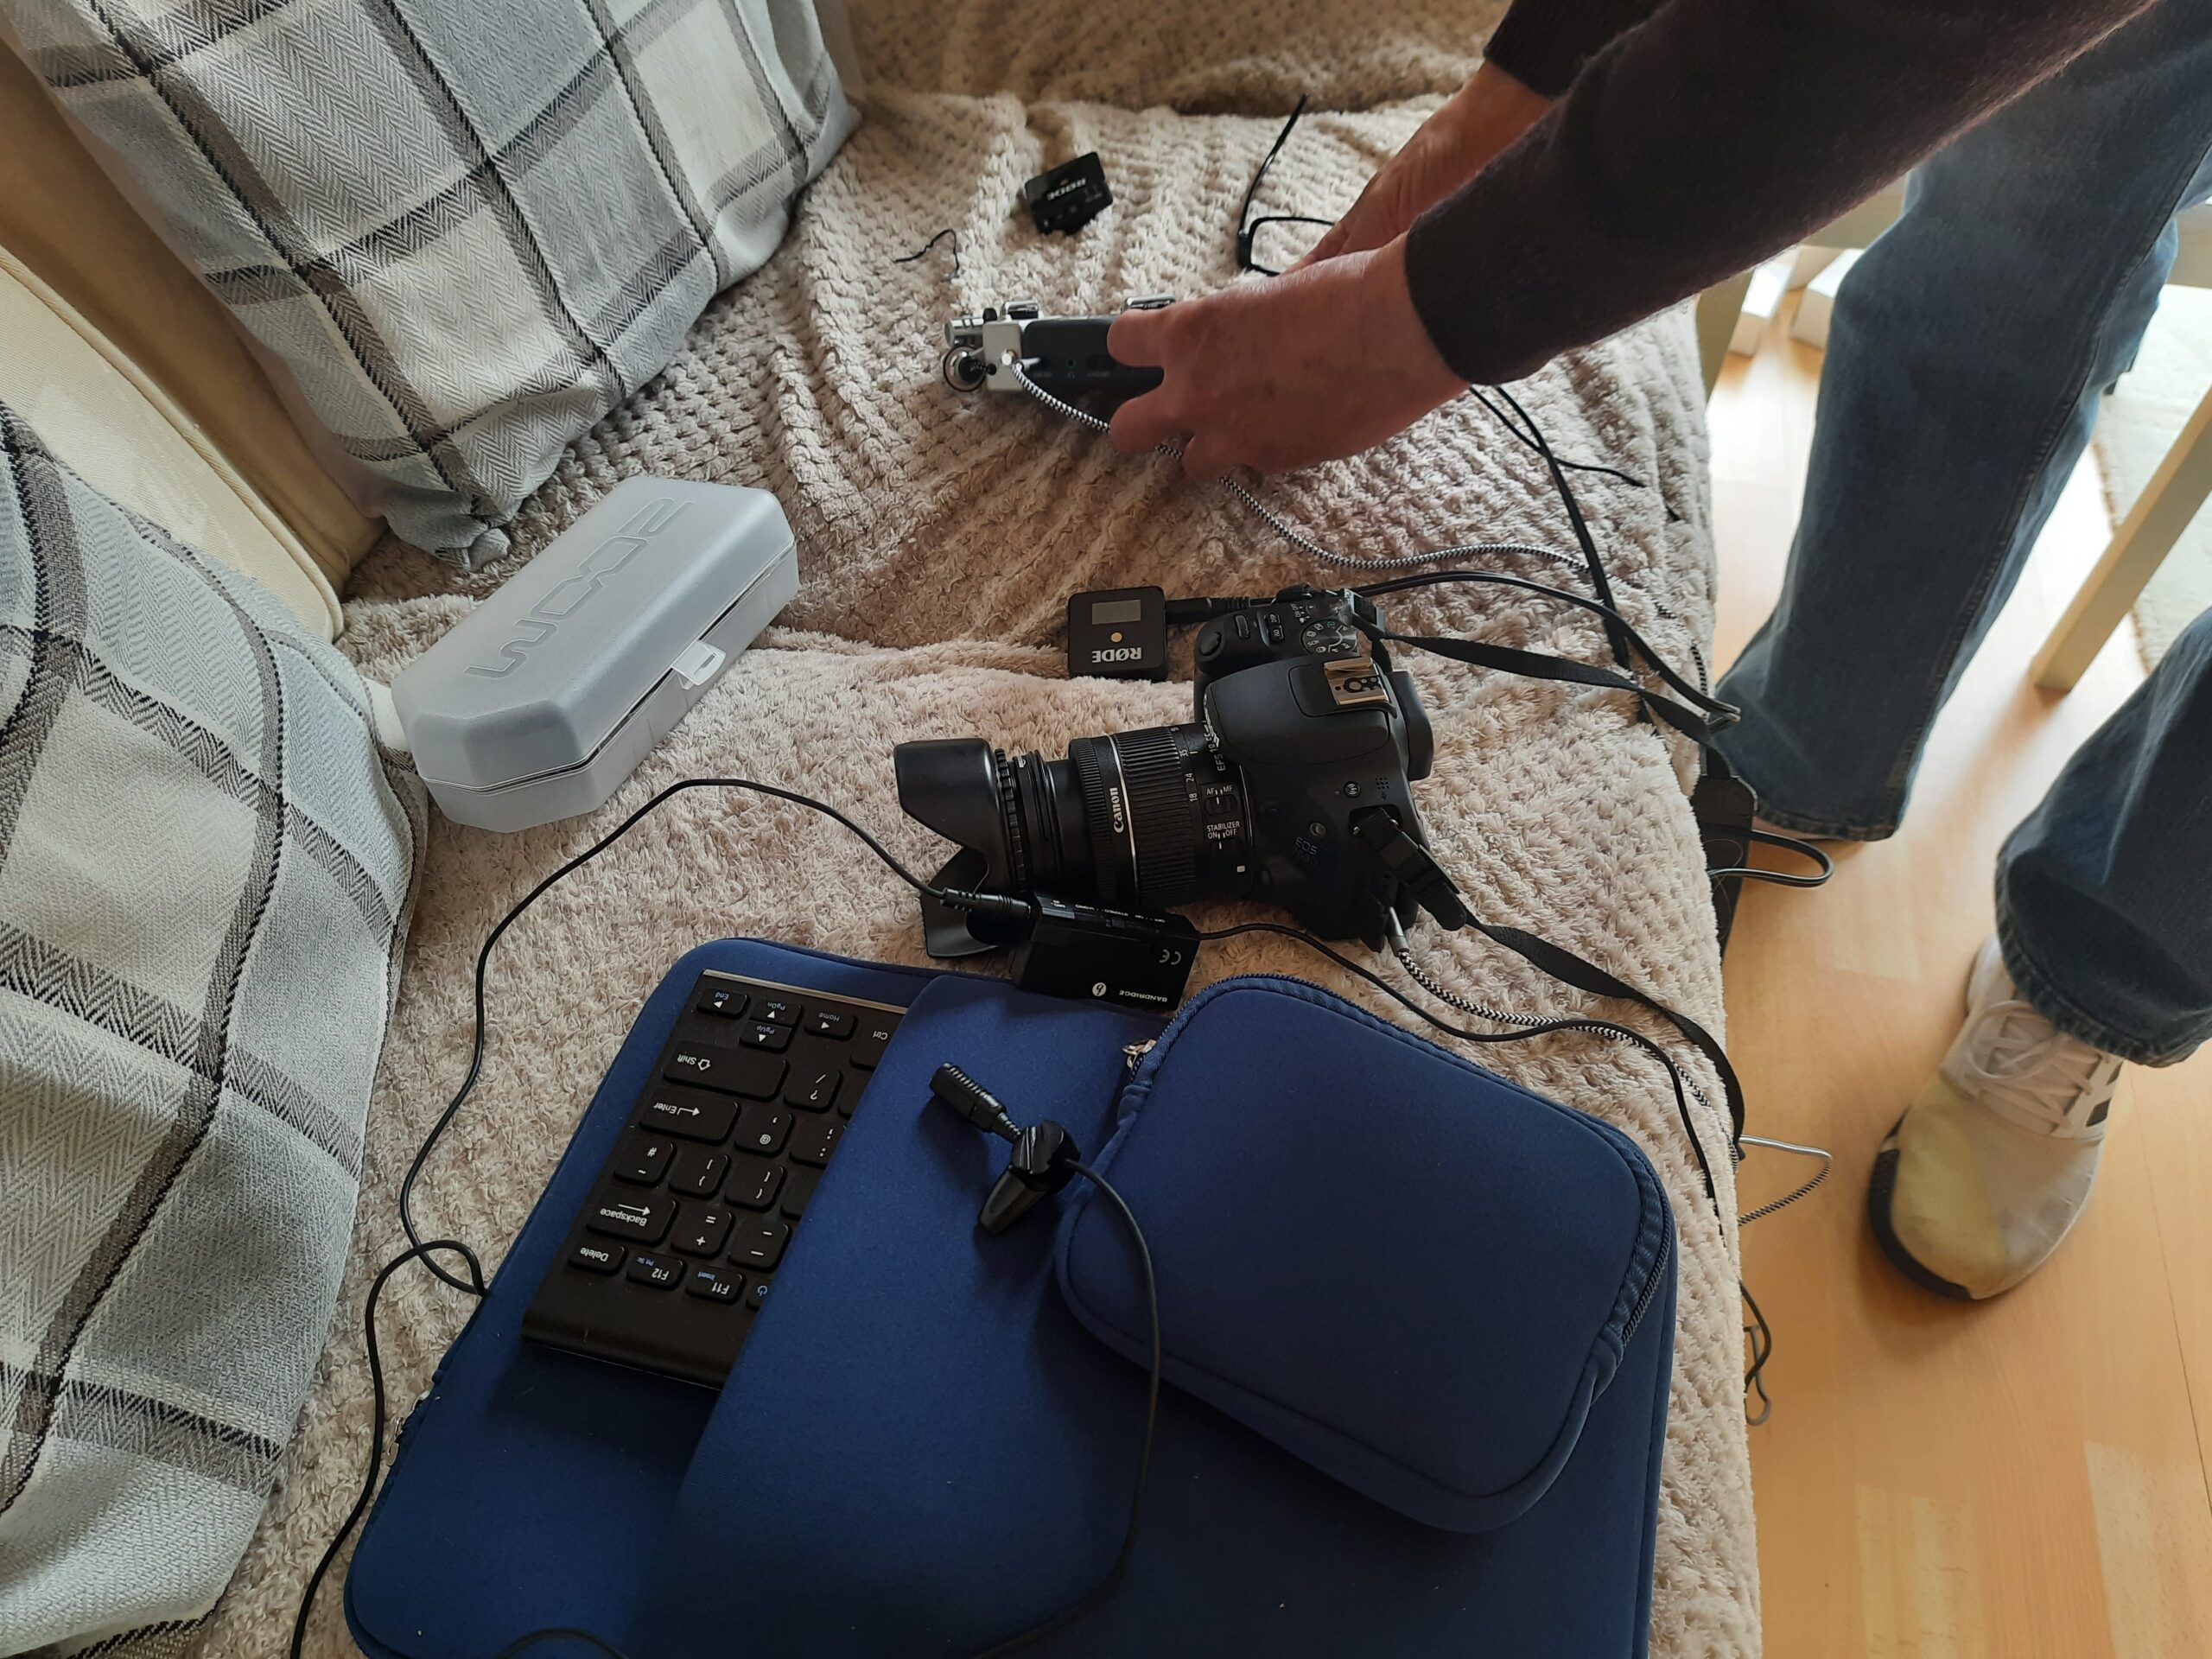
(30th April) At home, I practised setting up the mic equipment on my own. I began with the mic receiver as that is the heart of the set up. The mic receiver attaches the mics to the same point so we can collectively check the sound levels. It also connects the mics to the camera, which keeps the audio on track with the video. I switched on the equipment and tested it was working how it all should and also checked the sound levels. I laid out the equipment so that it made it easy to work with and I can clearly see how I did it, so I know what I’m doing next time if I get stuck. The next time I do this, I would like to try and adjust the camera settings along with the audio and complete a test video.

